Kickstarter Bag Photography and Mockups: Render or Real Sample?
Use both, in a specific order: renders for range and colourways before tooling exists, and a real production sample for every claim that backers will check on delivery. A render cannot show drape, sheen, hardware weight or hand feel, and those are exactly the things refund requests are about. Sampling runs 6 to 10 working days for a standard style and 12 to 15 working days for complex ones, which is fast enough that launching without a photographed sample is a choice rather than a necessity. This article sets out what each asset proves, the hybrid sequence, a 12-shot list and the disclosure language that protects you.
- Why this is a risk decision, not a budget decision
- What a render does well
- What a render cannot show
- What a real sample costs and how fast you can hold one
- The hybrid sequence: render for range, sample for proof
- Shooting the sample: lighting, scale and the shots that sell
- The twelve-shot list every bag campaign needs
- Presenting colourways you have not sampled
- Keeping the page and the delivered product consistent
- Disclosure language that protects you
- Photography mistakes that cost refunds
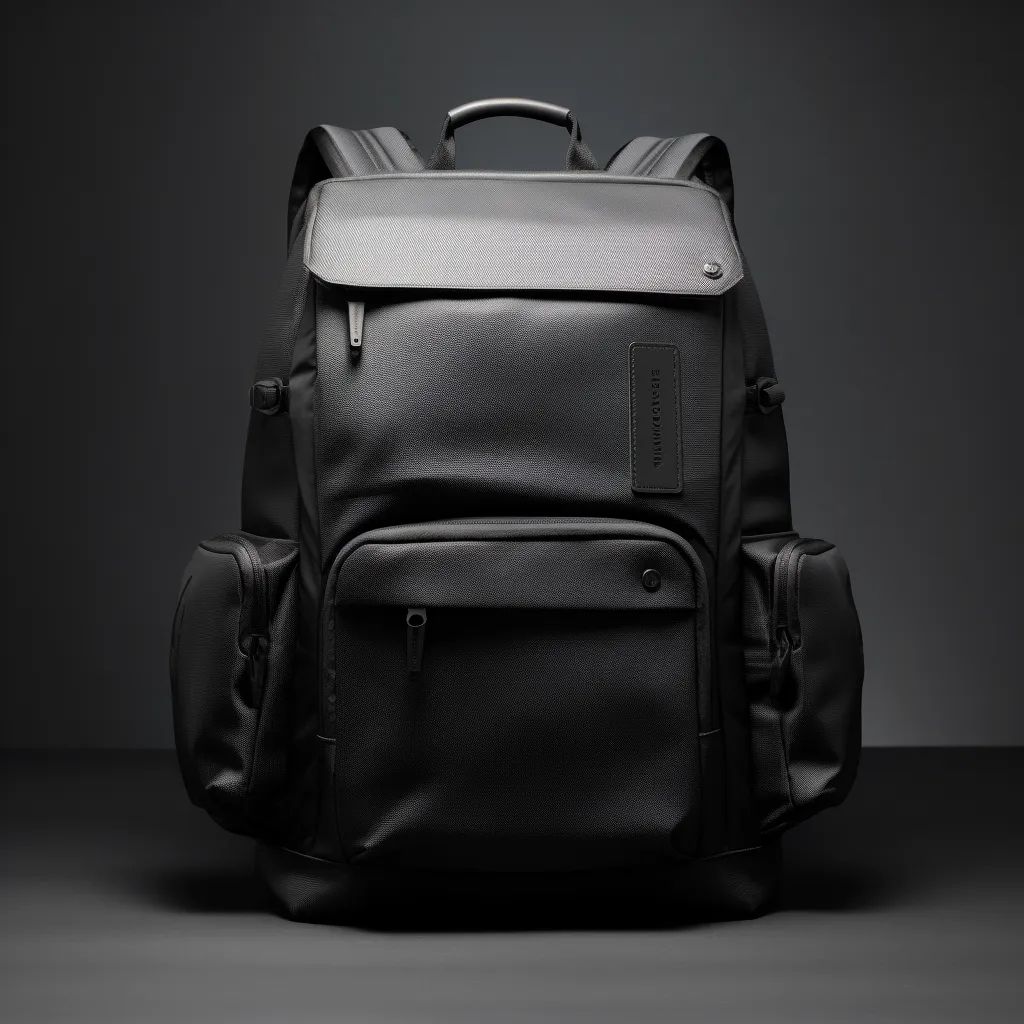
Ask ten creators whether to use renders or photography on a bag campaign page and most will answer on cost. That is the wrong axis. The real question is which asset can be trusted to make a promise, because every image on the page is a promise that will be checked against a physical object arriving nine months later. Renders are excellent at some promises and silent on others, and knowing the difference is what keeps a funded campaign out of the refund queue.
Why this is a risk decision, not a budget decision
A campaign page is a set of representations. When a backer pledges 129 dollars on the strength of an image, they are buying the bag in that image. If the delivered bag differs in a way the backer considers material, the platform's dispute process and the comment section both tend to side with the backer, regardless of what the fine print said. The cost of a photographic mistake is therefore not the cost of a reshoot, it is the cost of refunds, replacements and the reputational drag on your next campaign.
This is why the render-versus-sample question should be answered per image rather than per campaign. A render of a colourway you have not produced yet is fine if it is labelled. A render used to imply a sheen, a stiffness or a hardware finish that the production bag will not have is not fine, because those are material claims. Our campaign bag specialist team reviews pages from this angle before launch and the most common finding is not that a page is dishonest, it is that it is accidentally specific in places nobody checked.
- Material claims need a photograph: sheen, drape, stitch density, hardware finish, lining colour.
- Range claims can use a render: additional colourways, size families, future variants, clearly labelled.
- Dimension claims need a diagram, not either asset, because photographs distort volume perception.
- Fit claims need a worn-on-body photograph of the real sample on a stated body height.
What a render does well
Renders are faster, cheaper per variant, and genuinely useful in the pre-launch phase when the physical bag does not exist. A competent 3D artist can produce a colourway family from one model in a day, which lets you show six options to a waitlist and poll preference before committing to any of them. That is a real commercial benefit: you can test demand for a colour you have not dyed yet, and the test costs a fraction of a physical sample in that colour.
Renders also solve the timing problem at the top of a campaign. If you are running pre-launch ads eight weeks out and sampling will not finish until four weeks out, you need something to show. A render built from a measured specification can be accurate on proportion and pocket layout, and for the purpose of asking whether people like the concept it is entirely adequate. What it cannot do is answer the question that decides refunds, which is whether the object looks and feels like it costs what you are charging.
There is one more advantage worth naming, which is iteration speed. If a test panel says the front pocket looks too tall, changing a render takes an hour and changing a sample takes 6 to 10 working days. Using renders for the early design conversation and switching to physical samples once the design stabilises is the efficient path, and it is the sequence most professional product teams already use. The mistake is not using renders, it is never switching.
What a render cannot show
The list of things a render cannot represent is precisely the list of things backers complain about. Drape: how a panel of 600D polyester hangs under its own weight versus how the same panel behaves with a stiffener inside. Sheen: whether a fabric reads matte or glossy under shop lighting, which is the single most common source of it looked cheaper in person comments. Hand feel: whether webbing is soft or wiry, whether foam is dense or springy, whether a zip runs smoothly or catches.
Hardware is the worst offender. A render with a metal zip pull and a production bag with a moulded plastic pull of the same shape look identical in a still image and feel completely different in the hand. Backers notice the difference on day one and say so. Similarly, stitch density, edge binding and the way a lining sits inside a main compartment are all invisible in a render and all visible in the first ten seconds of ownership. None of this makes renders useless, but it does mean a render-led page is making promises it cannot keep.
| Asset | Speed | Cost | Proves | Risk if used alone |
|---|---|---|---|---|
| 3D render | 1 to 3 days per view | Low per variant | Proportion, pocket layout, colourway range | Implies material qualities it cannot show |
| Dimensional mock-up | 3 to 5 days | Low to medium | Scale, volume, strap geometry | No material or finish information at all |
| Pre-production sample | 6 to 10 working days | Medium | Construction, drape, hardware, fit | May differ in small ways from bulk run |
| Production sample | 12 to 15 working days | Medium to high | Exactly what bulk will look like | Higher cost and slightly longer window |
| Worn-on-body photograph | Half a day of shooting | Low | Real scale against a human body | Needs a real sample to exist first |
What a real sample costs and how fast you can hold one
The constraint that pushes creators toward renders is usually an assumption that sampling is slow and expensive. It is neither, in relative terms. Standard styles run 6 to 10 working days from a confirmed specification. Complex constructions with moulded panels, welded seams or custom hardware run 12 to 15 working days. Against a campaign that will run for 30 days and then take 35 to 50 days in bulk production, a two to three week sampling window at the front is a small addition and it removes the largest single category of post-delivery dispute.
- Sampling, standard style
- 6 to 10 working days
- Sampling, complex style
- 12 to 15 working days
- Bulk production
- 35 to 50 days
- Inspection
- AQL 2.5 to ISO 2859-1
- Minimum order
- 500 pcs per style and per colourway
- Terms
- FOB Xiamen, T/T 30/70
Budget for two sample rounds. The first sample almost always surfaces something: a pocket that sits 1 cm too low, a strap that slides, a lining that reads cheaper than expected. If you have only budgeted one round, you will launch with the finding unresolved rather than wait, and the finding will still be there on delivery. Our crowdfunding bag sampling and prototyping page sets out what to check at each stage and how to run a second round efficiently.
There is also a cost argument that runs the other way from the one creators expect. A sample round is a few hundred dollars. A reshoot of the hero imagery after production is finished is several thousand, and it still does not fix the fact that backers pledged against the first version. When you price the sample against the alternatives rather than against zero, it stops looking like an optional expense and starts looking like the cheapest insurance available in the whole pre-launch budget.
The hybrid sequence: render for range, sample for proof
The sequence that works is not either-or, it is staged. Phase one, before specification is frozen: renders and dimensional mock-ups to explore proportion and to poll colourway preference. Phase two, once the specification is frozen: one physical sample in the primary colourway, photographed properly, which becomes the hero imagery. Phase three: renders in the remaining colourways, built from the photographed sample so the drape and sheen are matched rather than invented, and labelled clearly as colour representations.
- Explore with renders while the design is still moving and sampling would waste a round.
- Freeze the specification with dimensions, materials and hardware codes before ordering the sample.
- Sample the primary colourway first and photograph it as the reference for everything else.
- Build colourway renders from the sample, matching drape and sheen instead of inventing them.
- Label every derived image so no backer thinks an unsampled colour has been produced.
- Shoot a second sample round only if the first produced changes worth re-photographing.
Phase three is where most of the value sits and where most creators take a shortcut. Building a colourway render from a photograph of the real bag means the render inherits the drape, the sheen and the hardware proportions of the real object, so the only thing that is simulated is the dye. Building it from a 3D model means those qualities are being invented again, which reintroduces exactly the risk you sampled to remove. It is a small difference in workflow and a large difference in accuracy.
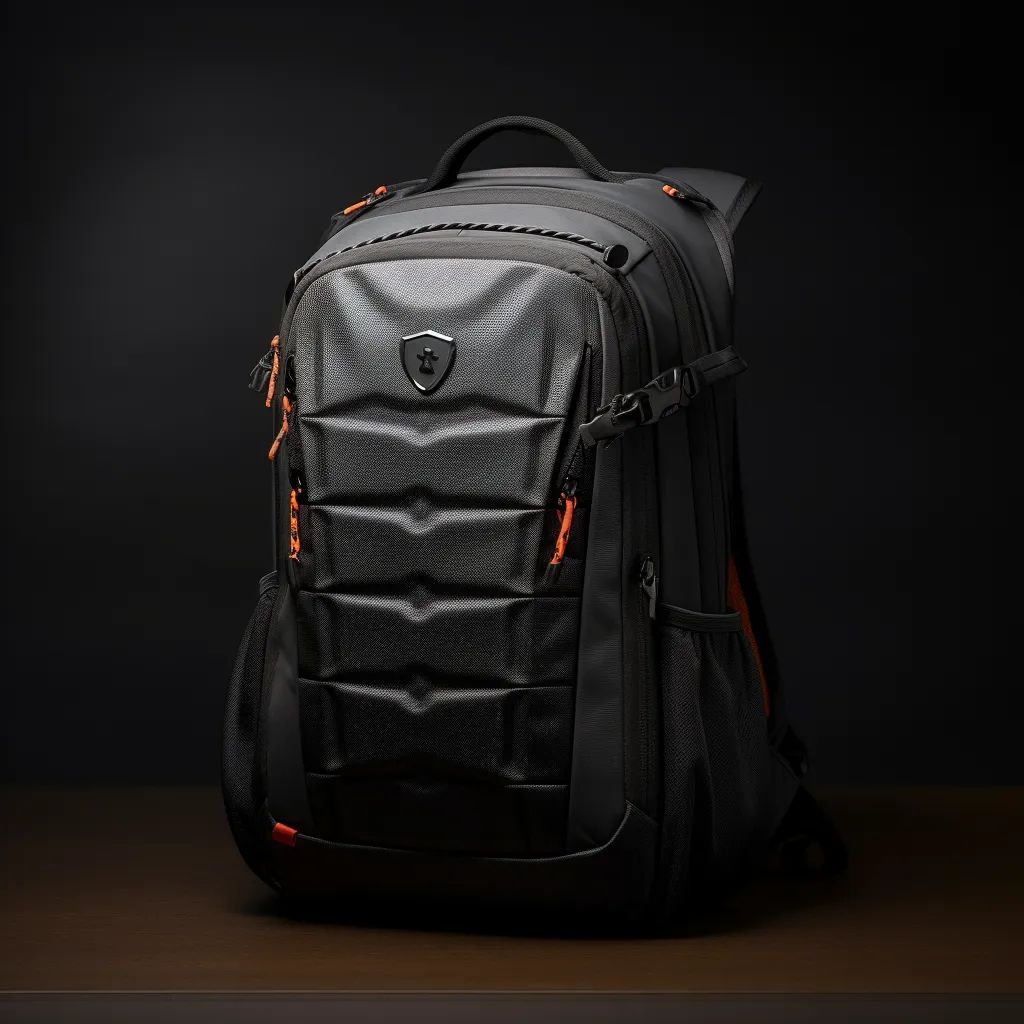
Shooting the sample: lighting, scale and the shots that sell
You do not need a studio. A bag shot well on a clean background with two soft light sources and a scale reference outperforms a bag shot badly in a professional studio, and the difference is usually discipline rather than equipment. Use a single neutral background, diffuse your key light so there are no hard specular highlights on synthetic fabric, and add a fill at roughly half the intensity on the shadow side so pocket depth is visible. Synthetic fabrics are glossier than they appear to the eye and will blow out under direct light.
Scale is the most important thing a photograph can communicate and the thing bag campaigns most often omit. A backpack photographed alone on white tells a backer nothing about whether it will hold their laptop and their lunch. Put a 15 inch laptop, a 1 litre bottle and a paperback in the frame, or better, put it on a person and state their height in the caption. Backers who can see scale ask fewer questions and return less often, and the return rate difference between a page with scale references and one without is significant.
- Shoot on a neutral background so colourway comparisons are honest between variants.
- Diffuse the key light; synthetic fabric produces hard highlights that read as cheap plastic.
- Include a scale reference in at least four gallery images, with the object named in the caption.
- State model height on every worn shot, because fit complaints are almost always scale complaints.
- Photograph interiors empty and loaded, since an empty compartment photograph is close to useless.
The twelve-shot list every bag campaign needs
A bag campaign page with fewer than twelve images leaves questions unanswered, and unanswered questions become support tickets during the campaign and refund requests after it. The list below is not about volume for its own sake, it is about covering the specific questions backers ask: how big is it, what does the inside look like, how does it sit on a body, what does the hardware look like up close, and what is the material actually like. Each image answers one of those and none of them is decorative. Roughly half of the same list applies to motion, and our article on the 90 second bag campaign video script shows how the still shots translate into a shot list you can film in a day.
| Shot | Question answered | Render acceptable |
|---|---|---|
| Front three-quarter hero | What is it | No, shoot the sample |
| Rear and harness detail | How does it carry | No, shoot the sample |
| Interior, empty | What is the layout | No, shoot the sample |
| Interior, loaded | What actually fits | No, shoot the sample |
| Worn, front and side | How does it sit on a body | No, shoot the sample |
| Scale with laptop and bottle | Real dimensions | No, shoot the sample |
| Hardware close-up | What is the zip and buckle quality | No, shoot the sample |
| Fabric macro | What is the material like | No, shoot the sample |
| Dimension diagram | Exact measurements | Diagram, not either |
| Colourway family | What else is available | Yes, if labelled |
| Packing or use scenario | What is it for | Yes, if labelled |
| Comparison with incumbent | Why this one | Diagram, not either |
The four shots most often skipped are the interior loaded, the hardware close-up, the fabric macro and the worn side view, and they are the four that answer the questions backers actually ask in the comments. An interior photograph that is empty tells a backer the layout exists but not whether a 15 inch laptop and a lunch box fit at the same time. A hardware close-up is the only way to convey whether the zip is a branded item or a generic one, which matters more to perceived value than almost any other detail on the page.
Presenting colourways you have not sampled
You will usually want to offer more colourways than you have sampled, because each sample costs money and time. That is legitimate, and it is manageable with two disciplines. First, build the colourway previews from a photographed sample in a different colour, using a colour-matched overlay, rather than from an untextured model. Second, say on the page which colourways have been produced as physical samples and which are representations. Backers respect that distinction, and a page that volunteers it reads as more trustworthy, not less.
There is also a production reason to be careful here. Every colourway you offer is a separate 500 pcs per style and per colourway commitment, so the colourway family on the page is not just an image decision, it is an inventory decision. If you show six colours and only two clear the minimum, the other four backers need to be asked to switch, and a meaningful share of them will not. Showing a range you cannot produce creates a survey problem later, which is why the colourway set on the page should be the set you have modelled against your backer projection.
The order in which you sample colourways should follow the same logic. Sample the colour you expect to sell most, because that is the one that will carry the hero imagery and the one where accuracy matters most. Then, if budget allows, sample the second most popular. Leave the long tail as labelled representations until a stretch goal or a poll result justifies producing them. This is what our programme coordinator recommends to creators working within a tight pre-launch budget, and it keeps the expensive accuracy where the volume is.
Keeping the page and the delivered product consistent
Consistency is maintained by a single object: the retained reference sample. Once the sample is signed off, it should be photographed from the same angles as the hero imagery, labelled with the revision number, and kept as the standard the bulk run is inspected against at AQL 2.5 to ISO 2859-1. If a change is made during production, the page should be updated in the same week, with an update to backers explaining what changed and why. Silence here is what turns a minor substitution into a trust problem.
Changes during production are normal and not dishonest. A hardware supplier discontinues a buckle, a fabric lot comes back a shade darker, a seam is moved 5 mm for durability. Each of those is defensible if it is communicated, and indefensible if the backer discovers it. The discipline is a change log: one shared document recording every deviation from the signed-off sample, with the date, the reason and whether backers were told. Our team keeps one as standard, and it is the single artefact that makes post-delivery conversations short rather than adversarial.
The change log also protects your production relationship. When a deviation is recorded with a date and a reason at the time it happens, there is no later dispute about who agreed to what, and the inspection at the end of the run can be read against a documented standard rather than a remembered one. Set the log up before bulk starts, give one person responsibility for it, and require an entry for anything that differs from the signed-off sample, however small.
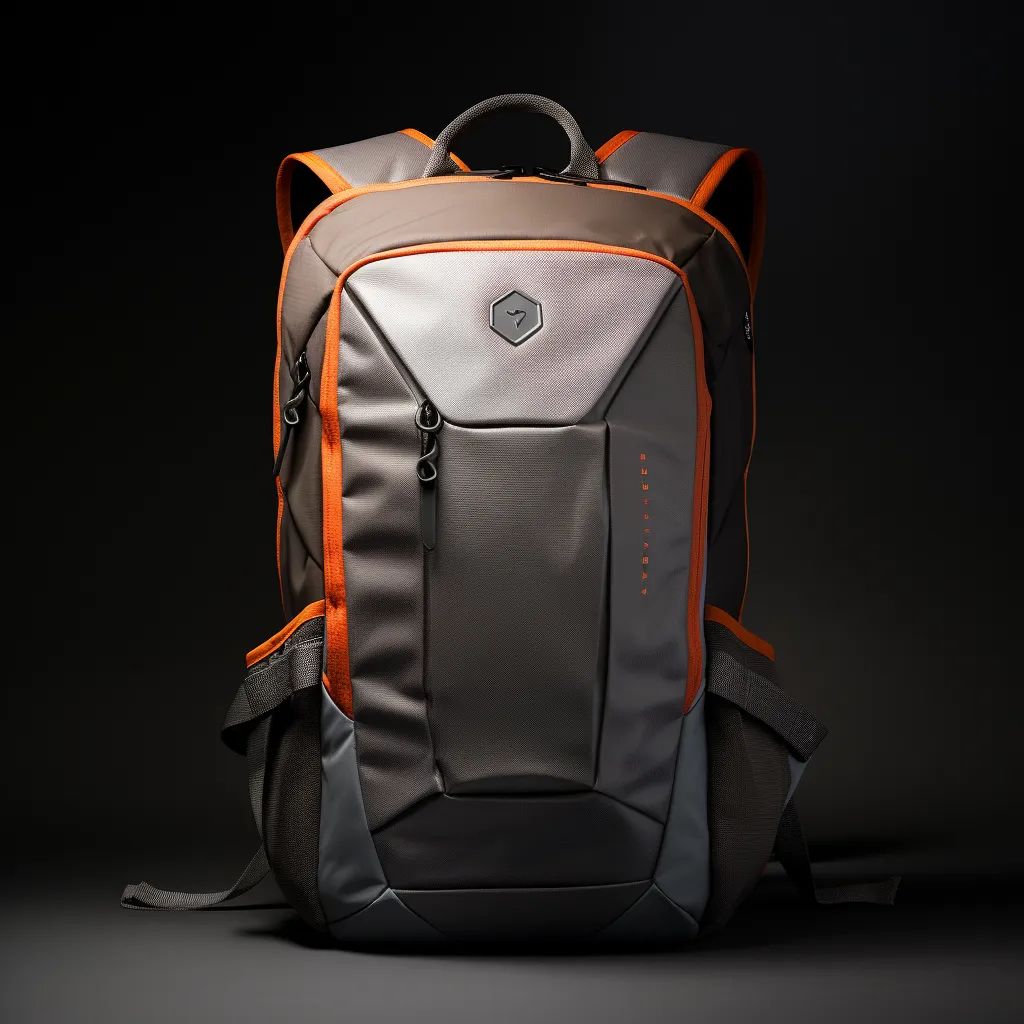
Disclosure language that protects you
Disclosure is not a disclaimer buried at the bottom of the page, it is short plain sentences placed next to the image they qualify. A single line under the colourway grid reading representations shown, final production samples may vary slightly in tone does more work than three paragraphs of legal text nobody reads. The principles are: place it next to the claim, keep it to one sentence, use plain words rather than legal ones, and never use it to excuse a material difference.
A one-sentence note beside the image beats three paragraphs of disclaimer at the bottom of the page, every time.
What disclosure cannot do is rescue an image that misrepresents the product. If your hero shot uses a metal zip pull and production ships plastic, no amount of fine print makes that acceptable, and the fix is to reshoot or to change the specification. The test to apply is simple: would a reasonable backer, holding the delivered bag and looking at the page, feel they got what was shown? If the honest answer is no, the image has to change, not the wording.
Three specific lines cover most situations and are worth adapting rather than inventing. Under a colourway grid: colourways shown as representations, production samples may vary slightly in tone. Under a pre-production photograph: photographed on a pre-production sample, final specifications unchanged except as noted. Under a lifestyle image: styled for illustration, contents not included. Each is short, each sits next to the claim it qualifies, and none of them attempts to excuse a difference in material, hardware or construction.
Where disclosure genuinely does not help is the case of the quietly upgraded render, where a creator improves the image over the campaign without improving the product. Backers compare screenshots, and a page that has been quietly made more attractive between week one and week four reads as manipulative regardless of what the footnote says. If you improve the imagery during the campaign, say so in an update and explain what changed, ideally because a better sample arrived.
Photography mistakes that cost refunds
The mistakes are consistent across campaigns. Shooting the prototype rather than the production sample, which is the most common and the most expensive, because prototypes are often hand-finished in ways a production run cannot match. Over-saturating colour, which makes a dyed fabric look richer than it will arrive and produces the largest single category of it looks different comments. Hiding the hardware, because a page with no close-up of the zip and buckles reads as though there is something to hide.
Then there are the framing mistakes. Shooting only on a white background with no scale reference, which lets every backer imagine a different size. Shooting the bag stuffed to make it look structured when it will arrive flat, which is a material misrepresentation and a common return reason. And using a lifestyle shot that shows a feature the bag does not have, such as a bottle in a pocket that is too shallow for it, which is the kind of detail a backer will find and post about within a week of delivery.
Key takeaways
- E
- v
- e
- r
- y
- i
- m
- a
- g
- e
- i
- s
- a
- p
- r
- o
- m
- i
- s
- e
- .
- U
- s
- e
- r
- e
- n
- d
- e
- r
- s
- f
- o
- r
- r
- a
- n
- g
- e
- ,
- u
- s
- e
- t
- h
- e
- p
- r
- o
- d
- u
- c
- t
- i
- o
- n
- s
- a
- m
- p
- l
- e
- f
- o
- r
- e
- v
- e
- r
- y
- m
- a
- t
- e
- r
- i
- a
- l
- c
- l
- a
- i
- m
- ,
- a
- n
- d
- l
- a
- b
- e
- l
- t
- h
- e
- d
- i
- f
- f
- e
- r
- e
- n
- c
- e
- .
If you are weighing this decision now, the practical next step is to get a physical sample in hand before you book the shoot. Standard styles run 6 to 10 working days and complex ones 12 to 15 working days, which fits inside most pre-launch runways. Our crowdfunding bag guide covers where sampling sits in the wider timeline, and our team can confirm which of your colourways are worth sampling first at 500 pcs per style and per colourway.
Send us your specification and target colourway list, and we will confirm the sampling window and which sample to photograph first.
Frequently Asked Questions
Should a bag campaign page use renders or real photography?
Both, staged. Use renders while the design is still moving and for colourway range, then photograph a production sample for every material claim. Sampling runs 6 to 10 working days for standard styles and 12 to 15 for complex ones.
What can a 3D render not show about a bag?
Drape, sheen, hand feel and hardware weight. Those are exactly the qualities refund requests are about, which is why a render-led page makes promises it cannot keep on material quality.
How long does it take to get a physical sample?
6 to 10 working days for a standard style and 12 to 15 working days for complex constructions with moulded panels, welded seams or custom hardware. Budget two rounds, because the first sample almost always surfaces a change.
Is it acceptable to show colourways I have not sampled?
Yes, if you build the previews from a photographed sample in another colour and label them as representations. Build them from a colour-matched overlay on the real photograph rather than from an untextured model.
How many images should a bag campaign page have?
At least twelve: hero, rear and harness, interior empty, interior loaded, worn front and side, scale reference, hardware close-up, fabric macro, dimension diagram, colourway family, use scenario and a comparison graphic.
Why do I need a scale reference in the photographs?
A bag photographed alone on white tells a backer nothing about whether it will hold their laptop and their lunch. Include a 15 inch laptop and a 1 litre bottle in the frame, and state the model's height on worn shots.
What is a retained reference sample and why does it matter?
It is the signed-off sample photographed from the hero angles and kept as the standard the bulk run is inspected against at AQL 2.5 to ISO 2859-1. Without one, every it does not match the photo conversation becomes an argument about memory.
Should I disclose that production may vary from the images?
Yes, in one plain sentence placed next to the image it qualifies. Disclosure cannot rescue an image that misrepresents the product, so if a material difference exists, change the image or the specification.
Does offering more colourways cost more than it appears?
Yes. Each colourway is a separate 500 pcs per style and per colourway commitment, so the colourway set on the page is an inventory decision, not just an image decision. Show a range you have modelled against your backer projection.
What is the most expensive photography mistake on a bag campaign?
Shooting the prototype rather than the production sample. Prototypes are often hand-finished in ways a production run cannot match, which guarantees a gap between the page and the delivered bag.
Do I need a professional studio to shoot a bag well?
No. A neutral background, a diffused key light and a fill at roughly half intensity will produce better results than a badly used studio. Synthetic fabric produces hard specular highlights under direct light and reads as cheap plastic.
How do I handle a production change after the page is live?
Keep a change log recording every deviation from the signed-off sample with the date and reason, update the page in the same week, and post an update to backers. Communicated changes are defensible; discovered ones are not.
People Also Ask
Are renders acceptable on a Kickstarter bag page?
Yes for colourway range and pre-launch concept testing, if they are labelled. Not for material claims such as sheen, drape or hardware finish.
How long does bag sampling take?
6 to 10 working days for a standard style and 12 to 15 working days for complex constructions. Plan two rounds.
What is the MOQ per colourway?
500 pcs per style and per colourway. Each colour you show is a separate commitment, so show only what you have modelled against your backer projection.
How many photos should a bag campaign have?
Twelve or more, covering hero, harness, interior empty and loaded, worn, scale, hardware close-up, fabric macro and a dimension diagram.
Why do backers say the bag looks different in person?
Usually colour saturation and sheen. Synthetic fabric photographed under direct light looks richer and glossier than it reads in a room, so diffuse your key light and avoid over-saturation.
Should I photograph a prototype or a production sample?
The production sample. Prototypes are often hand-finished in ways a production run cannot match, and the gap shows up as refund requests.
How do I show colourways I have not produced?
Build them from a photographed sample using a colour-matched overlay, so the only simulated variable is the dye, and label them as representations.
What inspection standard should bulk be held to?
AQL 2.5 to ISO 2859-1, measured against a retained reference sample that was photographed for the page.