Print and Embroidery QC for Custom Campaign Bags
Bag decoration passes QC when the bulk result matches an approved physical standard for colour, registration, position, adhesion, shrinkage and workmanship. Lock the artwork revision, fabric lot, process and tolerance before the 500-piece run; approve a strike-off or embroidered panel under controlled light; and verify first-off, in-line and final samples. A digital mock-up alone cannot predict ink cure, dye migration, puckering or stitch distortion.
- Create one controlled decoration file
- Choose a method that suits the bag material
- Set measurable registration and placement tolerances
- Approve colour with physical standards and lighting
- Test print cure, adhesion and migration
- Control shrinkage before panels are cut
- Engineer embroidery density, backing and tension
- Use strike-offs and first-offs as release gates
- Hold decoration quality through bulk production
- Inspect, report and communicate the finished result
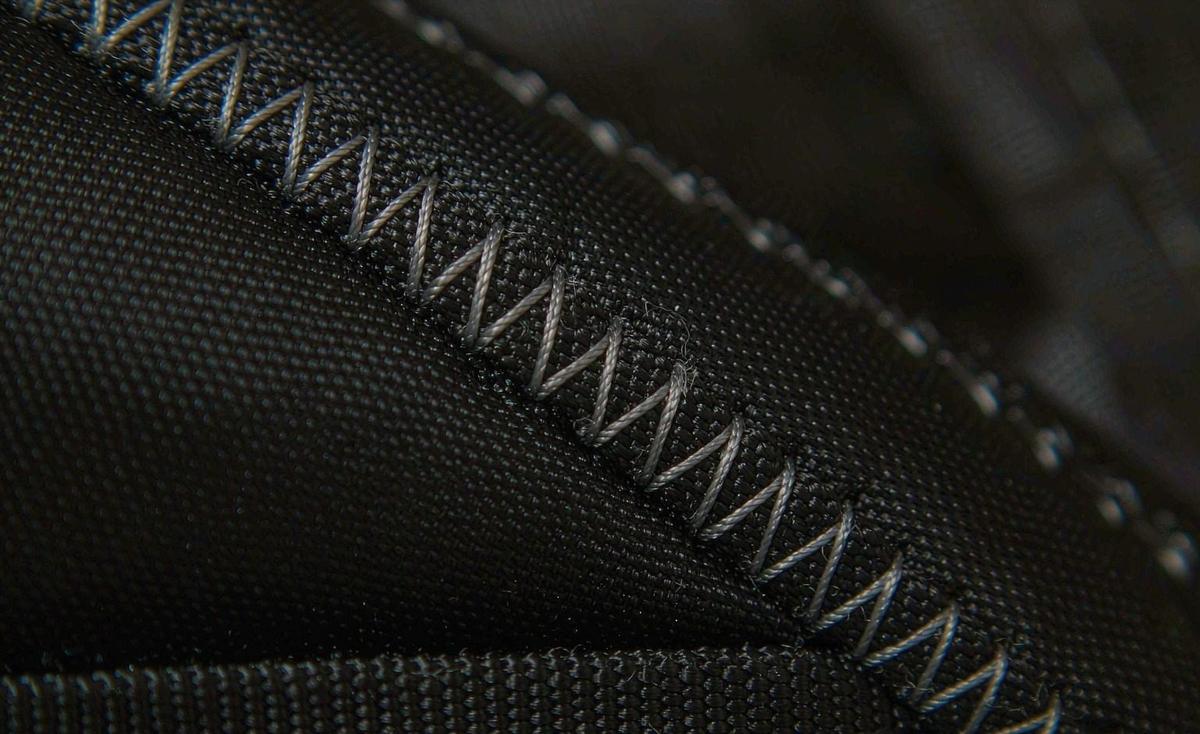
A logo is often the most visible part of a campaign reward and one of the least forgiving production operations. Small changes in coated fabric, mesh tension, heat, thread direction or panel handling can move colour and geometry. Treat decoration as an engineered process: specify inputs, make a representative trial, define acceptance, then keep the approved standard beside the line throughout the 35–50 day production window.
Create one controlled decoration file
Build a decoration pack that removes interpretation. It should contain the vector artwork, revision and date, finished size, orientation, colour references, separation notes, underbase, trapping or overlap, print order, embroidery stitch file where applicable, thread codes, placement datum and tolerance. Show the bag panel outline and seam allowance so the operator understands how the mark relates to the finished product, not only to a loose rectangle. Identify minimum line, gap and text sizes that the selected method can reproduce. Convert fonts to outlines and preserve an editable master under version control. A screenshot, messaging-app preview or low-resolution PDF is not a production file. Name one approver and one current revision. When artwork changes, cancel obsolete strike-offs, panels and stitch files physically as well as digitally. The decoration file should also name the substrate: fabric article, colour, coating face, stretch direction, finish and lot where known. The same ink can appear different on black coated polyester, natural canvas and recycled lining. If a brand colour matters, specify whether the target is a printed reference, dyed swatch, recognised colour system or approved physical sample. Screen appearance is not a colour standard. Include inspection zones and known exclusions. A logo crossing a seam, pocket or curved foam panel needs alignment instructions that reflect assembly. Decide whether position is measured on the cut panel or finished bag; both can be useful, but the final product controls the backer experience. Freeze the file before a 6–10 working day standard sample begins. Complex multi-position print, all-over artwork or dense embroidery may require 12–15 working days. The Kickstarter campaign bag QA and QC hub provides the wider control-plan context.
| Control | Print requirement | Embroidery requirement | Release evidence |
|---|---|---|---|
| Artwork | Vector separations and print order | Vector plus stitch-file revision | Approved file ID |
| Colour | Ink target and substrate | Thread codes and direction | Physical standard |
| Geometry | Registration and finished size | Outline and distortion limit | Overlay or measurement |
| Placement | Datum from finished seams | Hoop orientation and datum | Signed panel and bag |
| Durability | Cure, adhesion, rub and flex | Stitch security and abrasion | Test record |
| Bulk control | First-off and in-line frequency | Head, needle and tension checks | Line log |
Choose a method that suits the bag material
Decoration method is a material decision before it is an aesthetic one. Screen print can deliver strong spot colours and economical repetition, but coating chemistry, surface texture and curing temperature determine adhesion. Heat transfer can reproduce fine detail, yet film hand-feel, edge lift, dye migration and heat marks need evaluation. Sublimation suits compatible light-coloured polyester and embeds colour, but it cannot create an opaque light print on dark fabric without a different construction. Digital direct methods vary with textile and pretreatment. Embroidery adds texture and perceived value, but needle penetration, stitch density and backing can pucker or weaken light coated panels. Woven or moulded patches introduce edge security and attachment controls. Begin with the substrate limits: maximum safe temperature, coating type, water repellency, stretch, texture and colour. Then compare the design: number of colours, gradients, minimum detail, required opacity, size, position and expected abrasion. A large solid print across a fold behaves differently from a small chest logo. Test a real production-intent panel, not a generic fabric supplied by the decorator. Include later processes such as lamination, washing, seam sealing or foam bonding; the order of operations can change adhesion and colour. If decoration happens before cutting, control orientation and panel matching. If it happens on cut parts, control placement to the seam datum. If it happens on a finished bag, confirm machine access and risk of marking nearby surfaces. Document the chosen route and rejected alternatives so a cost-saving substitution does not appear during bulk. Method approval should balance appearance, durability, throughput and claim needs across at least 500 pcs per style and colourway, not simply select the lowest setup price.
Set measurable registration and placement tolerances
Registration is the alignment of colours and design elements with each other; placement is the position of the complete mark on the bag. Define both. For multi-colour print, identify the critical edges where misalignment creates visible halos, filled gaps or unreadable type. Set a tolerance suited to artwork scale, process and fabric stability, then verify it with an overlay, magnifier or measurement tool. Do not apply one arbitrary tolerance to a 5 mm icon and a 300 mm graphic. Build trapping or overlap into the artwork where a small process movement is predictable and visually acceptable. Measure finished dimensions after cure because heat and handling can change size. Placement needs stable datums: finished centreline, top seam, pocket edge or another controlled feature. A cut-panel edge may disappear into a seam and shift with sewing, so final-bag measurement should confirm the visual result. On padded or curved panels, specify how the bag is laid or filled during measurement. Check rotation as well as x and y position. Use a transparent template or fixture for first-off and in-line checks. For all-over or panel-to-panel art, add pattern registration marks outside the visible seam allowance and control cutting. Match adjacent panels after sewing, not only on the table. Define defect classes before bulk: unreadable text, wrong artwork or severe multi-colour offset may be major; a small position drift within the signed tolerance is acceptable; a slight variation outside a non-critical decorative area may be minor if agreed. Keep photographs of boundary examples. The adjacent custom bag quality assurance plan explains how visual tolerances become defect definitions instead of opinions at final inspection.
Approve colour with physical standards and lighting
Colour approval needs a hierarchy. Start with the named target, then create a strike-off on the exact fabric, approve the physical result and use that signed piece as the bulk standard. A recognised colour-system reference guides formulation, but opaque ink over dark fabric, translucent transfer film or thread sheen will not look identical to a paper chip. Record the agreed visual match rather than promising impossible material equivalence. Review under at least controlled neutral lighting and the key use lighting, because metamerism can make 2 colours agree under one source and separate under another. Keep viewing geometry and background consistent. Instrument readings can support repeatability when the team sets a colour-difference limit and measurement method, but numbers do not replace review of coverage, texture and sheen. For print, check underbase opacity, pinholes and substrate show-through. For embroidery, rotate the sample because thread direction changes reflected colour. Approve each substrate colour separately; white ink on black and navy fabric can need different underbase or passes. Record ink or thread lot where practical. During bulk, compare first-offs and scheduled panels with the signed standard after full cure and cooling, not while warm or wet. Separate shade drift from fabric-lot variation by reviewing an undecorated swatch beside the print. If the campaign uses 2 colourways, each carries a 500 pcs per style and colourway minimum and its own appearance standard. Photography also needs discipline: colour-managed images can explain the target, but backers view uncalibrated screens. Campaign copy should acknowledge normal small textile variation while production tolerances still remain measurable and agreed.
Test print cure, adhesion and migration
Print durability depends on chemistry, deposit, surface preparation and cure. Record ink or film system, additives, mix ratio, pot life, mesh or transfer settings, temperature profile, pressure and dwell. The display setting on a heat press is not proof of film temperature at the artwork; verify actual conditions with suitable controls. Under-cure can produce tack, rub-off or weak wash performance, while excess heat can shrink fabric, gloss coating, distort panels or activate dye migration. Test the complete stack. Initial checks can include dry and wet rub, cross-hatch or peel assessment where applicable, flexing, crease, abrasion and cleaning exposure selected for use. Examine cracking, colour transfer, edge lift, pinholes, opacity loss and change in hand-feel. For bags, test over folds and padded surfaces if that is where artwork sits. Dye migration is especially visible when light decoration is applied over dark polyester. Use compatible barriers or lower-temperature systems where needed, then age the sample because migration may appear after time rather than immediately. Record review after a defined rest. Adhesion on water-repellent or silicone-rich finishes can be difficult; a visually perfect first print may fail after flex. Never approve solely from a photograph. If the method requires pretreatment, control application and drying. Keep decorated test panels from the same run as the representative bag and link them to fabric and ink lots. Repeat a short adhesion and rub screen after any approved ink, pretreatment, press or substrate change; a colour match alone cannot demonstrate that the revised stack has the same cure and flex performance. The durability programme in custom bag durability testing can combine print flex and abrasion with zipper, fabric and closure qualification rather than evaluating appearance in isolation.
Control shrinkage before panels are cut
Heat, moisture and dense stitching can change panel dimensions. If decoration occurs after cutting, even 1–2% movement can shift seam lines, pocket openings and finished logo position. Measure a marked fabric specimen before and after the intended print cure, transfer press, wash or pretreatment process in both directions. Record relaxation time before the final reading. Repeat on the exact coated or laminated article because layers respond differently. If movement is consistent, the pattern or artwork may compensate; if it is variable, the process needs stabilisation before bulk. Large transfers and solid ink areas create more local heat and stiffness than small marks. Place test artwork at production size, not a miniature. Watch heat press pressure because it can flatten foam, leave platen edges or create gloss. Use protective sheets and fixtures that do not contaminate the surface. For embroidery, shrinkage and puckering arise from stitch tension, density, direction, backing and fabric stability. The surrounding panel may draw inward even when the fabric has not thermally shrunk. Measure panel and logo outline before and after embroidery and after any relevant conditioning. Sequence matters: decorate, cut and sew can produce different geometry from cut, decorate and sew. Lock one route. During bulk, sample dimensions after decoration before parts enter sewing, so undersized panels are contained rather than stretched into assembly. Keep separate limits for panel size, artwork size and final placement. A final bag can have correct logo dimensions but wrong position because the panel shrank asymmetrically. Record scrap and rework; pressure to recover expensive decorated pieces can otherwise move defective panels into the 35–50 day production run.
Engineer embroidery density, backing and tension
Embroidery quality begins with digitising for the actual textile. The stitch file should define stitch types, sequence, density, underlay, pull compensation, trims and colour changes. A file developed on stable cap twill can distort a lightweight coated bag panel. Reduce unnecessary density, choose underlay that supports edges and select stitch direction to control distortion and light reflection. Minimum text and gap sizes must be proven in a physical sew-out. Define thread composition, colour code and sheen, plus bobbin thread where visible. Needle size and point should suit the fabric; excessive penetration can damage coatings or create water paths. Backing stabilises the panel but affects hand-feel, weight and interior appearance. Select cut-away, tear-away, film or another system from stability and end use, then specify removal so rough edges do not remain accessible. Hooping tension should hold without stretching; over-stretched panels contract and pucker when released. Use placement fixtures and orientation marks. Inspect the reverse for nesting, loose bobbin, missed trims and unsecured starts or stops. On a completed bag, protect other panels from clamp marks and machine oil. Define acceptance for thread breaks, gaps, outline alignment, lettering, puckering, loose tails, backing show and colour order. Test abrasion and relevant cleaning or wet exposure. Dense embroidery can trap moisture and increase drying time. During production, approve the first piece from each head, needle or shift where setup changes, and monitor thread-lot colour. A machine can keep sewing after tension drifts, so scheduled reverse-side checks are essential rather than relying only on the front appearance.
Use strike-offs and first-offs as release gates
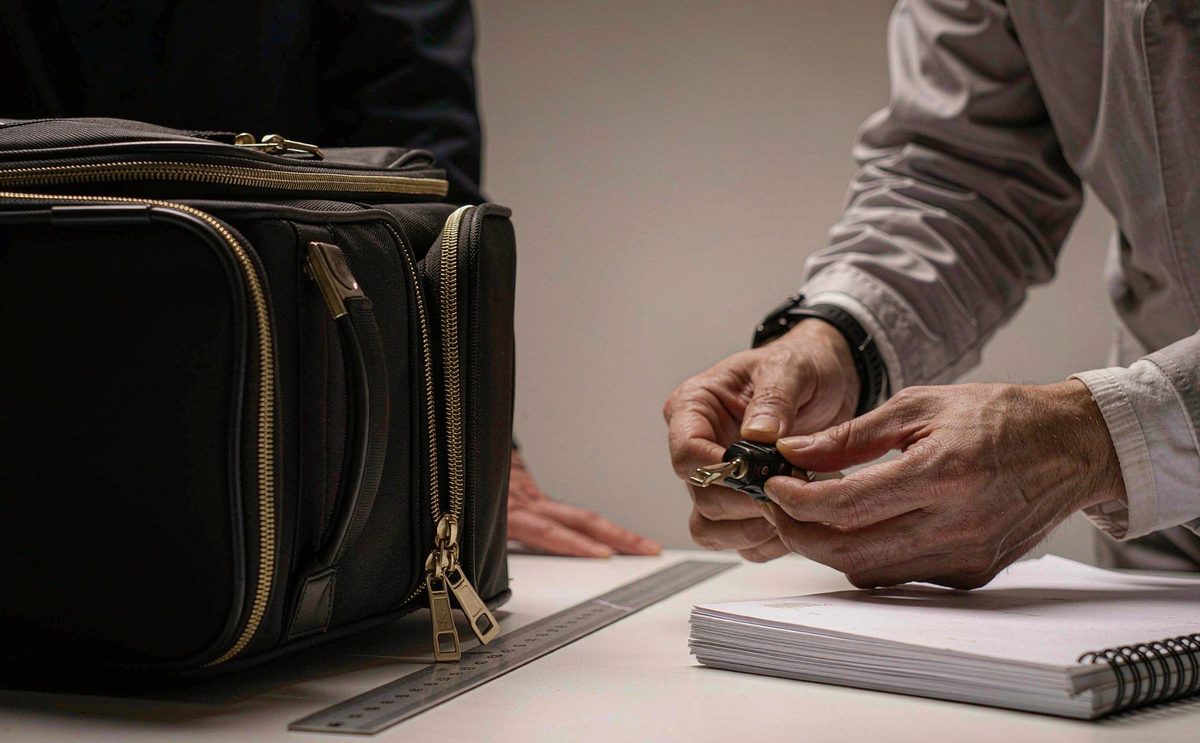
A strike-off proves colour and method on the intended substrate before the finished sample; a first-off proves that bulk equipment and inputs reproduce the approved result. They are different gates. Request strike-offs at realistic size with all critical colours, fine details and underbase conditions. Label each with artwork revision, fabric article and lot, ink or thread references, settings, date and option number. Review after full cure, cooling and any delayed migration period. Sign and date the selected standard, then retain a protected master with the production team and another with the creator where practical. Build the representative bag from approved decoration so placement, seams, curvature and hand-feel can be assessed. At bulk start, compare the first printed or embroidered panels with the signed standard and test the key process controls before releasing the full run. The 30% deposit and approved pre-production sample start production under T/T 30/70; artwork approval alone is not line release. If bulk fabric comes from a new dye lot, make a fresh first-off because substrate shade can alter appearance. Do the same after a long stop, ink remix, screen replacement, thread-lot change or machine transfer. Record deviations and who approved them. A messaging-app “looks fine” is not a controlled release. If the first-off fails, quarantine it and correct the process before quantity builds. Preserve the failed panel and correction record so the same setup is not repeated on another shift. The 35–50 day production window includes decoration, so reserve time for first-off review and possible correction rather than assuming all 500 pieces can print on day 1.
Hold decoration quality through bulk production
Bulk QC should check the variable at the point where it changes. For screen print, monitor ink mix, viscosity where relevant, screen condition, squeegee setup, flash and cure. For transfers, monitor film lot, press temperature, pressure, dwell, peeling method and platen cleanliness. For embroidery, monitor stitch file, thread, needle, tension, backing, hoop and machine-head performance. Define a first-off and in-line frequency based on process stability and risk. Select pieces across the run, not a convenient stack. Compare colour after cure, measure registration, dimensions and placement, then perform scheduled adhesion or rub screens. Use a defect map to detect one screen position, platen corner or embroidery head creating repeated failures. Segregate shade or thread lots and identify work in progress by colourway. Protect decorated panels from face-to-face blocking, scratching and dirt while they wait for sewing. Count and reconcile rejects because reprints on a later fabric lot can create visible shade differences. Rework needs rules: an extra print pass may thicken hand-feel or distort registration; trimming embroidery cannot replace missing stitches; heat used to lift a transfer can damage coating. Approve the method and inspect every reworked piece. Connect decoration records to bundle and carton traceability. Capacity claims such as 7 lines, 149 machines and 200,000 pcs per month do not remove a bottleneck at one specialised print or embroidery operation. Confirm its loading and subcontracting in the schedule, including the latest date for creator approval. If decoration is external, send the current controlled file and inspect returned panels before sewing hides alignment datums.
Inspect, report and communicate the finished result
Final inspection should use the signed physical standard, current decoration pack and defined defect boundaries. Under AQL 2.5 to ISO 2859-1, select cartons across the lot and check artwork revision, colourway, placement, rotation, finished size, multi-colour registration, opacity, adhesion indicators, cracking, migration, puckering, thread security, stains and damage. Measure under a consistent setup and review colour in agreed light. Functional or destructive checks may use separate samples and plans; document which inspected units remain saleable. Classify wrong artwork, unreadable text, severe offset, loose embroidery that can unravel or widespread adhesion failure appropriately before production, not during report negotiation. Photograph defects beside a scale and the approved reference. Trend by carton, bundle and operation to decide whether findings are random or concentrated. Require containment, approved rework and reinspection when limits are exceeded. Review the report before the 70% balance and FOB Xiamen handover. Campaign copy should describe the method and approved colour without claiming perfect screen-to-fabric identity. Explain normal minor textile variation only within the signed tolerance; it is not permission for uncontrolled drift. Retain a sealed production unit, decorated panels, colour standard and process records for complaint comparison. Creators can submit artwork, bag material, quantity, colourways and launch date through the quote request form. Our production team can coordinate strike-offs, first-offs and inspection evidence so the logo backers see is the logo the approved sample established.
Create visual boundary samples before final inspection so the inspector does not decide acceptability from memory. Include one accepted unit near each critical limit and, where available, one rejected example showing offset, colour drift, edge lift, puckering or missing stitches. Label the reason without mixing different defects on one panel. Review the master condition before use; printed references can fade, collect dust or become scratched, and thread samples can flatten. If the standard deteriorates, replace it through a documented comparison rather than quietly choosing a newer, brighter piece. Inspection lighting, viewing distance, bag fill and measurement position should match the approved setup. Give the report both measured data and representative photographs, because either alone can hide context. After fulfilment, classify decoration complaints by artwork revision, colourway, component lot and failure mode. A few isolated stains suggest handling, while repeated edge lift from one transfer lot suggests process or material. Compare returned products with retained bulk units and run a focused reproduction test where needed. Update the strike-off checklist, process window and defect library before a reorder. This feedback loop makes decoration QC useful beyond the first 500 pieces and prevents the same visible error from returning under a new campaign date.
Send vector artwork, bag material, colourways, quantity and launch date to plan strike-offs and measurable decoration tolerances before bulk.
Frequently Asked Questions
What is print registration on a custom bag?
Registration is the alignment of separate colours and design elements with each other. Poor registration creates halos, filled gaps or unreadable text. Define critical edges and a measurable tolerance suited to artwork scale and process, then use an overlay or magnifier. Placement is a separate check that measures the complete mark against a stable finished-bag datum under the approved measurement setup.
Why does printed colour differ from the screen mock-up?
Screens emit light, while ink, film and thread interact with fabric colour, texture, coating and viewing light. Approve a physical strike-off on the exact production-intent substrate. A recognised colour reference guides formulation but does not promise identical appearance on every material. Review after full cure and under agreed lighting before signing the bulk standard for that fabric and colourway.
How should a campaign approve a print colour?
Set a target, produce a full-size strike-off on the exact fabric, compare it under controlled neutral and key use lighting, then sign and date the selected physical piece. Record artwork, substrate, ink and settings. Keep protected masters with the production team and creator. Bulk first-offs must be compared after complete cure and cooling, not from phone photographs or warm production panels.
What causes print shrinkage on bag panels?
Heat, pressure, moisture and fabric relaxation can change panel dimensions during curing or transfer. Large solid artwork may create more local movement than a small logo. Mark and measure specimens before and after the production process in both directions, allow a defined relaxation period and control sequence. Check panel size, artwork size and final placement separately, then retain the marked dimensional test piece.
What causes embroidery puckering on bags?
Common causes include excessive stitch density, unsuitable underlay, high thread or hoop tension, weak backing, poor stitch direction and an unstable fabric. Digitise for the exact textile, test a physical sew-out and inspect both sides. Measure the panel after release from the hoop. Increasing density can worsen puckering by adding more needle holes and contraction, so correct the stitch plan rather than hiding distortion.
How long do print and embroidery samples take?
A standard sample normally takes 6–10 working days once artwork and materials are approved. Multi-position print, all-over registration, custom colour development or dense embroidery can move a complex build to 12–15 working days. Add strike-off approval, delayed migration review, courier time and any durability testing separately before setting campaign photography dates or the published launch calendar.
What print durability tests should creators request?
Select checks from actual use: dry and wet rub, adhesion, flex, crease, abrasion, cleaning exposure and migration review are common options. Record the method, conditioning and acceptance. Test the complete print and fabric stack, including coating and pretreatment. A visually strong new print can still lift, crack or transfer colour after flex or heat ageing in later backer use.
Can the same decoration standard cover two colourways?
Not automatically. Substrate colour changes opacity, underbase, thread appearance and perceived hue. Approve a physical standard for each colourway and record any process difference. The commercial minimum is 500 pcs per style and colourway, so each variant should have its own first-off release and traceability even when the vector artwork is identical across all files.
When should the bulk print first-off be approved?
Approve it after bulk fabric, ink or thread, equipment and current artwork are ready, before the full quantity runs. Compare colour, registration, size, placement and durability screens with the signed standard. Repeat first-off review after fabric dye-lot change, long stoppage, screen replacement, ink remix, thread-lot change or transfer to another machine or site before further quantity runs.
Does AQL 2.5 inspection cover decoration quality?
Yes, when the defect list and tolerances explicitly include artwork, colour, position, registration, adhesion indicators, puckering and thread security. AQL 2.5 to ISO 2859-1 samples the finished lot, while destructive durability checks may use another plan. Final inspection cannot correct 500 misprinted panels, so first-off and in-line checks remain the primary controls throughout decoration and assembly.
Can a misprinted panel be reworked?
Only with an approved method and 100% review of reworked pieces. An extra ink pass may change hand-feel or registration; heat used to remove a transfer can damage coating; trimming embroidery cannot replace missing coverage. Keep rework separate, repeat relevant appearance and durability checks, and ensure replacements from another fabric lot do not create visible shade differences within the same colourway.
What decoration records should accompany shipment?
Keep the controlled artwork, strike-off, signed sample, bulk first-off, fabric and ink or thread lots, process settings, in-line logs, defect and rework records, retained panels and final AQL 2.5 report. Review them before the T/T 70% balance and FOB Xiamen release. The file connects campaign artwork with the exact units delivered to backers and supports later complaint review by lot and process.
People Also Ask
What is a print strike-off?
It is a trial print on the intended substrate used to approve colour, coverage, detail and process before the finished sample or bulk run.
How do you check print registration?
Compare critical colour edges with an overlay, magnifier or defined measurement. Use boundary samples so operators understand acceptable and rejected offset.
Why does white print turn pink on polyester?
Dye can migrate from dark polyester into light decoration, especially under heat. Test compatible barriers or lower-temperature systems and review after ageing.
Can embroidery damage waterproof fabric?
Needle holes and dense stitching can create water paths or coating damage. Review placement, backing and any approved sealing method against the water claim.
How do you stop embroidery puckering?
Balance digitising, underlay, density, thread tension, backing and hooping for the exact fabric. Approve a physical sew-out before bulk.
When is printed colour checked?
Check the strike-off, bulk first-off and scheduled in-line panels after full cure and cooling, then check finished bags at final inspection.
Should logos be measured on panels or bags?
Both can be useful. Panel checks control decoration early, while finished-bag datums confirm the position and rotation backers will see.