Custom Waterproof Travel Bags for Crowdfunding: Seam and Coating Specs
Define the claim before you specify the bag. Water-resistant sheds light rain briefly, weatherproof protects contents in sustained rain, and waterproof resists ingress under defined conditions, which in practice means welded seams rather than stitched ones. The numbers that matter are hydrostatic head in millimetres, typically 1,000 to 3,000 mm for a coated travel fabric and 5,000 mm and above for a technical build, plus the coating type, the seam construction and the zip specification. Minimum 500 pcs per style and colourway, sampling 6 to 10 working days, bulk 35 to 50 days, inspection AQL 2.5 to ISO 2859-1.
- Waterproof, water-resistant and weatherproof: define the claim first
- Coatings: PU, TPU and PVC compared
- Hydrostatic head: what the millimetre figure actually means
- Seams: stitched, taped and welded
- Zips and openings: the weakest link in any weather claim
- Welded construction: RF and HF welding in practice
- Testing the claim: spray, hydrostatic and immersion
- What a waterproof specification costs
- Inspection and QC for waterproof builds
- Labelling and claim substantiation
- Sampling a waterproof travel bag
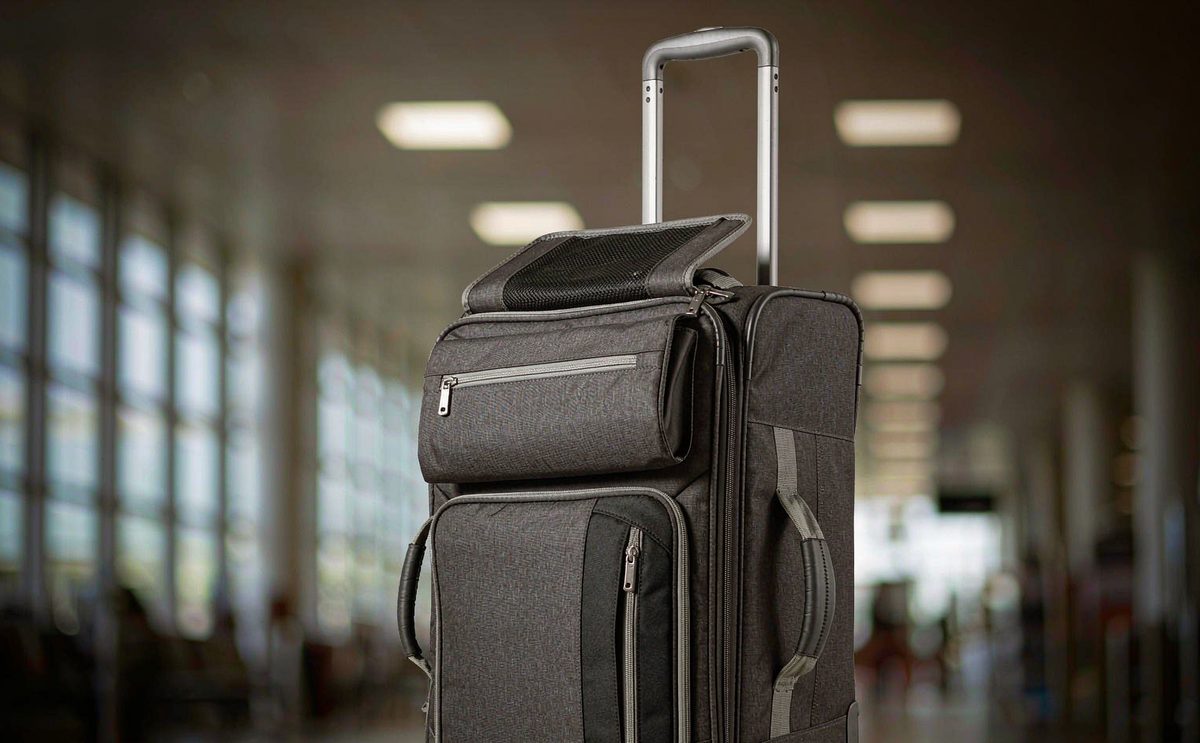
Waterproof, water-resistant and weatherproof: define the claim first
The single most expensive mistake in this category is writing the word waterproof on the campaign page and then sourcing a bag that is water-resistant. The two are different products with different constructions and a large difference in unit cost, and the campaign discovers which one it has when the first backer takes it into real rain. Deciding the claim first, in writing, before the RFQ goes out, is the whole discipline.
A practical vocabulary has three levels. Water-resistant means the fabric sheds light rain for a short period: a coated shell with a standard construction, adequate for a shower between a car and a door. Weatherproof means the bag protects its contents in sustained rain: a coated shell with taped seams on the weather-facing panels and water-resistant zips with garages. Waterproof means the construction resists ingress under defined conditions, which in sewn products effectively requires welded seams and a waterproof zip, and in moulded or roll-top products requires a closure that is genuinely sealed.
Most crowdfunding travel bags are weatherproof, and that is the right answer for most campaigns. It handles a day of real rain, it costs a fraction of a welded build, and it can be described accurately. Choosing weatherproof deliberately is not a compromise, it is a specification. Choosing waterproof and delivering weatherproof is a warranty problem. Our custom travel bags for Kickstarter pillar page sets the wider travel format context for creators still deciding the body style.
Key takeaways on weather specifications
- Define the claim in writing before the RFQ; the word waterproof commits you to welded seams and a waterproof zip.
- Hydrostatic head measures fabric resistance, not bag resistance; the seam and the zip usually fail first.
- PU coating is the default, TPU resists hydrolysis in damp storage, and PVC is cheap but stiff and crack-prone.
- Taped seams raise a weatherproof build; welded seams are required for a genuine waterproof claim.
- Ask for the test method with every figure, because waterproof numbers are not comparable across methods.
- Minimum order quantity
- 500 pcs per style and per colourway
- Sampling
- 6-10 working days (12-15 for complex builds)
- Bulk production
- 35-50 days after deposit and approved pre-production sample
- Inspection
- AQL 2.5 to ISO 2859-1
- Trade term
- FOB Xiamen
- Payment
- T/T 30/70
- Production floor
- 4,950 m² SGS-verified, 137 staff, 7 lines, 149 machines
- Monthly capacity
- 200,000 pcs per month
- Campaigns supported
- 20+ crowdfunding campaigns since 2014
Coatings: PU, TPU and PVC compared
A coating is what makes a woven fabric resist water. The base cloth is a grid of yarns with gaps between them; the coating fills or covers those gaps and adds the resistance. Three coating families dominate bag fabrics and the differences between them matter more to the finished product than the base denier does.
| Coating | Hydrostatic band | Handling and durability | Best use |
|---|---|---|---|
| PU, polyurethane | 1,000-3,000 mm | Light, flexible, good abrasion | Default for travel bags |
| TPU, thermoplastic polyurethane | 3,000-10,000 mm | Flexible when cold, hydrolysis resistant | Damp storage, premium builds |
| PVC, polyvinyl chloride | 1,500-5,000 mm | Heavy, stiff, cracks when cold | Cost-led or rigid panels |
| Silicone or hybrid finishes | Varies | Soft hand, water shedding | Lightweight shells |
| Laminated membrane | Varies by membrane | Depends on face fabric | Technical waterproof builds |
Polyurethane is the default for good reason. It is light, it flexes without cracking, it takes a print and a colour well, and it delivers a hydrostatic head in the band most travel bags need. Its weakness is hydrolysis: in warm, damp storage over a long period, a PU coating can break down and become tacky or peel. For a bag that lives in a hallway cupboard that matters little; for a bag stored damp in a tropical climate it matters a great deal.
Thermoplastic polyurethane addresses exactly that weakness and adds cold-temperature flexibility, at a premium of roughly 6 to 12 per cent on the fabric line. It is the right choice where the campaign will make a serious weather claim, where the bag will be stored damp, or where the audience is genuinely technical. PVC is the cheap option and should generally be avoided on a travel bag: it is heavy, it stiffens the hand, and it cracks at low temperature in a way that looks like a manufacturing defect but is a material property.
One specification line is worth adding to every coating decision: coating adhesion. A coating that delaminates from the base cloth after flexing fails the weather claim regardless of its hydrostatic figure, and it is tested by flexing the coated fabric and inspecting for separation. Ask for the adhesion figure with the coating specification, and check it on the sample by folding a panel sharply along its length.
Hydrostatic head: what the millimetre figure actually means
Hydrostatic head is the height of a column of water a fabric can support before water penetrates, reported in millimetres. It is the standard measure of fabric water resistance and it is the number most often quoted and most often misused. A fabric at 1,000 mm resists light rain; at 1,500 to 3,000 mm it resists sustained rain; above 5,000 mm it is in technical territory. Those bands are useful, but the figure describes the fabric and not the bag.
That distinction is the source of most disappointment in this category. A bag built from 5,000 mm fabric with stitched seams and a standard zip will leak, because water enters through the stitch holes and through the zip long before it penetrates the panel. The bag is as waterproof as its weakest element, and on a sewn bag that element is almost always the seam or the closure rather than the cloth.
- 1,000 mm: shower resistant. Adequate for a bag that meets brief light rain.
- 1,500-3,000 mm: sustained rain resistance. The practical band for a weatherproof travel bag.
- 3,000-5,000 mm: heavy and prolonged exposure. Worth specifying on the base and the weather-facing panels.
- 5,000 mm and above: technical. Only meaningful when combined with taped or welded seams and a waterproof closure.
- Always ask for the method: figures from different test methods are not comparable, and a number without a method is marketing.
There is one more figure worth requesting because it predicts real-world performance better than hydrostatic head does: the spray test rating. A spray test measures how much water a fabric sheds and how much it absorbs under a controlled shower, which is closer to what rain actually does than a static column of water. A fabric with a good hydrostatic figure and a poor spray rating will wet out on the surface, feel soaked and gain weight, even though nothing has penetrated. Both figures belong in the specification.
Seams: stitched, taped and welded
The seam is where a weather claim is won or lost. A stitched seam is a line of needle holes through the fabric, and no coating closes them. Seam tape is a heat-applied film laid over the stitch line, which seals the holes and raises the seam toward the resistance of the surrounding fabric. Welding eliminates the stitching altogether by fusing the two panels, which gives a seam as resistant as the material itself.
| Seam type | Construction | Supports this claim | Cost effect |
|---|---|---|---|
| Plain stitched | Needle and thread through two panels | Water-resistant only | Baseline |
| Stitched and taped | Tape heat-applied over the stitch line | Weatherproof | +8-14% unit cost |
| Welded, RF or HF | Panels fused without stitching | Waterproof | +40-80% unit cost |
| Welded with taped reinforcement | Weld plus a tape cover | Waterproof, highest confidence | Highest |
| Bound or turned | Stitched with the raw edge enclosed | Water-resistant, better abrasion | +6-12% unit cost |
Taping is the workhorse and it has a specification of its own. Tape width, typically 20 to 22 mm on a bag seam, the adhesive type, and the application temperature and pressure all decide whether the tape stays on. A tape applied at the wrong temperature looks perfect on the day and lifts after a season, which is why the application parameters should be stated and the tape checked by flexing and by a pull test during sampling.
The decision most campaigns should make is partial taping. Taping every seam on a bag is expensive and largely unnecessary, because only some seams face the weather. Taping the shoulder seams, the top panel seams and any seam on an upward-facing surface captures most of the benefit at a fraction of the cost, and it is a decision that belongs in the tech pack with a drawing showing which seams are taped and which are not.
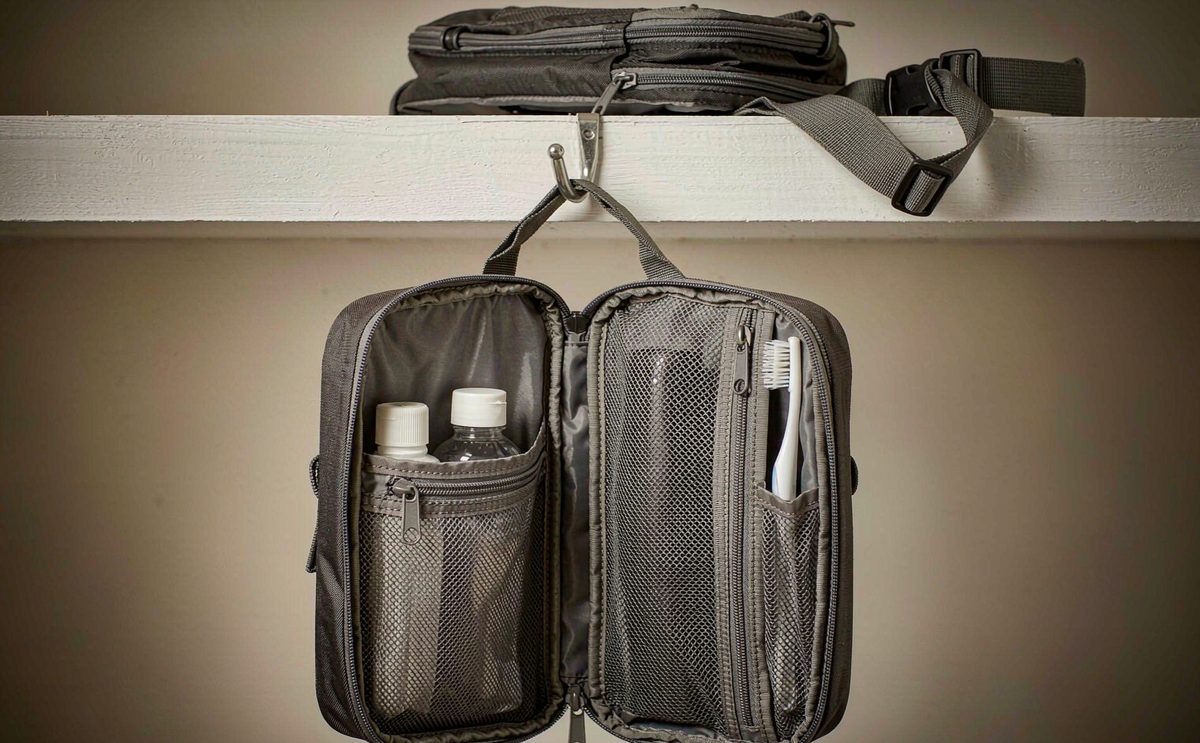
Zips and openings: the weakest link in any weather claim
If the seam is the second weakest element on a weather bag, the zip is the first. A standard coil zip is a continuous gap with a slider running along it, and it will pass water under sustained exposure. Three alternatives exist, in ascending order of cost and effectiveness, and the choice between them decides what the campaign can honestly say.
- Standard coil zip with a garage: sheds brief showers. The garage protects the slider end but the track still passes water.
- Water-resistant zip: a coated tape and a closer chain construction. Resists sustained rain and is the right choice for a weatherproof build.
- Waterproof zip: a laminated or moulded construction with a sealed slider. Required for a genuine waterproof claim, at several times the cost of a standard zip.
- Roll-top closure: no zip at all. The most reliable closure available and the cheapest route to a serious weather claim on a soft bag.
- Storm flap over a zip: a fabric flap covering the track. Cheap, effective, and it adds an operation rather than an expensive component.
The roll-top deserves more attention than it gets from travel campaigns because it solves the problem structurally rather than by spending money. A roll-top closure with three or four rolls and a side-release buckle has no gap to leak through, it is cheaper than a waterproof zip, and it gives the bag variable volume, which is a genuine travel benefit in its own right. The trade-off is access speed: a roll-top is slower to open than a zip, which suits a duffle and suits a backpack less well.
Where a zip is used, two cheap details improve the outcome materially. The first is a storm flap: a fabric flap over the track, which costs an operation and protects the zip from direct exposure. The second is a garage at both ends: a fabric stop that holds the slider in a protected position when closed. Neither is expensive and both should appear on the tech pack of any bag making a weather claim above water-resistant.
Welded construction: RF and HF welding in practice
Welding fuses two thermoplastic-coated panels using radio frequency or high frequency energy, producing a seam without needle holes. It is the only route to a genuine waterproof claim on a soft product, and it changes the economics of the whole programme. The equipment is specialised, the process is parameter-driven, and the unit cost sits well above a sewn build.
The practical constraints matter as much as the cost. Welding works on thermoplastic coatings, which rules out some face fabrics and some constructions. It produces a seam with a distinct appearance and a stiffer hand, which changes the look and the feel of the product in ways the campaign photography has to accommodate. It also makes design changes more expensive in sampling, because a welded seam is a tooling and parameter decision rather than a stitch line that can be moved.
- Confirm the face fabric and coating are weldable before the design is committed; not every coated fabric is.
- Request weld parameters: energy, dwell time, pressure and the peel strength expectation for the seam.
- Weld test coupons at sampling and peel-test them, rather than relying on a visual inspection of the seam.
- Design the panel layout for welding from the start; a layout designed for sewing does not convert cleanly.
- Plan for a longer sampling round, at the 12 to 15 working day complex end of the window.
- Ask for a hydrostatic or immersion test on a welded sample, not only on the fabric.
For most travel campaigns, the honest recommendation is weatherproof rather than welded, with a rain cover supplied for sustained exposure. A rain cover is a cheap accessory, it is a visible line on the reward ladder, and it solves the one case a weatherproof build does not handle. Where a campaign has a genuinely technical audience and a price point that supports it, welding is available and worth doing properly rather than partially.
Testing the claim: spray, hydrostatic and immersion
Testing a weather claim is cheap and it should happen during sampling, not after it. Three methods cover the range, each answering a different question, and the campaign should know which one supports the sentence it intends to publish.
| Method | What it does | What it supports |
|---|---|---|
| Spray test | Showers the fabric under a controlled head and rates shedding and absorption | Water-resistant and surface wet-out behaviour |
| Hydrostatic head test | Applies increasing water pressure to a fabric until penetration | A fabric figure in millimetres |
| Seam leakage test | Applies water pressure to a seam, taped or welded | Whether the seam matches the fabric claim |
| Immersion or rain room | Subjects the finished bag to simulated rain for a stated duration | A whole-product claim |
| Shower test on a packed bag | Practical test: shower the loaded bag for 10 minutes and inspect the contents | The claim the backer will actually test |
The last row is the one campaigns should always run regardless of the others, because it is the test the backer will run. Fill the bag with paper or tissue, shower it for ten minutes with a garden hose or a shower head, open it and inspect. It takes fifteen minutes, it costs nothing, and it produces either a photograph that supports the campaign page or a finding that saves the campaign from a claim it cannot defend.
Where a campaign will publish a specific figure, a third-party laboratory report is worth commissioning, and it should be requested at sampling stage rather than after the campaign closes. A claim on the page has to be defensible by the time the inspection report is issued, and a certificate dated after the fact is not a defence. Keep the report number and the laboratory name with the approved sample record.
What a waterproof specification costs
Weather performance is bought at three points: the coating on the fabric, the seam construction and the closure. The first is a material line that scales with area, the second is an operation line that scales with seam length, and the third is a component line that scales with the number of openings. Understanding which of the three a given claim requires is what keeps the specification affordable.
| Upgrade | Unit cost effect | Claim it supports |
|---|---|---|
| TPU coating instead of PU | +6-12% on the fabric line | Better resistance, hydrolysis stability |
| Partial seam taping, weather faces | +4-8% | Weatherproof |
| Full seam taping | +8-14% | Weatherproof, high confidence |
| Water-resistant zips | +5-10% per opening | Weatherproof |
| Storm flaps over zips | +2-4% | Supports a weatherproof claim |
| Waterproof zips | +150-300% per opening | Waterproof |
| Welded construction | +40-80% | Waterproof |
| Third-party test report | Fixed fee | Any published figure |
The table shows why the claim decision belongs first. Moving from water-resistant to weatherproof costs perhaps 10 to 25 per cent and delivers a claim the campaign can use honestly in most of its marketing. Moving from weatherproof to waterproof costs 40 to 80 per cent on construction plus a multiple on every closure, and it delivers a claim most travel campaigns do not actually need for their audience.
The cheapest performance available is the rain cover. A coated rain cover with a drawcord and a storage pocket costs a small fraction of the difference between weatherproof and waterproof, it solves the sustained-exposure case, and it is a visible reward-tier line that costs less than it appears to. Campaigns that include one routinely find it is mentioned positively in backer reviews, which is unusual for an accessory.
Inspection and QC for waterproof builds
Inspection runs at AQL 2.5 to ISO 2859-1, and a weather specification needs its own checks added to the standard defect class list. The reason is that the failure modes are invisible in a photograph: a tape that has lifted by a millimetre, a coating that has delaminated at a fold, or a zip garage that was omitted on a subset of units all look correct in a product shot and all fail in the field.
- Tape continuity: run a finger along every taped seam. Any lift, bubble or gap is a defect, and a lifted tape end is a critical one.
- Tape adhesion: flex the taped seam and look for separation at the edge.
- Coating condition: check fold points and corners for delamination or stress whitening.
- Zip specification: confirm the water-resistant or waterproof zip stated in the schedule is the one fitted, and that garages are present at both ends.
- Storm flap presence and coverage, where specified.
- Rain cover presence, bagging and storage pocket, where included as a reward component.
- Shade match: a coating changes the appearance of a fabric, so a re-coated panel can shade differently from the rest of the bag.
One inspection item deserves its own line because it is the most common defect in this category: tape lifting at the seam end. A tape run that terminates at a seam intersection is under stress at that point, and if the tape is cut flush rather than extended and turned, it lifts within weeks. Specify the tape termination in the pack, and check every termination on the units drawn. Our Kickstarter campaign bag QA and QC page lists the defect classes we log and the evidence pack issued with a report.
Labelling and claim substantiation
A weather claim is a product claim and it carries the usual obligations. In the European Union, REACH governs chemical substances and EU GPSR governs general product safety; in California, Prop 65 governs listed substances; where a textile safety or recycled content claim is made, OEKO-TEX Standard 100 or GRS applies. None of these is specific to weather performance, but all of them attach to the coating and the tape, which are the added materials in this specification.
The substantiation requirement is the practical one. If the page says waterproof, the campaign should hold a test report on the finished product or on the construction that supports it. If the page says water-resistant, a fabric report is sufficient. If the page says IPX-rated, the rating must come from a test to the relevant standard on the finished article, and the rating number has a defined meaning that cannot be approximated.
Two habits protect the campaign. First, keep the test reports with the approved sample record and reference the report number in the tech pack, so the inspection and any later query can be answered from a document rather than from memory. Second, write the claim on the page in the same words as the claim in the pack, because a marketing team paraphrasing a specification is how a weatherproof bag becomes a waterproof one.
Sampling a waterproof travel bag
Sampling runs 6 to 10 working days for a standard build and 12 to 15 for a complex one. A weatherproof build with taped seams and water-resistant zips usually sits at the standard end; a welded build or a build with a novel closure sits at the complex end. The difference is worth planning for, because weather tests add a step to the review that a standard sample does not need.
- Confirm the fabric, coating and hydrostatic figure with the test method named, before the sample is built.
- Build the sample with the taped seams and the closure specified for production, not a simplified version.
- Shower the packed sample for 10 minutes and inspect the contents; photograph the result.
- Flex every taped seam and pull-test the tape at both ends.
- Cycle the closure 50 times and repeat the shower test on the same unit.
- Check the coating at every fold point and corner for delamination.
- Return one numbered revision list, each item naming a component and a required change.
- Approve the corrected unit in writing as the pre-production reference and the inspection standard.
The repeat shower test after cycling the closure is the step most campaigns omit, and it is the one that finds the difference between a bag that is weatherproof on day one and a bag that is weatherproof after a season. A zip that has been cycled fifty times has worn its coating and its slider, and if the claim depends on that zip, the claim should be tested on a worn zip rather than a new one.
If you are preparing a waterproof or weatherproof travel programme, send the specification to request a quotation with your target delivery month and you will receive a unit cost, a sampling estimate and a booked 35 to 50 day production window. Our production team works from 4,950 m² of SGS-verified floor with 137 staff across 7 lines and 149 machines, running 200,000 pcs per month, and has supported 20+ crowdfunding campaigns since 2014.
Specify the claim, then the bag
Send us the claim you intend to publish, the fabric and coating requirement and the seam and closure specification. As your campaign bag specialist we will return a unit cost, a sampling plan with the weather tests included, and a booked production window.
Frequently Asked Questions
What is the difference between waterproof and water-resistant?
Water-resistant sheds light rain briefly, weatherproof protects contents in sustained rain, and waterproof resists ingress under defined conditions. On a sewn bag, waterproof effectively requires welded seams and a waterproof zip, which is why most travel campaigns should specify weatherproof.
What hydrostatic head should a travel bag fabric have?
1,000 mm resists light rain, 1,500 to 3,000 mm resists sustained rain, and 5,000 mm and above is technical. The figure describes the fabric, not the bag, so always pair it with the seam construction and the closure, and always ask for the test method.
Which coating should I specify, PU or TPU?
PU is the default: light, flexible and adequate for most travel use. TPU costs roughly 6 to 12 per cent more on the fabric line and adds hydrolysis resistance and cold flexibility, which matters where the bag will be stored damp or the campaign makes a serious weather claim.
Do taped seams make a bag waterproof?
They make it weatherproof. Tape seals the needle holes in a stitched seam, raising the seam toward the resistance of the surrounding fabric. A genuine waterproof claim requires welded seams, which fuse the panels without stitching and cost 40 to 80 per cent more.
Can I use a standard zip on a weatherproof bag?
Not if the claim matters. A standard coil zip passes water under sustained exposure. Specify a water-resistant zip with a coated tape, add a storm flap over the track and a garage at both ends, or use a roll-top closure, which has no gap to leak through.
How do I test a weather claim on a sample?
Fill the bag with tissue, shower it for 10 minutes, open it and inspect. Repeat after cycling the closure 50 times, because a worn zip behaves differently from a new one. Add a fabric hydrostatic test and a spray test if you intend to publish figures.
How much does a waterproof specification add to unit cost?
Moving from water-resistant to weatherproof typically adds 10 to 25 per cent: partial seam taping at 4 to 8 per cent, water-resistant zips at 5 to 10 per cent and storm flaps at 2 to 4 per cent. Moving to true waterproof adds 40 to 80 per cent for welding plus a multiple on every closure.
What is the most common defect on a waterproof bag order?
Tape lifting, usually at a seam end or intersection. A tape cut flush at an intersection is under stress and lifts within weeks. Specify the tape termination in the pack and check every termination on the units drawn at inspection.
Is a rain cover worth including?
Yes, and it is the cheapest performance available. A coated cover with a drawcord and a storage pocket costs a small fraction of the gap between weatherproof and waterproof, solves the sustained-exposure case, and is a visible reward-tier line that backers mention positively.
How long does sampling take for a waterproof build?
6 to 10 working days for a standard weatherproof build with taped seams and water-resistant zips, and 12 to 15 working days for a welded build or a novel closure. Add time for the shower tests, which should be run on the packed sample.
What compliance applies to a waterproof travel bag?
REACH in the EU, EU GPSR for general product safety, Prop 65 in California, and OEKO-TEX Standard 100 or GRS where textile safety or recycled content is claimed. These attach to the coating and the tape, which are the added materials in this specification.
Can I publish an IPX rating for my bag?
Only with a test to the relevant standard on the finished article. An IPX rating has a defined meaning and cannot be approximated from a fabric figure. Where a campaign publishes any specific number, commission the report at sampling stage rather than after the campaign closes.
People Also Ask
Is a waterproof travel bag worth the extra cost for a campaign?
Usually not. Weatherproof handles sustained rain, costs 10 to 25 per cent more than water-resistant and satisfies most audiences. True waterproof needs welded seams and waterproof zips at 40 to 80 per cent more, which few travel campaigns need.
What does a hydrostatic head of 3,000 mm mean?
The fabric supported a 3,000 mm column of water before penetration. That is sustained-rain territory. It describes the fabric only, so the seam and closure decide whether the finished bag performs at that level.
Are taped seams necessary on every seam?
No. Tap the weather-facing seams: shoulder seams, top panel seams and any upward-facing surface. Partial taping captures most of the benefit at 4 to 8 per cent of unit cost against 8 to 14 per cent for full taping.
What is the most reliable closure for a weather bag?
A roll-top. It has no gap to leak through, costs less than a waterproof zip and adds variable volume. The trade-off is access speed, which suits a duffle better than a backpack.
How do I stop a weather claim becoming a warranty problem?
Write the claim in the pack in the same words used on the page, and hold a test report for it. Most disputes start with a marketing paraphrase that upgraded weatherproof to waterproof.
Does a coating wear out?
Yes. A PU coating can hydrolyse in warm, damp storage and become tacky or peel. TPU resists that and costs 6 to 12 per cent more on the fabric line, which is worth it where storage conditions are humid.
What is the minimum order for a waterproof travel bag?
500 pcs per style and per colourway. A single bag in one colourway is 500 pcs, and two colourways is 1,000 pcs. Weather specifications do not change the minimum, they change the unit cost.