Kickstarter Travel Bag Sampling: Testing Zippers, Handles and Wheels
Treat the sample as a test article rather than a photograph. Sampling runs 6 to 10 working days for a standard build and 12 to 15 for a complex one, and the protocols worth running in that window are cheap and specific: cycle every zip 200 times under load, pull each handle at three times the expected load for 60 seconds, roll a wheeled bag the equivalent of 8 to 12 km, extend a telescopic handle 2,000 times, and drop the loaded bag from one metre six times. This article sets out each test, the pass expectation, how to record the result, and what a failed test costs in calendar and cash.
- The sample is a test article, not a photograph
- Setting up a sampling protocol: rounds, dates and revision lists
- Zip testing: cycles, sliders and track alignment
- Handle and grab point testing: load, stitch and bar-tack
- Wheel and trolley testing: roll distance, bearing and housing
- Telescopic handle testing: extension, wobble and button
- Seam and stress point testing
- Recording results: the revision list format that works
- What a failed test costs in calendar and cash
- Approving the pre-production sample
- Booking the sampling round and the RFQ
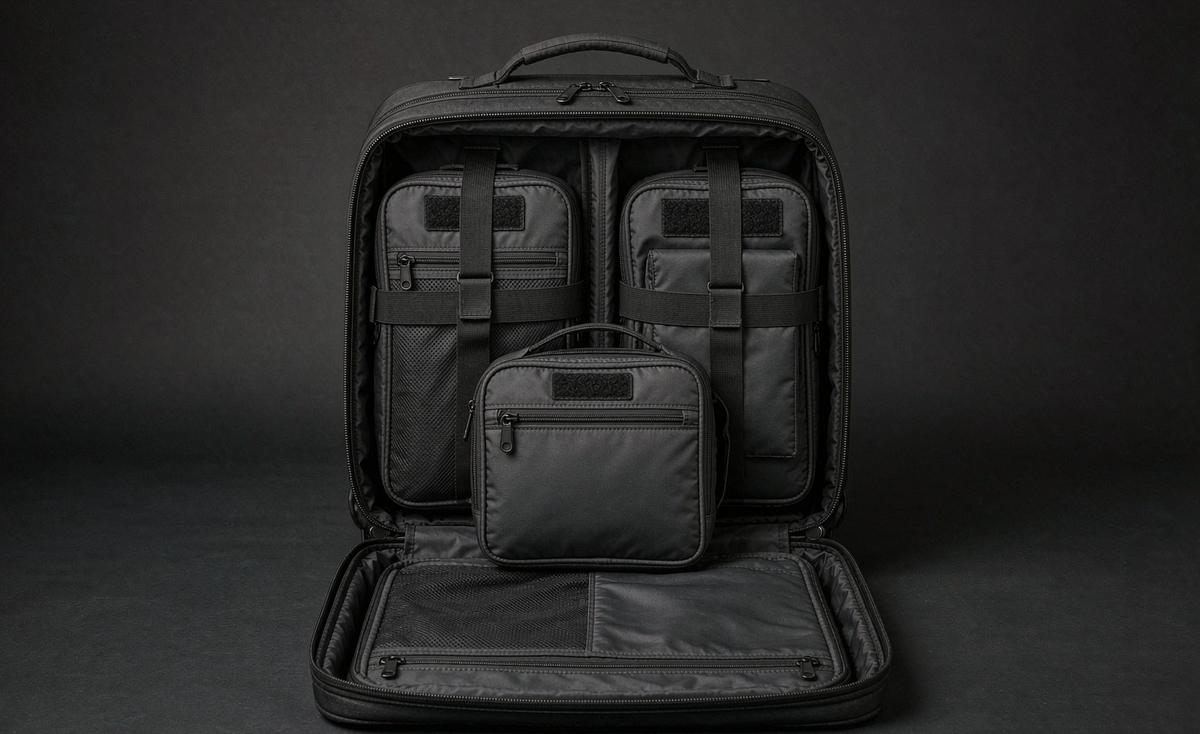
The sample is a test article, not a photograph
The most common way a sampling round is wasted is to treat the sample as a visual artefact. The team opens the box, looks at the bag, photographs it, pronounces it close enough, and sends a short note about the colour. Six weeks later the same team is answering backer messages about a zip that separated and a handle that tore, both of which were visible in the sample to anyone who loaded it and pulled it.
The correction is to define, before the sample arrives, what will be done to it. A test protocol turns a sample review into a series of pass and fail results, and it has two benefits beyond catching defects. First, it produces the revision list in a form that can be actioned, because a failed test names a component. Second, it produces campaign material: a bag being tested is more persuasive to a travel audience than a bag being styled, and the footage costs nothing extra.
There is a third benefit that matters to the schedule. A protocol makes the round finite. Without one, a sample sits on a desk for a week while three people form opinions; with one, it is tested in an afternoon and the revision list goes back the same day. On a 6 to 10 working day sampling window, that difference is a meaningful share of the calendar, and on a campaign with a published delivery date it is the difference between one round and two. Our crowdfunding bag sample prototyping page sets the wider approval framework, our custom travel bags for Kickstarter page covers the formats these tests apply to, and this article covers the component tests themselves.
Key takeaways on sampling tests
- Define the test protocol before the sample arrives, so the review is finite and the revision list is specific.
- Zips, handles and wheels carry the majority of field failures and each has a cheap, repeatable test.
- Record results numerically: cycles completed, load applied, distance rolled, wobble measured.
- A failed test costs a sampling round, roughly 6-10 working days, plus any material re-purchase.
- Approve the pre-production sample in writing; it becomes the reference unit for inspection.
- Sampling, standard build
- 6-10 working days
- Sampling, complex build
- 12-15 working days
- Zip cycle test
- 200 cycles under load
- Handle pull test
- 3x expected load for 60 seconds
- Wheel roll test
- Equivalent of 8-12 km
- Telescopic cycle test
- 2,000 extension cycles
- Drop test
- 1 m, loaded, 6 drops
- Bulk production
- 35-50 days after deposit and approved sample
- Inspection
- AQL 2.5 to ISO 2859-1
Setting up a sampling protocol: rounds, dates and revision lists
A protocol has four parts: the test list, the equipment, the pass expectation for each test, and the record format. All four should exist before the sample is released to the sample line, because the sample line needs a start date and a completion date and the campaign needs to know what it will do on the day the box arrives. Two rounds should be budgeted for on any travel bag with hardware and structure; one round is optimistic and three is a planning failure.
The equipment is ordinary and cheap. A set of calibrated weights or a luggage scale, a tape measure, a stopwatch, a door or beam to hang the bag from, a hard floor for the drop test, and a camera. That is the whole list. No laboratory is needed for the tests that catch most defects, which is the point: the barrier to testing a sample is not cost or equipment, it is deciding in advance to do it.
- Write the test list with a pass expectation for each item before the sample is booked.
- Agree the sampling start date and completion date in writing before the deposit is released.
- Assign one person to run the tests and one to record them; do not test and record in your head.
- Photograph or film every test, whether it passes or fails.
- Convert every failure into a numbered revision item naming a component and a required change.
- Return the list in one document, not across several messages.
- Approve the corrected sample in writing as the pre-production reference unit.
The record format matters more than creators expect. A record that says the handle felt weak is not actionable. A record that says the top grab handle showed 3 mm of stitch movement at the bar-tack after a 45 kg pull for 60 seconds is actionable, because it tells the sample line exactly what to change and gives the inspector a number to check against. Numeric records also let the campaign compare round one and round two rather than relying on recollection.
Zip testing: cycles, sliders and track alignment
Zips are the most-used moving part on any travel bag and the most frequent source of a field complaint. Three things go wrong: the slider wears and stops locking, the track separates under load because the panels are curved, and the chain is too small for the opening it serves. All three are detectable in a sampling round with a test that takes about ten minutes per opening.
| Test | Method | Pass expectation |
|---|---|---|
| Cycle test | Open and close the zip 200 times, loaded | No track separation, no slider wear |
| Creep test | Fill the bag, close the zip, load it, wait 10 minutes | Non-locking slider must not creep beyond 10 mm |
| Track alignment | Run the slider slowly along a curved section under load | No separation at the curve, no fabric caught |
| Slider type check | Confirm auto-lock versus non-locking against the pack | Matches the hardware schedule |
| Garage check | Run the slider to both ends | Stop or garage present and effective at both ends |
| Pull test | Pull the puller at 90 degrees to the track, 20 N | No puller deformation or detachment |
The creep test is the one most often skipped and it is the one that finds the most. A non-locking slider on a bag that is packed full will walk open under vibration and load, and the backer discovers it at an airport. The fix is an auto-lock slider, which costs a small premium per unit, or a slider garage that holds the pull in place. Both should be specified in the pack rather than discovered in the field.
Zip sizing deserves a specific line in the specification because it is the most common under-specification in the category. A number 5 coil is a pocket zip. A number 8 is appropriate for a main opening on a bag up to about 40 litres, and a number 10 for anything larger or for any opening that will be closed under compression. On a travel bag sold on capacity, the main opening is under compression by definition, and sizing it for the empty volume rather than the packed volume is how a zip separates.
Handle and grab point testing: load, stitch and bar-tack
Handles fail at the attachment rather than in the material. The webbing rarely tears and the grip rarely breaks; what fails is the seam holding the webbing to the panel, or the panel itself if the load path is short. The test that finds this is a static pull at three times the expected load for 60 seconds, and the specification that prevents it is a bar-tack plus a webbing tail that extends past the stress point into a structure.
- Top grab handle: pull at 3x the loaded bag weight for 60 seconds. Pass: no stitch movement at the bar-tack, no panel distortion.
- Side grab handle: same test. Side handles are frequently specified lighter than the top handle and fail first.
- Shoulder strap: load the bag, wear it for 60 minutes. Pass: no strap creep through the adjuster, no attachment movement.
- Haul loop: hang the loaded bag for 24 hours. Pass: no seam movement and no distortion of the panel it is anchored to.
- Bar-tack check: confirm presence, width and stitch count at every attachment named in the pack.
The numbers are worth stating because a travel bag is heavier than creators estimate. A 40 litre carry-on packed for a week weighs 10 to 14 kg, and a check-in case 18 to 23 kg. A top handle should therefore be tested at 30 to 45 kg, not at the 15 kg the empty bag suggests. Testing at the realistic figure is what turns a handle that survives the sample review into a handle that survives a terminal.
The bar-tack is the cheapest insurance in this list and it should be checkable. A bar-tack is a dense zigzag anchoring a stress point, and its effectiveness depends on width, stitch count and placement relative to the webbing edge. State all three in the pack, check them on the sample with a ruler, and record the measurement, because a bar-tack that is present but placed 5 mm off the webbing edge does far less than one placed correctly.
Wheel and trolley testing: roll distance, bearing and housing
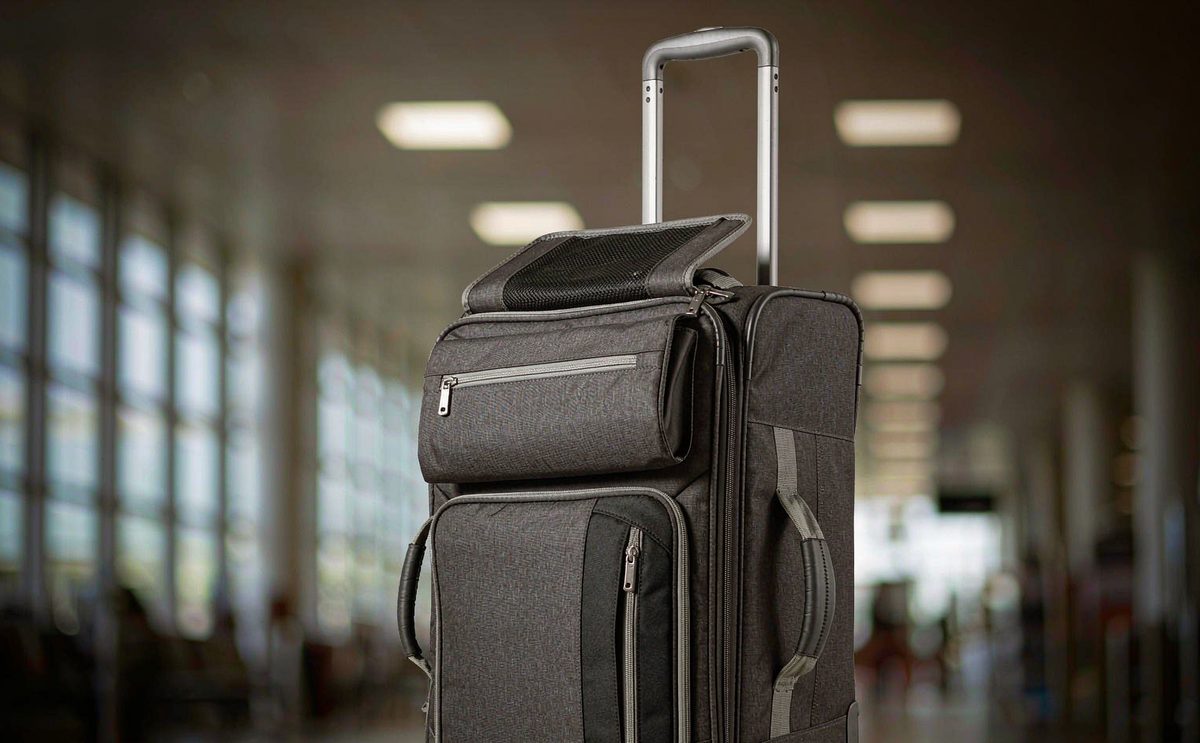
On a wheeled carry-on or a wheeled duffle, the wheel assembly carries the whole use experience and it is the line most often shaved when a campaign is chasing a price point. Three failures dominate: the housing cracks at the mounting boss, the bearing seizes or squeaks, and the tread wears flat or splits. Each has a test that fits inside a sampling round, and each is far cheaper to find on a sample than on 2,000 delivered units.
| Test | Method | Pass expectation |
|---|---|---|
| Roll test | Roll the loaded bag the equivalent of 8-12 km on a hard surface | No tread flat spots, no bearing noise |
| Kerb test | Roll the loaded bag over a 20 mm step 100 times | No housing crack, no axle deformation |
| Housing inspection | Flex the mounting boss by hand and inspect | No stress whitening, no crack at the boss |
| Bearing check | Spin each wheel unloaded and listen | Free rotation, no grit, no lateral play |
| Turn test | Push the loaded bag in a figure of eight for 10 minutes | No wheel wobble, no tracking drift |
| Water and grit | Roll through a wet, gritty surface, then spin | Rotation recovers after drying |
The kerb test is the one that most closely reproduces real use and the one most often omitted. Luggage is rolled off pavements, over thresholds and across expansion joints dozens of times per trip, and a housing that survives smooth-floor rolling can still crack at the first kerb. One hundred cycles over a 20 mm step takes a few minutes and finds the majority of housing weaknesses.
Specify the assembly as a tested sub-assembly rather than as a parts list. Ask for the wheel material and durometer, whether the bearing is sealed, whether the wheel is replaceable, and the mounting method into the base. A replaceable wheel is worth a small premium, because it converts a warranty claim into a spare part shipment and it is a feature an audience that reads specification tables will notice and value.
Telescopic handle testing: extension, wobble and button
The telescopic handle on a wheeled case produces two categories of complaint: it jams, or it wobbles. Both are detectable and both are specified rather than accidental. Jamming comes from tube gauge, tube finish and tolerance between the sections; wobble comes from the number of sections, the overlap length and the bushing design. A single test protocol covers both and it is the fastest test in this list to run.
- Extend and retract the handle 20 times and note any roughness, sticking or noise.
- Extend fully and apply lateral load at the grip; measure deflection at the top of the handle.
- Extend fully and push the loaded bag 50 m; note any rattle or drift.
- Press the release button 100 times and confirm consistent action and full retraction.
- Check the handle at both intermediate stops, if the design has more than one.
- Leave the handle extended under a light load for 30 minutes and re-check for creep.
The wobble figure should be written down as a tolerance rather than left to judgement, because wobble is what backers notice first and it is the hardest thing to describe in a revision note. A practical expectation is a lateral deflection of no more than 10 to 15 mm at the grip under a 2 kg lateral load at full extension. That is measurable with a ruler, and a number in the pack lets the inspector check it on the production run.
One detail prevents a disproportionate number of complaints: the grip material. A handle grip in a soft overmould feels good in the showroom and can become tacky or crack in a hot car or a cold hold. Ask for the material specification and the temperature range, and where the campaign will be shipping to a wide range of climates, ask for the material with the widest stated range rather than the softest hand feel.
Seam and stress point testing
Seams are the structural system of a soft bag and they are specified rather than incidental. Under load, a bag fails at the stitch line before it fails in the panel, because a seam is a line of holes through the fabric. The three variables that decide seam performance are stitch density, thread specification and seam construction, and all three belong in the tech pack with stated figures.
- Stitch density: state stitches per inch, typically 8 to 12 depending on the panel and thread. Check on the sample with a ruler.
- Thread: bonded nylon or polyester, with the ticket number stated. A lighter thread on a structural seam is a common silent downgrade.
- Seam construction: plain, bound, turned or taped. Bound or turned seams on load-bearing panels prevent raw edges propagating.
- Corner reinforcement: corners are the highest abrasion area on any bag set down; box or reinforce them.
- Internal seam check: run a hand along every internal seam. Raw edges inside a bag are the most visible quality signal to a backer.
The stress point list should be explicit in the pack rather than implied. On a travel bag that means every handle attachment, every strap attachment, the haul loop, the base panel join, the zip ends and any point where two materials meet at a load path. Each of those should carry a stated reinforcement, and the inspector should have the list, because a missing bar-tack is a critical defect rather than a minor one on a bag sold on durability. Our article on durable adventure bag specification covers the reinforcement schedule in full.
Recording results: the revision list format that works
The revision list is the deliverable of a sampling round, and its format decides how many rounds the programme needs. The format that works is numbered, one issue per line, with four fields: the component identifier, the test that found it, the measurement observed, and the required change. That is the entire structure, and it is the difference between a corrected sample and a second identical one.
| Field | Weak example | Strong example |
|---|---|---|
| Component | the handle | Top grab handle, webbing attachment, left side |
| Test | felt weak | Static pull test, 45 kg, 60 seconds |
| Observation | moved a bit | 3 mm stitch movement at the inboard bar-tack edge |
| Change required | make it stronger | Bar-tack width to 12 mm; webbing tail extended 40 mm into base panel |
| Reference | none | Photo 14; matches pack clause 4.2 |
Two habits make the list more effective. The first is to separate blocking issues from preferences: a failed load test blocks approval and a colour preference does not, and mixing them lets the sample line choose which to address. The second is to attach the photograph or the measurement to each line, because a verbal description of a defect is always interpreted generously by whoever has to fix it.
The list should be returned as one document in one message. Sending revision notes across five messages over three days guarantees that one item is lost, and the lost item is usually the one that mattered. Our production team returns a single consolidated list against each sample we send out, and we ask for the same in return, because a single numbered document is what the sample line actually works from.
What a failed test costs in calendar and cash
A failed test is not a disaster, it is a cost with a known size, and knowing the size is what makes the protocol worth running. The cost is one additional sampling round: 6 to 10 working days on a standard build and 12 to 15 on a complex one, plus the courier time in both directions. Where the failure requires a new component rather than a construction change, add the component lead time, which on non-stock hardware can reach two to three weeks.
Against that, set the cost of not testing. A defect found after bulk production is found on 500 to 2,000 units rather than on one. The remedies are all worse than a sampling round: a re-work operation on finished goods, a price concession to a distributor, a replacement programme paid by the campaign, or a public complaint in the campaign's own comment section. On a travel programme, the last of those is the most expensive and the least quantifiable.
| Stage found | Direct cost | Calendar cost | Reputational cost |
|---|---|---|---|
| First sample | One sampling round | 6-10 working days | None |
| Pre-production sample | One round plus possible component lead | 6-15 working days | None |
| During bulk production | Re-work or partial remake | 1-3 weeks | Delivery date risk |
| After inspection failure | Re-work, re-inspection, possible air freight | 2-4 weeks | Delivery date missed |
| After delivery to backers | Replacement programme and refunds | Months | High and public |
The table makes the argument for testing during sampling rather than anywhere else. The direct cost is lowest, the calendar cost is bounded, and the reputational cost is zero because nothing has been sold yet. It is also the only stage at which the fix is a change to a specification rather than a remedy applied to finished goods, which means the production run is right rather than repaired.
Approving the pre-production sample
Approval is a commercial event, not a formality. With payment at T/T 30/70, the 30 per cent deposit falls due on written approval of the pre-production sample, and that approval releases materials and books the production slot. Approving on a visual check therefore commits the deposit against a sample that has not been tested, which is the position no campaign wants to be in when the inspection report arrives.
- Confirm every test in the protocol has been run on this specific unit, not on an earlier one.
- Confirm every blocking item in the previous revision list has been actioned and re-tested.
- Confirm the hardware actually fitted matches the schedule, including zip sizes and slider types.
- Confirm dimensions, measured empty and packed, against the claim the campaign page will make.
- Confirm shade, branding placement and branding method against the artwork.
- Sign and date the approval in writing, and retain one sealed unit as the inspection reference.
Retaining a sealed reference unit is the step most campaigns skip and the one that decides disputes. Inspection compares production units against the approved sample, and if the approved sample has been shipped to a photographer, used for a trade show or disassembled, there is nothing to compare against. Keep one unit, sealed, in a known place, and state in the inspection instruction that it is the reference.
Booking the sampling round and the RFQ
A sampling round is booked, not requested. Give the sample line a start date, a specification complete enough to build from, and a completion date, and ask for confirmation of both. The two things that turn a 6 to 10 working day round into a four-week one are an incomplete tech pack and a missing component, and both are within the campaign's control before the round starts.
- Complete tech pack: dimensions with tolerance, materials, hardware schedule with sizes and grades, opening geometry, branding placement.
- Test protocol you intend to run, so the sample is built to survive it and so expectations are shared.
- Named hardware where a grade matters, with a stated substitute policy if the named part is unavailable.
- Sampling start and completion dates, agreed in writing before the deposit is released.
- Bulk quantity per style and colourway, with the 500 pcs per style and colourway minimum understood.
- Target delivery month and destination market, so freight, duty and compliance are quoted correctly.
- Inspection standard: AQL 2.5 to ISO 2859-1, with a defect class list that includes the functional tests from this article.
- Packing specification: units per carton, bagging, carton strength and whether accessories nest inside the bag.
- Re-order terms: unit price, lead time and validity period, agreed while the RFQ is still live.
Send that pack to request a quotation with your target delivery month and you will receive a unit cost, a sampling estimate and a booked 35 to 50 day production window. Payment runs T/T 30/70, with the 30 per cent deposit released on written approval of the pre-production sample and the 70 per cent balance due after a passed inspection and before cargo release at FOB Xiamen. Our production team works from 4,950 m² of SGS-verified floor with 137 staff across 7 lines and 149 machines, running 200,000 pcs per month, and has supported 20+ crowdfunding campaigns since 2014.
Book your sampling round with a test protocol
Send us the tech pack and the tests you intend to run. As your campaign bag specialist we will return a sampling plan with dates, a unit cost and a booked production window, and we will build the sample to survive your protocol.
Frequently Asked Questions
How long does sampling take for a travel bag?
6 to 10 working days for a standard build and 12 to 15 working days for a complex one, per round. Budget two rounds on any travel bag with hardware and structure. A failed test that needs a new component can add two to three weeks for the part.
How many times should I cycle a zip during sampling?
200 cycles under load is a practical figure, taking about ten minutes per opening. Add a creep test: fill the bag, close the zip, load it and wait 10 minutes. A non-locking slider must not creep beyond 10 mm, otherwise specify an auto-lock slider or a garage.
What zip size should a travel bag main opening use?
Number 8 coil for a main opening on a bag up to about 40 litres and number 10 for anything larger or any opening closed under compression. A number 5 is a pocket zip. Sizing for the empty volume rather than the packed volume is how a zip separates.
How do I test a handle on a sample?
Apply three times the realistic loaded weight for 60 seconds and watch the stitch line, not the handle. A 40 litre carry-on packed for a week weighs 10 to 14 kg, so test the top handle at 30 to 45 kg. Any stitch movement at the bar-tack is a fail.
What wheel tests fit inside a sampling round?
Roll the loaded bag the equivalent of 8 to 12 km, roll it over a 20 mm step 100 times, spin each wheel to check for grit and lateral play, and push it in a figure of eight for 10 minutes. The kerb test finds most housing weaknesses.
How do I test a telescopic handle?
Extend and retract it 20 times, press the button 100 times, push the loaded bag 50 m and measure lateral deflection at the grip. A practical pass expectation is no more than 10 to 15 mm deflection under a 2 kg lateral load at full extension.
Why do handles fail at the attachment rather than in the webbing?
Because the seam holding the webbing is weaker than the webbing itself. The fix is a bar-tack plus a webbing tail extended past the stress point into a structure, which distributes load instead of concentrating it into a line of stitch holes.
What should a revision list contain?
Four fields per line: the component identifier, the test that found the issue, the measurement observed, and the required change. Separate blocking issues from preferences, attach photographs, and return the whole list as one document in one message.
What does a failed test cost?
One additional sampling round, 6 to 10 working days on a standard build or 12 to 15 on a complex one, plus courier time. If a new component is needed, add two to three weeks. That is far cheaper than re-work after bulk production or a replacement programme after delivery.
When is the deposit due on a travel bag order?
Payment is T/T 30/70. The 30 per cent deposit falls due on written approval of the pre-production sample and releases materials and the production slot. The 70 per cent balance falls due after a passed inspection and before cargo release at FOB Xiamen.
Should I keep the approved sample?
Yes, sealed, in a known place, and named in the inspection instruction as the reference unit. Inspection compares production against the approved sample, and a sample that has been shipped to a photographer or disassembled leaves nothing to compare against.
Do these tests need a laboratory?
No. Weights or a luggage scale, a tape measure, a stopwatch, a beam to hang the bag from, a hard floor and a camera cover every test in this article. A laboratory is only needed when the campaign page will quote a certified figure.
People Also Ask
What should I test on a bag sample before approving it?
Zips, handles and wheels, plus seams and stress points. Cycle each zip 200 times under load, pull each handle at three times the loaded weight for 60 seconds, roll a wheeled bag the equivalent of 8 to 12 km, and drop the loaded bag from 1 m six times.
How many sampling rounds should I plan for?
Two. One is optimistic for a travel bag with hardware and structure, and three is a planning failure. Keep it to two by sending a complete tech pack and returning one numbered revision list where each item names a component and a required change.
What is a bar-tack and how do I check it?
A bar-tack is a dense zigzag stitch anchoring a stress point. Check it with a ruler: confirm presence, width and stitch count at every attachment named in the pack, and confirm placement relative to the webbing edge, since one placed 5 mm off does far less.
Why does my sample zip open by itself?
You have a non-locking slider and the bag is packed under compression. Run a creep test: close the loaded bag, wait 10 minutes, and measure. Movement beyond 10 mm means you need an auto-lock slider or a slider garage.
How heavy should I load a bag for a test?
To realistic travel weights, not empty weights. A 40 litre carry-on packed for a week weighs 10 to 14 kg and a check-in case 18 to 23 kg, so a top handle should be tested at 30 to 45 kg rather than at the 15 kg the empty bag suggests.
Can I use the sample test footage on the campaign page?
Yes, and you should. Travel backers respond to evidence. A clip of a zip cycle test, a handle pull test or a drop test is more persuasive than adjectives and costs nothing beyond the hour spent running it.
What makes a sample review slow?
No protocol. Without a defined test list the sample sits on a desk for a week while people form opinions. With one it is tested in an afternoon and the revision list goes back the same day, which is a meaningful share of a 6 to 10 day window.