Kickstarter Bag Inspection: What Pre-Shipment Checks Cover
A pre-shipment bag inspection is one inspector-day covering roughly 40 to 60 observations per unit across eight categories: appearance, construction, function, measurement, hardware, odour and cleanliness, packing, and cartons. Sampled units are graded against the approved reference sample and classified critical, major or minor under AQL 2.5 to ISO 2859-1. It is the release decision, distinct from inline inspection at 20 to 40 percent completion and from container loading supervision. This page sets out each check, the tolerances to specify, and how to turn a report into release, rework or rejection.
- Three inspection moments: inline, pre-shipment and loading
- What the check day actually looks like
- Appearance checks: fabric, colour, print and branding
- Construction checks: seams, bar-tacks and tolerances
- Function checks: zips, buckles, straps and closures
- Measurement and capacity checks
- Hardware, trims and small parts
- Odour, moisture and cleanliness
- Packing and carton checks
- The findings we see most often, by bag type
- Turning a report into a decision
Three inspection moments: inline, pre-shipment and loading
Quality control on a bag programme happens at three moments, and conflating them is why creators are often disappointed by an inspection that passed. Inline inspection happens during production, typically at 20 to 40 percent completion. Pre-shipment inspection happens when the lot is finished and packed, before release. Loading supervision happens as cartons go into the container or onto the truck.
Each catches a different class of problem. Inline catches systematic faults early enough to correct the remaining units, which is why it pairs naturally with the mid-production photograph check at around day 18 to 22 of a 35 to 50 day bulk run. Pre-shipment is the release decision. Loading supervision catches the unglamorous failures: wrong cartons, short count, poor stacking, cartons loaded wet.
For a first campaign, pre-shipment is the gate that matters and the one that should be contractual. Inline is worth adding when the build is complex, when a new fabric is being used, or when the order is large enough that a systematic fault would be expensive to rework. Loading supervision is cheap and worth doing on consolidated lanes where cartons from several orders share a container.
There is also a fourth moment that is easy to overlook because it happens before any of the three: the incoming material check. Fabric, lining, webbing, zips and hardware are verified against the specification when they arrive, before cutting begins. A zip tape in the wrong shade found at goods-in is a phone call; the same fault found at pre-shipment is a rejected lot. Ask whether your programme includes it; the release arithmetic behind those gates is set out in the bag QC guide. Both sit inside the campaign bag QA and QC programme, which spans material intake through to release.
The arithmetic for AQL 2.5 sampling and the accept and reject numbers behind the release decision are covered separately in the AQL explained page. What follows here is the other half of the subject: what the inspector actually looks at, item by item, and how those observations are graded.
What the check day actually looks like
A pre-shipment inspection on a 500 to 1,500 unit lot is typically one inspector-day. Cartons are selected at random from across the stack, not from the top layer, and opened. Units are drawn, usually 50 from a 500-unit lot under general level II, and each is worked through the check list in the same order so that nothing is skipped on the tenth unit through fatigue.
The reference is the approved sample. Every judgement about colour, construction and finish is made against that physical object, which is why retaining two signed reference samples matters so much. Where the approved sample is silent, the written specification applies. Where both are silent, the inspector records an observation rather than a defect, and the two categories should never be merged into one count.
Findings are tallied by severity as they are recorded, and the visual record is captured at the same time. A working check list for a bag contains roughly 40 to 60 individual observations per unit, grouped into eight categories. That sounds like a lot, and per unit it takes four to nine minutes depending on the complexity of the build.
At the end, the counts are compared with the accept and reject numbers for the sample size, and the lot is passed, failed, or passed with conditions. Conditions usually mean a specific rework, such as re-trimming loose threads across the lot, verified by a second partial check. A lot is never released on a verbal assurance.
One procedural point changes the value of the whole exercise: be present, or be represented. A creator who reviews findings while the inspector is still on site can ask for a second look at a borderline call, and that conversation costs minutes. A creator who receives the report two days later can only accept or dispute it, and disputes at that point are almost never resolved in the creator's favour.
Appearance checks: fabric, colour, print and branding
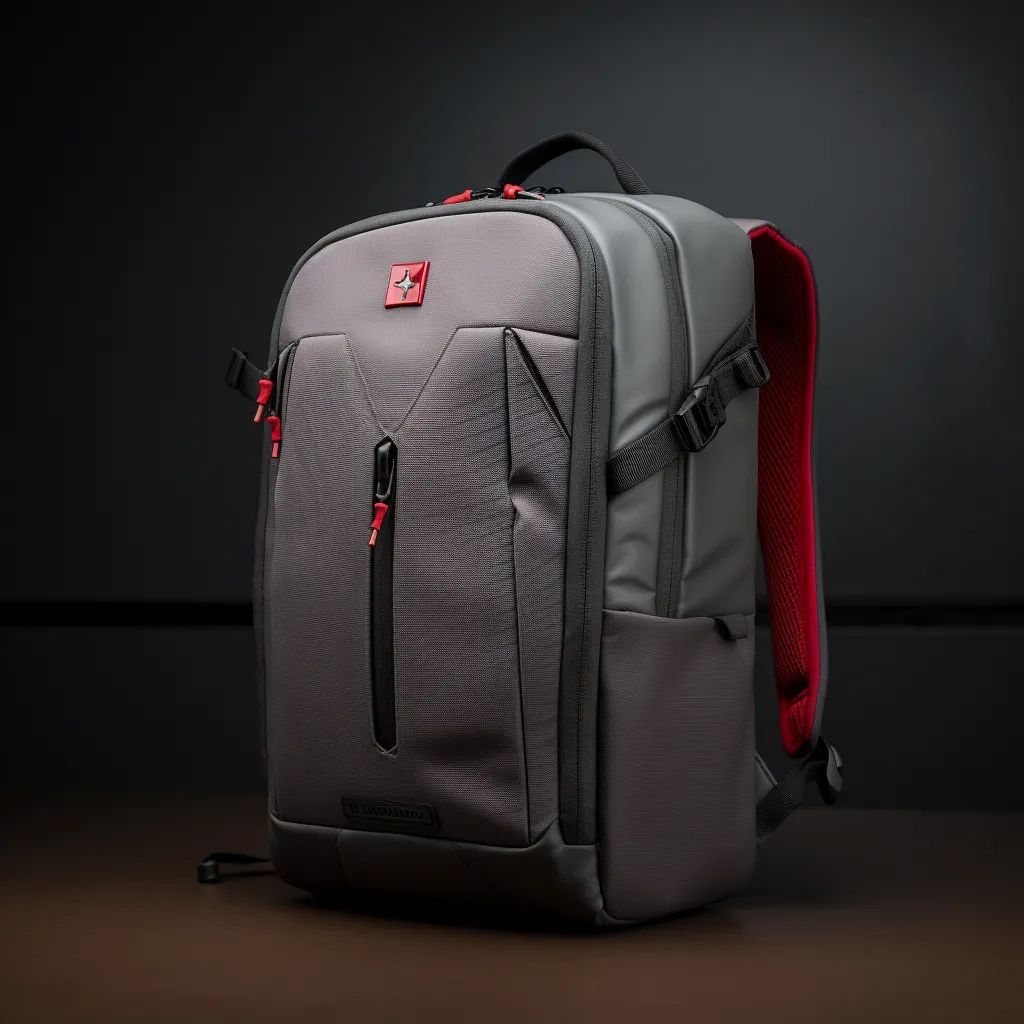
Appearance is the largest category by item count and the one backers notice first. Fabric checks cover colour consistency between panels and against the approved shade card, visible weave faults, coating defects, delamination, creasing that will not relax, and any shade difference between the body and the lining or trim.
Colour is judged under a standard light source, ideally a light booth at a defined colour temperature, and never under warehouse fluorescent lighting alone. A difference that is invisible on the bench can be obvious in daylight, which is why a campaign with three colourways should approve a shade tolerance range in writing rather than a single swatch.
Print and branding checks cover placement measured against the specification, registration on multi-colour prints, adhesion on heat transfers, stitch density and coverage on embroidery, and the absence of scorching or glue bleed around patches. Logo placement error is one of the most common major findings, because it is visible in every backer photograph.
Symmetry is checked here too, and it is worth stating explicitly because it is the complaint backers most often photograph. Handles centred within tolerance, pockets mirrored correctly, straps of equal length at the same adjuster setting, and a base that sits flat without rocking. A bag that is 4 mm out of symmetry passes most specifications and still looks wrong in a backer's photo.
One appearance check deserves its own line because it generates disproportionate complaints: panel matching. On a bag with a print or a pattern that runs across a seam, whether the pattern aligns at the seam is a design decision that must be specified. An inspector will not treat misalignment as a defect unless the specification says the panels must match.
Construction checks: seams, bar-tacks and tolerances
Construction checks are the structural half of the list and the half that determines whether the bag survives use. They cover stitch density measured in stitches per inch or per centimetre, skipped stitches, broken threads, seam allowance consistency, raw edges, and the presence and quality of bar-tacks or back-stitching at every stress point.
Stress points on a bag are predictable: strap roots, handle roots, webbing ends, zip ends, pocket corners, and any point where a load path changes direction. A bag that has bar-tacks at all of them will outlast one that does not by a wide margin, and the presence of reinforcement at these points should be a named line on the check list rather than an assumed standard.
Tolerance is the part that causes arguments, so set it in advance. A common convention is plus or minus 3 mm on external dimensions under 300 mm and plus or minus 5 mm above it, with tighter tolerance on any dimension that affects fit, such as a laptop sleeve. Without a number, every measurement becomes a debate at the bench.
Two construction findings are worth calling out because they are frequently missed until they fail in use. The first is insufficient seam allowance, which passes visual inspection and fails under load. The second is a needle that has passed through a coating rather than around it, leaving a path for water ingress on a bag marketed as water resistant.
Add a check that is cheap and catches a common field failure: turn the bag inside out where the construction allows it, and look at the seam allowances directly. Interior finishing is where shortcuts hide, because nobody photographs the inside of a bag. Loose thread ends, untrimmed allowances and missed bar-tacks are all visible from the inside and invisible from the outside.
Function checks: zips, buckles, straps and closures
Function checks are quick and they are where the most consequential defects hide. Every zip is run three full cycles and checked for smooth travel, complete closure, correct alignment at the closed position, and a pull that does not catch on adjacent fabric. Every buckle is mated and released. Every strap adjuster is slid through its range and checked for slip under load.
Slip under load is the one that separates a real check from a visual one. An adjuster that slides freely when the bag is empty and slips when the bag is loaded is a genuine defect, and it is only found by pulling. Specify a load, such as 3 kg in the main compartment, and apply it during the check.
Closure checks cover magnetic snaps, hook and loop, drawcord locks and roll-top hardware. The failure mode to look for is incomplete engagement, where a closure appears closed and opens under a small force. Test by lifting a loaded bag by its closure point rather than by its handle, which is closer to how backers actually use it.
Where the bag has a specific functional promise, the check must test that promise directly. A laptop sleeve is checked with a device of the stated size, not with a ruler. A water resistant claim is checked by looking at seam construction and closure design, with any actual spray or immersion test commissioned separately as a laboratory method rather than performed at the bench.
Test the bag the way a backer will, not the way a specification reads. Load it with something of realistic weight, carry it across the room, set it down and pick it up by each handle in turn. Roughly one functional defect in five is only revealed by handling a loaded bag, and those are the defects that generate the support tickets, because the backer finds them within the first hour of use.
Measurement and capacity checks
Measurement is not cosmetic. It affects whether a laptop fits, whether a bag qualifies as a personal item on an airline, and whether the reward matches what the campaign page promised. Check external dimensions on three axes, internal dimensions of every compartment, strap length at full extension, and handle drop.
Compare the results against the campaign page, not only against the specification sheet. Campaigns regularly publish dimensions during the pledge period, and a bag that matches the factory specification but differs from the published figure will still generate complaints. Reconcile the two documents before production rather than after.
Capacity, stated in litres, is a derived figure and is frequently overstated in marketing. If the campaign page says 18 litres, check how that number was measured, because the common methods differ by 10 to 20 percent for the same bag. Water displacement, filled-block measurement and dimensional multiplication give different answers.
Weight matters more than most creators expect, because it feeds directly into freight. A finished bag that weighs 8 percent more than the sample shifts the parcel volumetric and chargeable weight calculations, and on a 1,200-unit campaign that can mean thousands of dollars. Include a weight check on the list and set a tolerance, typically plus or minus 5 percent.
Check the published figures one more time against the finished product before dispatch, even if they were checked at sample stage. Campaign pages get edited during the pledge period, stretch goals add features that change dimensions, and a bag that matched a specification in month two may not match the page in month nine. This is a five minute check and it prevents the most avoidable category of complaint.
Hardware, trims and small parts
Hardware is a distinct supply chain with distinct failure modes. Checks cover finish consistency across the lot, plating defects, sharp edges, correct gauge on zips, correct size on buckles and D-rings, and correct function on any spring-loaded or cam mechanism. Mismatched hardware finish across a lot reads as a defect even when each item is individually acceptable.
Metal detection belongs on the list for any bag with lining, because a broken needle fragment inside a bag is a critical finding. This is not a theoretical risk. Needles break during sewing, fragments lodge in wadding and lining, and a fragment in a delivered bag is both a safety issue and the kind of story that ends a campaign's reputation.
Small parts checks cover pull tabs, cord ends, eyelets and rivets. The relevant test is a pull test on each type, typically a defined force applied for a defined duration, because a rivet that looks seated and pulls out under load is a field failure waiting for a backer. Specify the force rather than asking for a subjective tug.
Trims such as binding, webbing and elastic are checked for correct width, correct colour against the trim card, correct weave, and secure termination. Webbing that is cut without heat sealing or folding will fray, and fraying at a strap end is one of the most reported wear complaints in the first month of use.
Ask for a hardware count per unit as a line on the check list: the number of zips, buckles, D-rings, eyelets and rivets, verified against the specification. Missing hardware is a frequent finding on complex builds, particularly where several similar trims are used on the same bag, and a count catches it where a visual check will not.
Odour, moisture and cleanliness
Odour is a real and frequently mishandled category. A bag that smells of adhesive or of solvent on arrival generates complaints that are difficult to resolve, because the smell often dissipates after a week while the complaint lands on day one. Check for odour at unpacking, and specify an airing period before packing if the build uses adhesives or coated fabrics.
Moisture is the more serious version of the same problem. A bag packed while slightly damp will develop mildew inside a sealed polybag during a sea freight transit of 28 to 45 days, and the result is unsellable. Check that units are dry before packing, use vented polybags, and consider desiccant sachets for cartons above roughly 12 units.
Cleanliness checks cover thread tails, marks, fingerprints on coated surfaces, adhesive residue, and dust or debris inside compartments. Most of these are minor findings individually, and collectively they are what makes a bag feel cheap on opening. Set a threshold for thread tails, commonly 3 mm, and count anything longer as a defect rather than an observation.
One related check is worth adding for campaigns shipping into humid markets: carton moisture content. A carton that is too wet at packing will lose compression strength during transit and arrive deformed, which is a packaging failure rather than a product failure but presents to the backer as damage.
Ask the inspector to record the time between unpacking and checking. Odour dissipates, and a check performed an hour after the cartons were opened will miss a smell that a backer notices immediately on opening. If odour is a known risk for the materials used, specify an airing period before packing and verify it rather than relying on the inspection to catch it.
Packing and carton checks
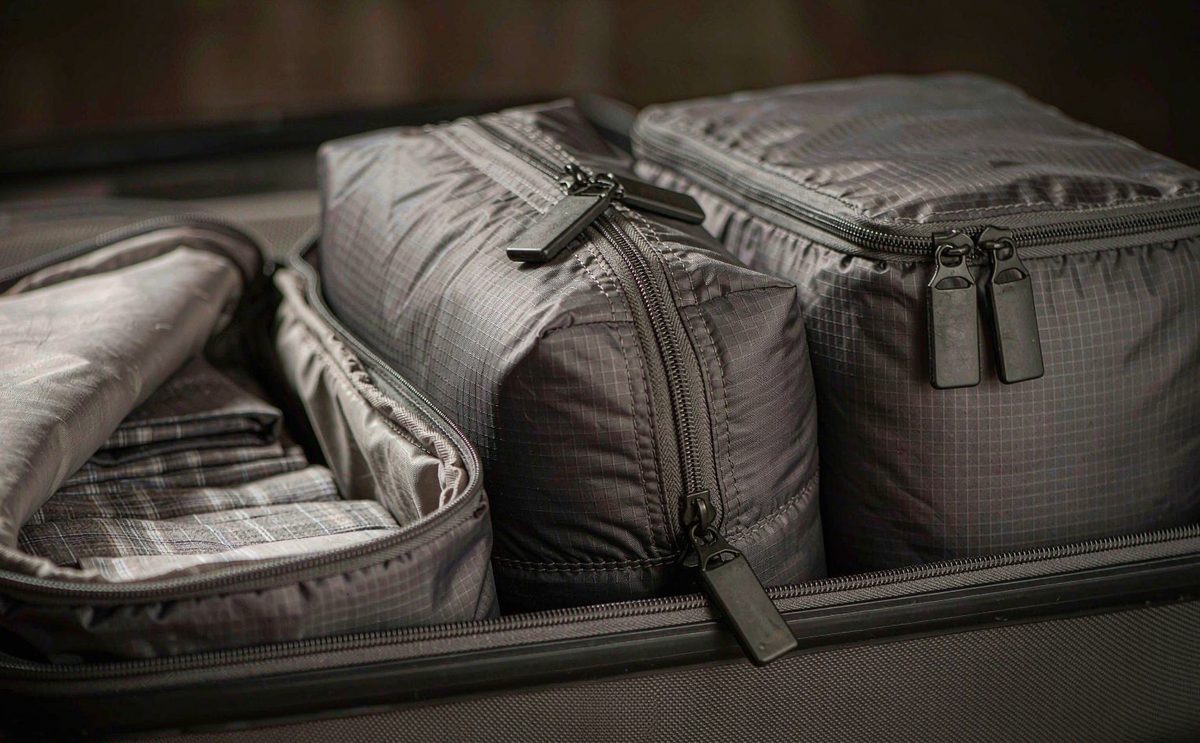
Packing is the last category and it is the one most often compressed when time runs short. Checks cover polybag specification and gauge, venting, folding method, insert presence, desiccant presence where specified, carton grade against the specification, carton dimensions, carton count, carton weight, and the accuracy of shipping marks and labelling.
The carton drop test belongs here. A packed carton is dropped from a defined height, commonly 45 to 76 cm depending on weight, onto each face and each corner, then opened and inspected. On a sewn bag this surfaces creasing that will not relax, hardware impressions pressed into adjacent panels, and insufficient void fill.
Carton count reconciliation is the item that protects the whole shipment. Physical cartons must match the packing list line by line, and the packing list must match the commercial invoice. A single carton discrepancy can hold a customs entry of 200 cartons, and generating all three documents from one data set is the only reliable way to prevent it.
Barcode and label verification belongs in this category for campaigns using scanned kitting or a fulfilment warehouse. Confirm every unit carries the correct barcode, that it scans on the receiving equipment the warehouse uses, and that any carton label matches the packing list. A label that scans at origin and fails at a regional hub costs a full day of relabelling.
For consolidated lanes, add a container loading check: container number and condition, carton count loaded, stacking pattern, whether heavy cartons are at the base, whether cartons are loaded wet, and whether the container is sealed with a recorded seal number. This is an hour of work that prevents a category of loss no other check addresses.
The findings we see most often, by bag type
Patterns repeat by construction, and knowing them helps a creator read a report. The table below summarises what our programme coordinators see most frequently across the categories we handle, based on the campaigns we have supported. Treat it as a prompt for where to look rather than as a prediction.
| Bag type | Most frequent major finding | Most frequent minor finding |
|---|---|---|
| Structured backpack | Harness attachment off tolerance | Topstitch waviness on the back panel |
| Laptop bag | Padding thickness below specification | Corner abrasion on coated fabric |
| Duffel with shoe compartment | Ventilation panel misaligned | Thread tails inside the compartment |
| Tote | Handle root bar-tack incomplete | Print registration off by 1 to 2 mm |
| Cosmetic pouch | Lining seam puckering | Zip tape colour mismatch |
| Packing cube set | Webbing pull tab missing on one unit | Slight odour on unpacking |
| Drawstring bag | Drawcord lock slips under load | Cord end finish inconsistent |
Read the table as a briefing for the inspector rather than as a checklist to hand over. The value is in telling the inspector which two or three faults matter most for your specific build, so that those checks get more attention than the thirty generic ones. A check list that weights every item equally produces a report that is thorough and uninformative.
Two of those rows deserve comment. The structured backpack row is the most expensive category in the table, because harness attachment is structural and a failure there is a critical rather than a major finding if it detaches under load. The laptop bag row is the most likely to generate a backer complaint, because padding thickness is invisible from outside and directly affects the promise made on the campaign page.
Notice also that the minor findings are mostly cosmetic and mostly tolerable, while the major findings are mostly dimensional or structural. That is the general shape of bag quality problems: appearance issues are common and survivable, and dimensional or structural issues are rarer and consequential.
Turning a report into a decision
A report is only useful if it ends in an action. Three outcomes are available, and the choice between them should follow from the pattern in the findings rather than from the pass or fail line alone. Release if the lot passes and any major findings are isolated rather than systematic. Rework and re-inspect if majors cluster on one fault. Reject if critical defects are present or if majors exceed the reject number.
The pattern test is the important one. Three major defects of three different types in a sample of 50 is a normal lot. Three major defects of the same type in the same position is a process problem that will recur, and passing it means buying the same fault again on the re-order. Ask the inspector to state whether findings are isolated or systematic.
When a lot is reworked, specify what happens next in writing: full re-inspection, partial re-inspection of the affected operation only, or 100 percent sorting on that one fault. Partial re-inspection is usually sufficient and much cheaper, provided the root cause is understood. Agree who pays before production begins, not during the dispute.
Record the decision and the reason in one paragraph, dated, and store it with the report. Six months later, when a backer asks why a particular batch differed or when you are placing a re-order, that paragraph is the only contemporaneous account of what was released and on what basis, and it resolves questions that no amount of recollection can.
Finally, feed the findings back into the next order. Every report is a free specification improvement, and campaigns that revise their specification after each run see defect rates fall materially by the third order. That is the real return on inspection: not the one lot it passes, but the specification it teaches you to write.
Send us your product type and order quantity, and our campaign bag specialist will issue the check list we would run against it, with tolerances and severity grading.
Frequently Asked Questions
What is the difference between inline and pre-shipment inspection?
Inline happens at 20 to 40 percent of production and catches systematic faults while the rest of the run can still be corrected. Pre-shipment happens when the lot is finished and packed, and it is the release decision. Loading supervision confirms carton count, stacking and seal as goods go into the container. Add an incoming material check before cutting, because a fault found at goods-in is a phone call and the same fault at pre-shipment is a rejected lot.
How long does a pre-shipment inspection take?
Typically one inspector-day for a lot of 500 to 1,500 units. Each sampled unit takes four to nine minutes depending on build complexity, and a working bag check list contains roughly 40 to 60 individual observations. Be present or represented while the inspector is on site, since a borderline call resolved in minutes cannot be revisited two days later. Ask whether the inspector works alone, since a two person team roughly halves elapsed time on larger lots.
What tolerance should I set on bag dimensions?
A common convention is plus or minus 3 mm on external dimensions under 300 mm and plus or minus 5 mm above, with tighter tolerance on dimensions affecting fit such as a laptop sleeve. Without a stated number every measurement becomes a debate at the bench. Recheck finished dimensions against the campaign page before dispatch, because pages get edited and stretch goals change the product.
How many times should a zip be cycled during inspection?
Three full cycles per zip, checking smooth travel, complete closure, alignment at the closed position and that the pull does not catch on adjacent fabric. Adjuster slip should be tested under load, such as 3 kg in the main compartment, rather than empty. Carry a loaded bag across the room and lift it by each handle in turn, since roughly one functional defect in five only appears under handling.
Is metal detection really necessary?
Yes for any lined bag. Needles break during sewing and fragments lodge in wadding and lining. A fragment in a delivered bag is a critical finding, a safety issue, and the kind of story that ends a campaign reputation. Make it a named line on the check list rather than an assumed standard, because it is invisible to every other check performed.
What causes musty odour complaints after sea freight?
Units packed while slightly damp inside a sealed polybag, then held through 28 to 45 days of sea transit. Prevent it by checking dryness before packing, using vented polybags, and adding desiccant sachets to cartons above roughly 12 units. Record the time between unpacking and checking, because odour dissipates and a late check will miss what a backer notices immediately.
Should a carton drop test be part of the inspection?
Yes. Drop a packed carton from 45 to 76 cm depending on weight onto each face and corner, then open and inspect. It surfaces creasing that will not relax, hardware impressions pressed into adjacent panels and insufficient void fill. Specify the drop height by carton weight and open the carton afterwards, since damage inside is the point of the exercise.
What should I do when findings cluster on one fault?
Treat it as a process problem and rework, even if the lot technically passes. Three different major defects in a sample of 50 is a normal lot; three of the same type in the same position will recur on the re-order. Ask the inspector to state whether findings are isolated or systematic. Choose partial re-inspection of the affected operation where the root cause is understood, which is usually sufficient and much cheaper.
How is capacity in litres verified?
Carefully, because the common methods differ by 10 to 20 percent for the same bag. Water displacement, filled-block measurement and dimensional multiplication give different answers, so confirm how the figure on your campaign page was derived before production. Publish the method alongside the figure, because water displacement, filled blocks and dimensional multiplication differ by 10 to 20 percent. Recheck the published figure before dispatch, because campaign pages are often edited during the pledge period.
Why does finished weight matter in inspection?
Because it feeds freight. A bag 8 percent heavier than the sample changes chargeable weight calculations, and on a 1,200-unit campaign that can mean thousands of dollars. Include a weight check with a tolerance, typically plus or minus 5 percent. A heavier finished bag shifts chargeable weight on every parcel, so a 5 percent overage on 1,200 units is a four figure freight error.
What is checked at container loading?
Container number and condition, carton count loaded, stacking pattern, whether heavy cartons sit at the base, whether cartons are loaded wet, and the recorded seal number. It is about an hour of work and prevents a category of loss no other check addresses. Record the seal number and photograph it, because a contested seal is the only evidence available if cartons go missing in transit.
How should I reconcile carton counts with documents?
Generate the packing list from the same data set that produced the labels, never retype it, and reconcile physical cartons at the door before the truck leaves. One carton discrepancy can hold a customs entry of 200 cartons. Reconcile at the door before the truck leaves, since a single carton discrepancy can hold a customs entry of 200 cartons. Photograph the loaded carton count and the seal as the final record of what actually left.
People Also Ask
What does a pre-shipment bag inspection cover?
Appearance, construction, function, measurement, hardware, odour and cleanliness, and packing. A working check list runs 40 to 60 observations per unit, graded against an approved reference sample and classified critical, major or minor.
How long does an inspection take?
About one inspector-day for lots of 500 to 1,500 units, with four to nine minutes per sampled unit depending on complexity.
What is the most common major defect on a backpack?
Harness attachment outside tolerance, which is structural and becomes critical if it detaches under load. Bar-tack presence and quality at every stress point should be a named line on the check list.
Should zips be tested empty or loaded?
Both. Cycle each zip three times empty for smoothness, then test adjusters and closures under load such as 3 kg, and lift a loaded bag by its closure point rather than its handle.
How do I stop bags arriving mildewed?
Verify units are dry before packing, use vented polybags, add desiccant to cartons above about 12 units, and check carton moisture content at packing so the carton keeps its compression strength in transit.
What tolerance should be allowed on bag measurements?
Plus or minus 3 mm below 300 mm and plus or minus 5 mm above, tighter where fit matters. Also allow plus or minus 5 percent on weight, because weight drives freight.
Is a passed inspection enough to release the shipment?
Usually, provided major findings are isolated rather than systematic. If findings cluster on one fault, rework even when the count passes, because the same fault will appear on the re-order.
What happens at container loading supervision?
An inspector records container condition, carton count, stacking pattern, wet cartons and the seal number. It takes about an hour and covers losses no product inspection addresses.