Bag Sample QC: What Inspection Standards Apply to a Single Sample
AQL 2.5 to ISO 2859-1 is a statistical sampling standard for bulk lots and it does not apply to a single unit. A sample is inspected against the specification instead: dimensional checks against the tech pack, stitch density and seam construction, hardware cycling and pull tests, material and colour verification, and functional tests matched to the bag type. The output is not a pass or fail number but an approved golden sample and a written defect list that the bulk inspection can be measured against.
- Why AQL sampling tables do not apply to a single unit
- What a first sample should be checked against
- Dimensional checks and tolerance on a soft product
- Stitch density, seam strength and thread specification
- Zipper cycle, pull test and hardware attachment checks
- Fabric, coating and colour verification on the sample
- Functional and load testing by bag type
- Documenting the sample: the golden sample file
- The pre-production sample versus the sales sample
- When to reject a sample and what to write in the report
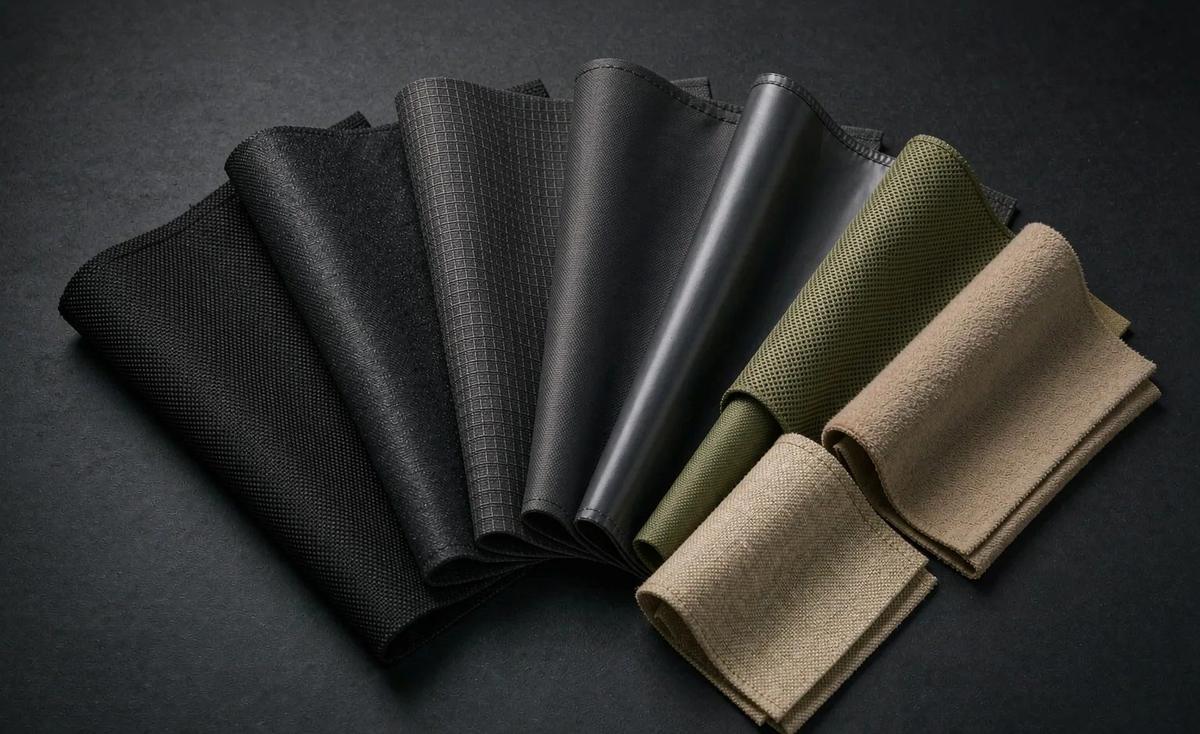
The question behind this article comes up on nearly every first programme, and it is a good question because the answer is counter-intuitive. A creator hears that goods are inspected to AQL 2.5 to ISO 2859-1, reads up on what that means, and then asks for the sample to be inspected to the same standard. The problem is that AQL is a statistical method for deciding how many units to pull from a lot and how many defects are acceptable within that pull. With a lot of one, the sample size is one and the accept or reject numbers are meaningless. There is nothing to sample from.
What a single sample needs instead is a conformance check against the specification, which is a different exercise with a different output. An AQL inspection produces a decision: accept the lot or reject it. A sample conformance check produces two documents: a defect list, which is everything that is wrong or unclear, and an approved reference, which is what the bulk has to match. Both are needed, and neither is a number. This is why the sample review is a conversation with a checklist rather than a test with a grade.
Getting this right matters more for a crowdfunding creator than for an established brand, because you are going to be asked about it. Backers in this category have been burned by campaigns that delivered something materially different from what was shown, and the ones who ask good questions will ask what standard the goods were inspected to. Being able to say that the bulk was inspected to AQL 2.5 to ISO 2859-1 against an approved pre-production sample is the credible answer. The sampling sequence that leads there is set out in our crowdfunding bag sample and prototyping guide.
AQL is for lots. A single sample is checked against the tech pack instead, and the deliverable is a written defect list plus an approved reference that the bulk inspection can be measured against.
Why AQL sampling tables do not apply to a single unit
It is worth understanding the mechanism, because it explains what the standard is actually for. ISO 2859-1 defines inspection by attributes using acceptance quality limit tables. You look up your lot size, you look up your inspection level, normally general level II, and the table gives you a sample size code letter and then a sample size. For a lot of 500 pcs at AQL 2.5 under level II, the sample size is 50 units, with an accept number of 3 and a reject number of 4 for minor defects. The whole method is built on the assumption that you are judging a population by examining part of it.
With a population of one, that assumption collapses. The operating characteristic curve, which is the statistical description of how likely a given sampling plan is to accept a lot of a given quality, describes the behaviour of a plan across many lots. It has nothing to say about a single object. You cannot have a 95 percent confidence that a single bag is representative of itself. What you can do is check it comprehensively: every dimension, every seam, every hardware item, every function, which is a 100 percent inspection of one unit and is exactly right for the job.
There is a second reason the two are different, and it concerns what kind of defect matters. AQL plans classify defects as critical, major and minor, and apply different AQL values to each. A typical plan uses 0 for critical, 2.5 for major and 4.0 for minor. That classification only has meaning once you have enough units for a major defect rate to be estimated. On a sample, a single major defect is not a rate of 2 percent; it is one thing that is wrong, and it either matters or it does not. The judgement is engineering, not statistics.
The practical consequence is that the two inspections are connected but sequential, and the order matters. The sample conformance check comes first and defines what conforming means. It produces the approved golden sample, the documented defect corrections and the confirmed tolerances. The AQL inspection comes second, at bulk, and checks the lot against what the first stage defined. Running a bulk inspection without an approved reference is the most common structural failure in this category, because the inspector has nothing to compare the goods against and ends up applying a generic standard that does not reflect your product.
What a first sample should be checked against
A sample can only be checked against a specification, which means the specification has to exist in writing before the sample arrives. The minimum viable document set is four items. The tech pack with dimensions, construction notes and a revision number. The materials list naming every component with its specification, not its marketing name: fabric denier and composition, lining, webbing width, foam density, zipper gauge and type, hardware finish. The approved colour references with the tolerance band. The artwork file with placement dimensions for any print, embroidery or label.
Notice what is not on that list: a reference product. Many creators send a competitor's bag and ask for it to be copied with changes. That is a legitimate starting point for design but a poor basis for inspection, because there is no written specification to check against and every difference becomes a matter of opinion. The fix is to convert the reference into a tech pack at the briefing stage. Our team does this as part of the first specification review, and it is the single step that most reduces the number of sample rounds.
The second thing the sample is checked against is intended use, which is the part most specifications omit. A bag designed to carry a 16 inch laptop has a functional requirement that a dimension alone does not capture: the sleeve must accept the device with a case on it, must not let it shift, and must hold it clear of the base of the bag so a drop does not transmit directly to the corner. Write the use case into the specification. *Accepts a 16 inch laptop in a sleeve, with 5 mm clearance, and with the base of the device at least 20 mm above the bag base when loaded.* That is checkable.
The third reference is your own campaign promises. If the campaign page says the bag holds three days of clothing, someone should physically pack three days of clothing into the sample and photograph it. If it says the strap is comfortable for a full day, someone should wear it loaded for an hour and report. This sounds obvious and it is skipped constantly, because the sample review happens months before the copy is written. Bring the campaign copy to the review. Roughly a third of the problems caught in our sample reviews are mismatches between the physical product and a claim already published.
Dimensional checks and tolerance on a soft product
Dimension is where creators and programmes most often talk past each other, because fabric is not sheet metal. A bag made of soft materials does not hold a dimension to a tenth of a millimetre, and a specification that demands it will generate false failures. The realistic tolerance band on a sewn soft product is roughly plus or minus 5 mm on a dimension under 300 mm and plus or minus 10 mm on a dimension above 300 mm, with wider bands on any dimension that includes a compressible element such as foam or padding.
The right way to measure is consistently and under defined conditions. Measure on a flat surface, measure the same points every time, and state whether the measurement is empty or loaded. An empty backpack measures noticeably differently from one that is packed, and most of the difference is in the depth rather than the height or width. Our inspection sheets specify the measurement points and the condition, which sounds pedantic and removes an entire category of argument. A 450 mm height measured empty and 455 mm measured lightly loaded are the same bag.
Three dimensions deserve specific attention because they drive backer satisfaction. Internal dimensions, because that is what the backer actually experiences; a bag that is externally the right size and internally too small is a returned bag. Strap length range, because a strap that does not adjust far enough for the 95th percentile user generates complaints the campaign copy cannot fix afterwards. Opening size, because an opening that is technically large enough but awkwardly shaped means the bag does not get used.
The most useful dimensional check on a sample is not a tape measure at all; it is a fit test with the actual objects. Put the actual laptop in the sleeve. Put the actual water bottle in the pocket. Put the actual shoes in the shoe compartment. Put the actual camera insert in the main body. Objects have corners and stiffness that a dimension does not capture, and roughly a quarter of first-round sample corrections we see are a pocket that measures correctly and does not fit the thing it was designed for. Our team asks creators to ship the actual items, or their exact dimensions, before the build.
Stitch density, seam strength and thread specification
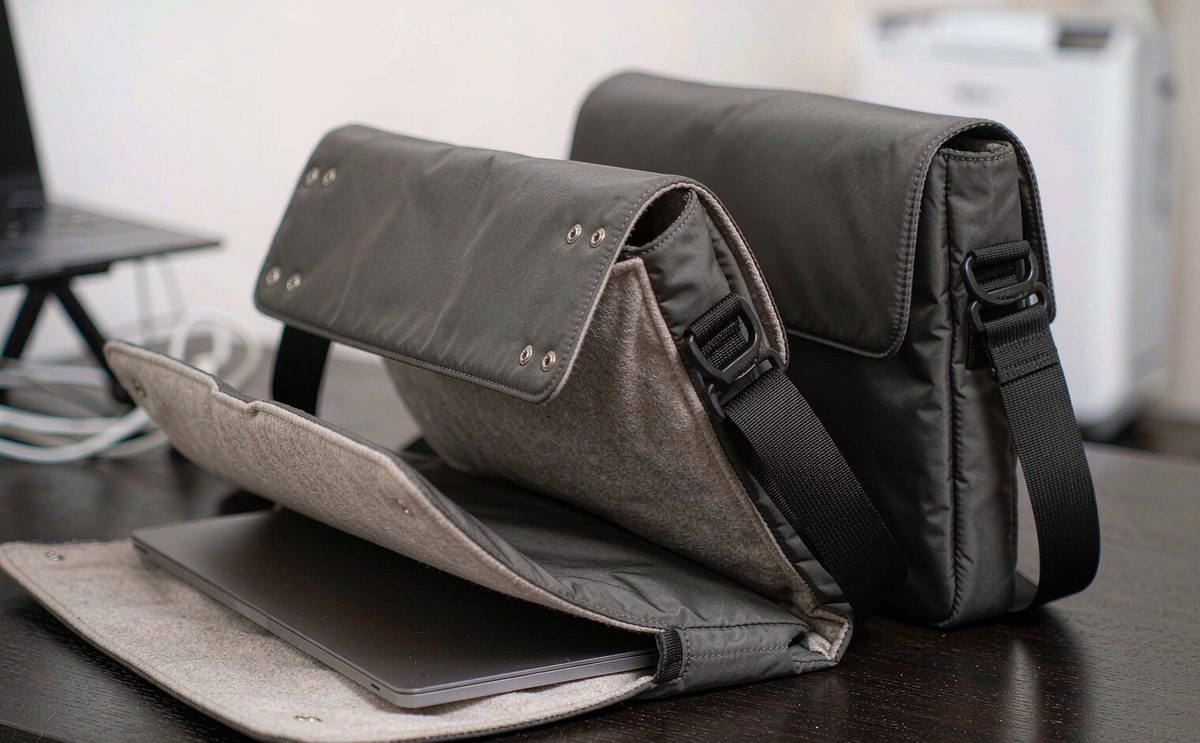
Stitching is the most inspected and least understood element of bag quality. The number everyone quotes is stitches per inch, normally written as SPI, and the working range on bag construction is 6 to 10 SPI. Below about 6 the seam is loose and weak; above about 10 the needle perforates the fabric so densely that the seam itself becomes a tear line, particularly on a coated or lightweight fabric. The right value depends on the material: a heavy canvas wants a lower SPI with a heavier thread, a lightweight ripstop wants a higher SPI with a finer thread.
Thread specification matters as much as density and is almost never specified. Thread is defined by tex or by a ticket number, and the two common families are polyester and bonded nylon. Bonded nylon is stronger and heavier and is the right choice for a load-bearing seam. Polyester has better colour fastness and better UV resistance and is right for a visible topstitch. Using the wrong thread on a structural seam is a genuine safety issue on a bag carrying weight, and it is invisible in a photograph, which is why it should be specified in writing rather than left to the workshop.
Seam construction is the third element. A plain seam is two panels joined face to face. A bound seam encloses the raw edge in tape and is what you want inside a bag that will be looked into. A flat-felled seam encloses the raw edge within the seam, is strong and is standard on heavy canvas. A French seam is similar and neater on a light fabric. The check on a sample is to open every compartment and look at the raw edges. Unbound raw edges inside the main compartment of a bag at a USD 100 reward tier are the most commonly photographed quality complaint in this category.
The two reinforcement details that predict field durability are bar tacks and back-tacking. A bar tack is a dense zigzag cluster reinforcing a stress point: strap ends, handle roots, ring attachments, pocket corners. A back-tack is where the machine reverses at the start and end of a seam to lock the thread. On a sample review, count the stress points on the bag and check that each one has a bar tack or an equivalent reinforcement. A strap that is simply straight-stitched into a seam allowance will pull out, and it will pull out after the campaign has shipped, which is the worst possible time.
Zipper cycle, pull test and hardware attachment checks
Hardware checks on a sample divide into function and attachment, and the second is the one that fails. Function checks are quick. Cycle every zipper 20 to 30 times and check for smoothness, for catching where the chain meets the stop, and for slider drift on a closed-end zipper. Fasten and release every buckle 20 times and check for consistent release force and for stress whitening on the tangs. Open and close every magnetic closure and check that it holds under the weight it is intended to hold. Our bag hardware sampling guide covers the component selection side in detail.
Attachment checks need a spring scale and a bit of nerve, because the point is to try to break something. The standard approach is a static pull test: anchor the bag, attach the scale to the component, and apply a defined load for a defined time. For a strap or handle root on a bag intended to carry up to 10 kg, a static test at 2 to 3 times the intended load for 60 seconds is a reasonable internal benchmark, and the failure should be nowhere. The component may deform; the attachment should not. Record the load and the result so the bulk inspection can repeat it.
The attachment point is what matters, not the part. A D-ring is stronger than the webbing loop that holds it, which is stronger than the stitching holding the loop, which is only as strong as the panel it is sewn into. Failure almost always occurs at the last link. So the check is not just whether the ring holds but whether the fabric around it distorts. Visible distortion under load means the reinforcement is undersized or in the wrong place, and it will fail in the field even though it survived the test. Photograph the distortion; it is the most persuasive item in a defect report.
One check that catches a surprising amount: the rattle and rub check. Pick the bag up loaded and walk with it. Loose pullers knock against the body, and a rattle on a premium product is memorable for the wrong reason. Then rub metal components against the shell and against a light cloth. A plated part that leaves residue on the cloth is losing its finish and will look worse after a month. Both checks take under two minutes and both are frequently the difference between a product that feels considered and one that feels assembled.
Fabric, coating and colour verification on the sample
Material verification is the check most often skipped, because the fabric looks right. The three things to verify are composition, weight and coating. Composition can be checked by a burn test on a spare cutting or, properly, by a laboratory analysis, and it matters because a substitution of nylon for polyester by the material mill changes the dyeing, the hand feel and the durability. Weight is specified as denier for filament fabrics and as grams per square metre for others, and it is verifiable with a scale and a template of known area. A fabric quoted at 600D that measures like 420D is a substitution.
Coating verification is about type and coverage. A polyurethane coating adds water resistance and stiffness; a PVC coating is heavier and less breathable; a TPU coating is more expensive and more flexible in the cold. The check on a sample is partly visual, because a coating that has been applied unevenly shows as a variation in sheen across a panel, and partly physical, because a coated fabric should not crack when folded sharply at room temperature. Fold a corner tightly and look. Cracking at the fold predicts cracking at the seams within a year.
Colour verification on the sample has two parts and the second is the one people forget. The first is closeness to the reference, which is the delta E exercise covered in our custom bag colour matching guide. The second is consistency across the bag: does the shell match the webbing, does the webbing match the binding, does the tape match the shell, does the thread match all of them. Check the assembled bag under decent light, not the individual components on a card. Panels that matched individually frequently do not match once they are sewn next to each other.
There is one more material check specific to reward bags: odour. A bag that arrives smelling strongly of solvent or of adhesive will generate complaints, and in a worst case it will be returned. New textile product has a mild characteristic smell; what you are checking for is a sharp, chemical, persistent odour, which usually indicates incomplete curing of a coating or an adhesive. Let the sample air for 24 to 48 hours in a ventilated space and then smell it again. If it is still strong, say so at sample stage rather than discovering it across 500 units.
Functional and load testing by bag type
Functional testing should be matched to the product rather than applied generically, because the ways bags fail are specific. A backpack fails at the strap roots, at the top handle and at the base under load. A tote fails at the handle join, almost always, and usually where the handle webbing meets the body. A duffel fails at the zipper on a full bag and at the end panels. A tech pouch fails at internal elastic retention. A cosmetic bag fails at the lining seam where a leak escapes. Test the failure mode your product actually has.
| Bag type | Primary failure point | Sample check | Working benchmark | Pass condition |
|---|---|---|---|---|
| Backpack | Strap roots, top handle, base | Loaded carry and drop test | Load to 8 to 12 kg, drop from 1 m | No seam opening or strap distortion |
| Tote | Handle join to body | Static pull on handles | 2 to 3 times intended load for 60 s | No stitch failure or fabric tear |
| Duffel | Main zipper when full | Zip the bag packed to capacity | 20 cycles fully packed | No chain separation or slider slip |
| Tech pouch | Elastic retention, zipper curve | Insert and remove items 20 times | 20 cycles with actual items | Retention holds, zipper tracks the curve |
| Cosmetic bag | Lining seam, leak path | Fill with water and invert for 10 min | 10 minutes inverted | No leak at any lining seam |
| Travel bag | Wheel or handle attachment, if present | Loaded roll over a rough surface | Roll 2 km loaded in a workshop test | No wobble, no attachment looseness |
Two of those deserve explanation because they are the ones programmes get asked about most. The loaded drop test is not a formal standard for bags; it is a practical internal benchmark that reproduces the most common real-world accident, which is a loaded bag falling off a chair or out of a car boot. Drop the bag from about 1 metre onto a hard floor, loaded to a realistic weight, then open every compartment and check that nothing has popped, no seam has opened and no hardware has deformed. Repeat on the same corner three times.
The leak test on a lined bag is the one that most often prevents a return. Fill a lined cosmetic or toiletry bag with water, seal it, lay it on absorbent paper and invert it for 10 minutes. Any leak appears as a damp spot on the paper, and it will be at a seam or at a zipper end. This is not a formal standard either; it is a five-minute test that catches the majority of the lining failures that would otherwise appear in backer hands. Where a product genuinely needs to be waterproof rather than water-resistant, that is a different specification requiring sealed seams and a formal standard, and it should be stated as such on the campaign page.
Where a claim will appear on the campaign page, test the claim, not the product. If the page says water-resistant, a shower test is appropriate and achievable. If it says waterproof, backers will reasonably expect immersion to be survivable, and that requires sealed seams, a coated zipper and a formal hydrostatic head test on the fabric. The gap between those two words has ended more campaigns than any material defect. Our campaign bag specialist will tell you which claims your construction can actually support, and it is much cheaper to be told before the page is published.
Documenting the sample: the golden sample file
The golden sample is the approved physical unit that the bulk run is measured against. It is the most important artefact in a bag programme and the one most often lost. It should be a unit built in production materials on production tooling, signed off, dated, tagged and stored. Not the prettiest unit, not the prototype, and not the one sent to the photographer. Its job is to sit in a cupboard and settle arguments, and it cannot do that if it is in a photo studio.
The file that goes with it should contain seven items. The tech pack with the revision number that was built. The materials list with the actual components used, including substitutions and why. The approved colour swatches, physically attached or photographed against a reference. The measurement sheet with the defined points, the condition and the actual results. The defect list from the review with the agreed corrections. The photographs, including close-ups of every hardware item, every seam type and the interior of every compartment. The sign-off sheet with a date and a name.
The photographs deserve more attention than they usually get. A useful sample photograph set runs to 30 to 50 images: the bag from eight standard angles, every compartment open and empty, every hardware item close enough to read the finish, the interior seam construction, the lining, the label and the barcodes, and any defect noted in the list photographed specifically. These are not marketing images. They are the visual specification, and they are what an inspector six weeks later will compare the goods against when the physical golden sample is 8,000 km away.
There is a practical question about who keeps the golden sample, and the answer should be *both parties, and ideally two units each*. Our programme retains the approved reference for the life of the programme, and we recommend that the creator keeps a second approved unit at their own location. Where a dispute arises about what was approved, two physical references in two countries resolve it quickly; a description in an email does not. Where a second unit is not available, a sealed reference swatch set covering every material is the minimum acceptable substitute.
The pre-production sample versus the sales sample
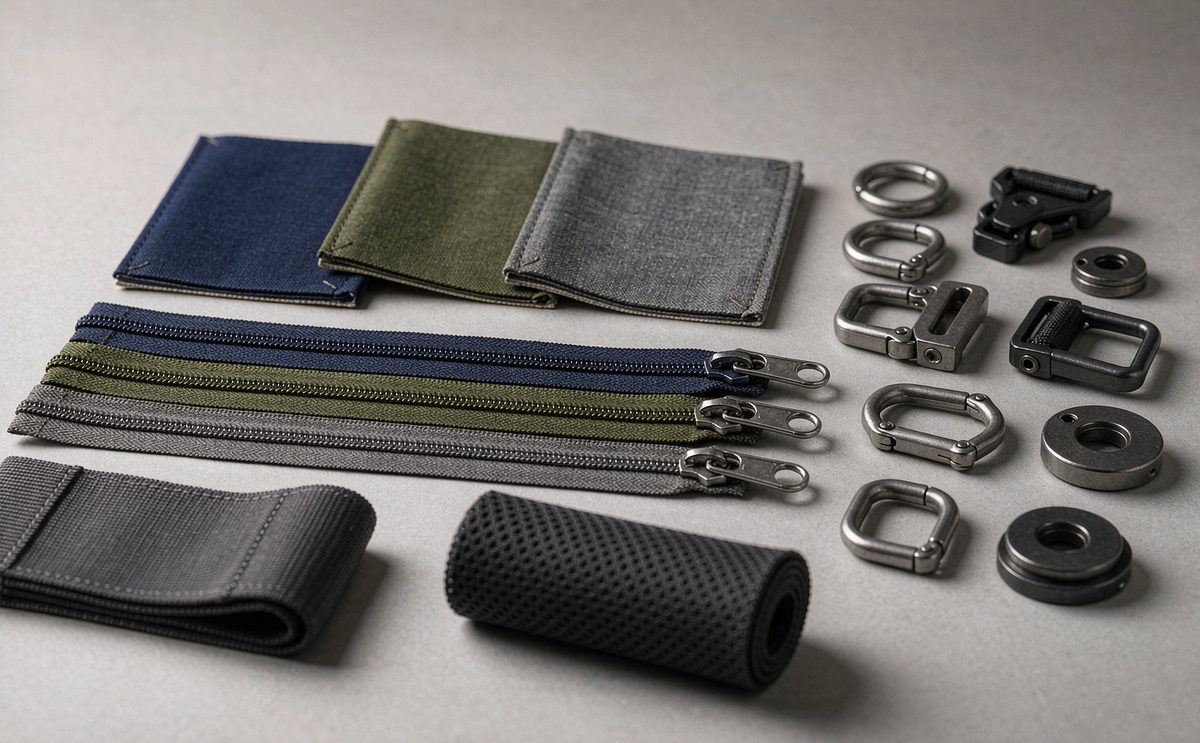
Two different objects get called a sample, and confusing them causes real problems. A sales sample, sometimes called a proto sample or a photographic sample, is built to look right. It is used for the campaign video, for photography, for press and for reviewer units. It may be built before the pattern is finalised, it may use substitute materials where the production fabric is not yet dyed, and it may be hand-finished in ways that cannot be repeated at 500 pcs.
A pre-production sample, usually abbreviated to PPS, is built in production materials, on production tooling, by production operators, to the final pattern. It is the last unit made before bulk starts, and it is the one that gets approved as the golden sample. The distinction matters because a sales sample is not evidence of what bulk will look like. The most common and most damaging failure in this category is a campaign that photographs a beautifully hand-finished sales sample and then receives a bulk run that is functionally identical and visibly less refined.
The sequencing that avoids this is a three-stage build. Stage one is the development sample, built quickly to validate the construction and the proportions, typically within the 6 to 10 working days window. Stage two is the sales sample, built once the design is settled, used for photography and for the campaign, and built as close to production materials as the timing allows. Stage three is the pre-production sample, built after the campaign closes and before bulk, in confirmed production materials, and approved as the golden reference.
The timing works because the stage three build happens after the campaign closes and the survey has run, which is exactly when you know the colourway split and the final quantity. Against a 35 to 50 day bulk window, a pre-production sample adds roughly 6 to 10 working days, or 12 to 15 for a complex build, and it is the best-value 10 days in the entire programme. Our pre-production sample guide sets out what to request and how to approve it. Our production programme treats the PPS as a mandatory gate: bulk does not start without an approved unit on the shelf.
When to reject a sample and what to write in the report
Rejecting a sample is expensive, because it adds a round at 6 to 10 working days, or 12 to 15 for a complex build, and it pushes the programme back by two to three weeks including courier. Accepting a bad sample is more expensive, because the defect is then reproduced 500 times and discovered by your backers. The judgement is not close. Reject on anything structural, anything safety-related, and anything that contradicts a published campaign claim. Negotiate on appearance, and accept on preference.
A rejection report that works has a specific structure. Each item carries a number, a location described precisely, a description of what is wrong, a reference to what it should be, and a classification. The classification should be critical, meaning it affects safety or function; major, meaning a backer would notice and be dissatisfied; or minor, meaning a backer might notice. That is the same three-tier vocabulary the bulk inspection will use, which means the two documents talk to each other and the defect list becomes the inspection checklist.
Two writing rules make the difference between a report that gets actioned and one that generates a round of emails. Describe, do not evaluate. *The bar tack at the left strap root is 8 mm wide and 12 mm long* is actionable. *The stitching looks weak* is not. Quantify where you can. *The internal depth measures 128 mm against a specification of 140 mm* is actionable. *The compartment is too small* is not. A report made of measurements and photographs gets built correctly on the next round; a report made of opinions gets argued with.
Finally,say what is right. A report that lists only defects tells the workshop what to fix and not what to preserve, and the next round will change things you liked in the course of fixing things you did not. Our team asks for an explicit retain list alongside the defect list: the panel proportions, the strap geometry, the lining choice, the hardware finish, the stitch pattern. It takes five minutes to write and it prevents the most frustrating outcome in sampling, which is a second round that fixes the defect and loses the thing that made the first one good.
Send us your specification before the first build, and our production team will issue the check sheet, the golden sample file and the defect report format we will use at every round.
Key takeaways
- A
- Q
- L
- 2
- .
- 5
- t
- o
- I
- S
- O
- 2
- 8
- 5
- 9
- -
- 1
- g
- o
- v
- e
- r
- n
- s
- t
- h
- e
- b
- u
- l
- k
- l
- o
- t
- .
- T
- h
- e
- s
- i
- n
- g
- l
- e
- s
- a
- m
- p
- l
- e
- i
- s
- c
- h
- e
- c
- k
- e
- d
- a
- g
- a
- i
- n
- s
- t
- t
- h
- e
- t
- e
- c
- h
- p
- a
- c
- k
- i
- n
- s
- t
- e
- a
- d
- ,
- a
- n
- d
- i
- t
- s
- o
- u
- t
- p
- u
- t
- i
- s
- a
- d
- e
- f
- e
- c
- t
- l
- i
- s
- t
- p
- l
- u
- s
- a
- n
- a
- p
- p
- r
- o
- v
- e
- d
- g
- o
- l
- d
- e
- n
- s
- a
- m
- p
- l
- e
- t
- h
- a
- t
- t
- h
- e
- b
- u
- l
- k
- i
- n
- s
- p
- e
- c
- t
- i
- o
- n
- i
- s
- m
- e
- a
- s
- u
- r
- e
- d
- a
- g
- a
- i
- n
- s
- t
- .
Frequently Asked Questions
Does AQL 2.5 apply to a single sample?
No. AQL 2.5 to ISO 2859-1 is a statistical method for deciding how many units to pull from a lot and how many defects are acceptable within that pull. With a lot of one there is no sample size and no accept or reject number. A single unit gets a 100 percent conformance check against the tech pack instead. The two inspections are sequential: the sample defines what conforming means, and the bulk inspection checks the lot against it.
What sample size does AQL 2.5 use for 500 pcs?
At general inspection level II with a lot of 500 pcs, the sample size is 50 units, with an accept number of 3 and a reject number of 4 for minor defects. Critical defects are normally held at 0 and major defects at 2.5. Confirm the exact plan with your inspection provider, because inspection level and defect classification both move the numbers.
What should I check on a first bag sample?
Five things: dimensions against the tech pack at defined points and in a defined condition; stitch density, thread specification and seam construction; hardware cycling and attachment pull tests; material verification for composition, weight, coating and colour consistency; and functional tests matched to the bag type, including a loaded drop test. Five checks take about twenty minutes and catch most of what goes wrong, and the results belong in the sample file.
What tolerance is realistic on a soft bag dimension?
Roughly plus or minus 5 mm on a dimension under 300 mm and plus or minus 10 mm above it, with a wider band on any dimension that includes foam or padding. Measure on a flat surface, at the same points every time, and state whether the bag is empty or loaded, because the two differ mainly in depth. Agree the measurement points and the condition before the build, so the review is a comparison rather than an argument.
What is a golden sample and who keeps it?
The approved unit built in production materials on production tooling, signed, dated and stored. Ideally two units, one retained by each party, because two physical references in two countries resolve a dispute quickly and a description in an email does not. It is not the unit sent to the photographer. A sealed reference swatch set covering every material is the minimum acceptable substitute where a second unit is not available.
What is the difference between a sales sample and a pre-production sample?
A sales sample is built to look right, used for photography and press, and may use substitute materials or hand finishing that cannot be repeated at 500 pcs. A pre-production sample is built in production materials, on production tooling and to the final pattern, and it is approved as the golden reference. Photographing a hand-finished unit and then delivering something visibly less refined is one of the most damaging outcomes in the category.
What stitch density should a bag have?
Between 6 and 10 stitches per inch. Below 6 the seam is loose and weak; above 10 the needle perforates the fabric so densely that the seam becomes a tear line, particularly on a coated or lightweight fabric. Pair it with the right thread: bonded nylon for load-bearing seams, polyester for visible topstitch. Open every compartment during the review and look at the raw edges, because unbound edges inside a bag are the most commonly photographed complaint.
How do I test whether a strap will hold?
Anchor the bag, attach a spring scale to the strap, and apply 2 to 3 times the intended load for 60 seconds. The failure should occur nowhere. Watch the fabric around the attachment rather than the strap itself, because visible distortion means the reinforcement is undersized and it will fail later even if it survived the test. Photograph any distortion in the surrounding fabric, because that is the most persuasive single item in a defect report.
How do I test a lined cosmetic bag for leaks?
Fill it with water, seal it, lay it on absorbent paper and invert it for 10 minutes. Any leak shows as a damp spot and will be at a seam or a zipper end. This is a five-minute internal check, not a formal standard, and it catches most of the lining failures that would otherwise appear in backer hands. Where a product genuinely needs to be waterproof rather than water-resistant, sealed seams and a hydrostatic head test are required instead.
When should I reject a sample?
Reject on anything structural, anything safety-related and anything that contradicts a published campaign claim. Negotiate on appearance and accept on preference. Rejecting costs 6 to 10 working days, or 12 to 15 for a complex build; accepting a defect reproduces it 500 times and lets your backers find it. Rejecting costs 6 to 10 working days, while accepting a defect reproduces it 500 times and lets your backers find it first.
How should I write a sample defect report?
Give each item a number, a precise location, a description, a reference to what it should be and a classification of critical, major or minor. Describe rather than evaluate and quantify wherever possible, so the workshop can act without a round of emails. Add a retain list of what you liked so the next round does not lose it. Add a retain list of what you liked, so the next round does not lose the thing that made the first one good.
How long does a pre-production sample add to the schedule?
About 6 to 10 working days for a standard build and 12 to 15 for a complex one, which is roughly two to three weeks including courier. It is the best-value delay in the programme, because it is the only gate that prevents a defect being reproduced 500 times. Run it after the campaign closes, once the survey has fixed the colourway split and the final quantity.
People Also Ask
What is AQL 2.5?
An acceptance quality limit of 2.5 used with ISO 2859-1 to decide how many units to inspect from a bulk lot and how many defects are acceptable. It does not apply to a single sample.
How many units are inspected at 500 pcs?
About 50 at general inspection level II, with an accept number of 3 and a reject number of 4 for minor defects.
What is a golden sample?
The approved production unit kept as the physical reference for the bulk run. Keep two, one with each party.
What is SPI in bag making?
Stitches per inch. The working range on bag construction is 6 to 10, chosen to suit the fabric weight and the thread.
What is a PPS?
A pre-production sample, built in production materials on production tooling to the final pattern, approved as the golden reference before bulk starts.
Should I reject a sample for a cosmetic issue?
Usually not. Negotiate on appearance. Reject on anything structural, safety-related or contradictory to a published claim.
How do I check a fabric has not been substituted?
Verify denier or grams per square metre with a scale and a template, confirm composition by a burn test or laboratory analysis, and check coating type and coverage for sheen variation and cracking at a sharp fold.