Bag Sample Approval: Checking Stitch, Zippers and Print Registration
Approving a bag sample is a measurement exercise, not an opinion. Count stitch density over a fixed length, check zipper gauge, tape, puller and run under load, verify print registration against the coordinates in the pack, match colour to the approved standard, and measure dimensions against the spec. Write the approval as a named revision with a retained reference, because that record is what the later AQL 2.5 to ISO 2859-1 inspection will compare the 500 pcs lot against.
- Why approval is a measurement exercise
- Setting up the review bench
- Checking stitch density: the method
- Seam construction and reinforcement
- Zippers: gauge, tape, puller and run
- Print registration and decoration placement
- Material and colour verification
- Hardware, buckles, adjusters and trims
- Dimensions, fit and function
- Writing an approval that survives production
- What to do when the sample fails
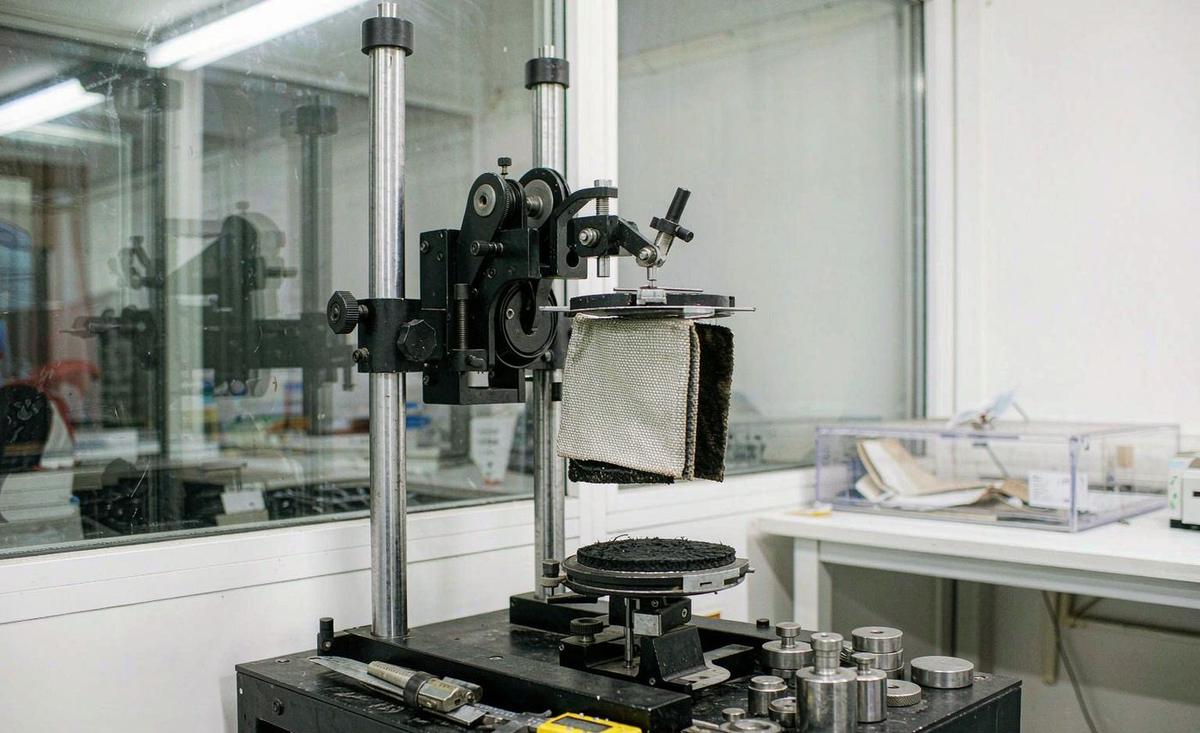
The sample arrives and most creators hold it, like it, find one small thing, and send feedback. That is an opinion, and opinions do not close rounds, they open them. A structured review is a measurement exercise carried out in a fixed order with a few cheap tools, and it produces a decision that survives contact with production.
What follows is the sequence we use. It runs from the fine detail outward: stitch density first, then seams, then zippers, then decoration, then materials and colour, then hardware, then dimensions. Working in that order means the small defects are caught before the bag looks good enough to distract you from them.
Why approval is a measurement exercise
The sample you approve becomes the standard for 500 units. Whatever you accept on this piece, you will accept on every piece in the lot, because the bulk run is inspected against this object. That is the whole reason approval has to be specific: a casual approval becomes a casual production standard.
There is also an asymmetry worth understanding. A defect that is cheap to fix on one sample is expensive to fix on a finished lot, and impossible to fix once the lot has shipped. The review is the last cheap moment in the entire programme, and it is worth an hour of concentration.
Measurement also removes arguments. If the pack says eight stitches per inch and the sample has six, there is nothing to discuss. If the pack says nothing and the sample looks a bit loose, there is a conversation, and conversations consume days on a calendar where each round is 6-10 working days.
Finally, a measured review produces a better product. Creators who measure tend to notice the structural issue that matters, because the act of measuring forces attention onto the parts of the bag that are usually only looked at. Our bag sampling and prototyping guide places this review between the final round and bulk release.
There is also a straightforward economic argument. Each correction round costs 6-10 working days, and a campaign that burns an unexpected round loses that time from a calendar that already contains a 35-50 day bulk window. A review that finds everything in one pass protects the launch date more reliably than any amount of workshop urgency.
Setting up the review bench
The bench needs five things and none of them is expensive: a steel ruler or tape with millimetres, a digital scale, a stitch counter or simply a ruler and patience, the approved material swatches or lab dips, and the object the bag is meant to carry. Add a camera, because a photograph ends a disagreement faster than a paragraph.
Lighting matters more than most people expect, and it should be consistent. Colour matching done under warm domestic light in the evening will give a different answer from the same check done in daylight. If shade is critical to the campaign, do the colour check in daylight, and say in the pack that daylight is the agreed condition.
- Steel ruler or tape with millimetre markings.
- Digital scale accurate to at least 5 g.
- Approved swatches, lab dips or Pantone references.
- The object the bag must carry: laptop, camera, shoes, bottles.
- A camera for the photographic record of every finding.
- The tech pack open beside you, revision number confirmed.
Confirm the revision number before you start. There is no point measuring against a specification that has been superseded, and it happens surprisingly often when a pack has been revised during sampling. If the pack and the sample were built from different revisions, stop and resolve that first.
Photograph before you write anything. Take a full view, then a close view of each area you check, then a photograph of any finding with the ruler in frame for scale. A feedback list with photographs gets acted on faster and more accurately than the same list in words.
Checking stitch density: the method
Stitch density is the single most quoted construction number and the single most often measured incorrectly. The method is simple: count the stitches over a fixed length on a straight run, not at a corner, and convert. Counting over 25 mm and multiplying by four gives stitches per inch; counting over one inch directly is fine if your ruler is marked in inches.
Measure on a straight run because corners and curves distort density. A seam turning a corner necessarily has a different effective density from the same seam running straight, and measuring at the corner gives a misleading number that will produce an unnecessary correction request.
| Seam or operation | Typical density | What too low looks like | What too high does |
|---|---|---|---|
| Main structural seam | 7-9 stitches per inch | Seam gapes under load | Perforates the fabric |
| Lining seam | 8-10 stitches per inch | Lining pulls away | Puckers on light fabric |
| Top stitch or decorative | 6-8 stitches per inch | Uneven appearance | Stiffens the edge |
| Binding | 7-9 stitches per inch | Binding lifts | Cuts into the binding |
| Bar tack | Dense, length stated | Strap root fails | Unnecessary stiffness |
| Webbing attachment | 7-9 stitches per inch | Webbing tears free | Weakens the webbing |
Those ranges are illustrative rather than a specification, and the right value depends on the material. A heavy coated fabric takes fewer stitches per inch than a light lining, because more perforations in a coated fabric weaken the coating. The number that matters is the one in your pack, and the check is whether the sample matches it.
Higher is not better, which is a point worth stating because creators often ask for denser stitching as a quality signal. Excessive density perforates the fabric along the seam line and can make a seam weaker rather than stronger. The goal is the specified density, consistently applied, not the maximum.
Check consistency as well as the value. A seam that runs at eight stitches per inch for most of its length and then drops to five at the end is a bigger problem than a seam that is uniformly slightly off, because the weak point is where failure starts. Walk the whole seam with your eye before you measure anything.
Seam construction and reinforcement
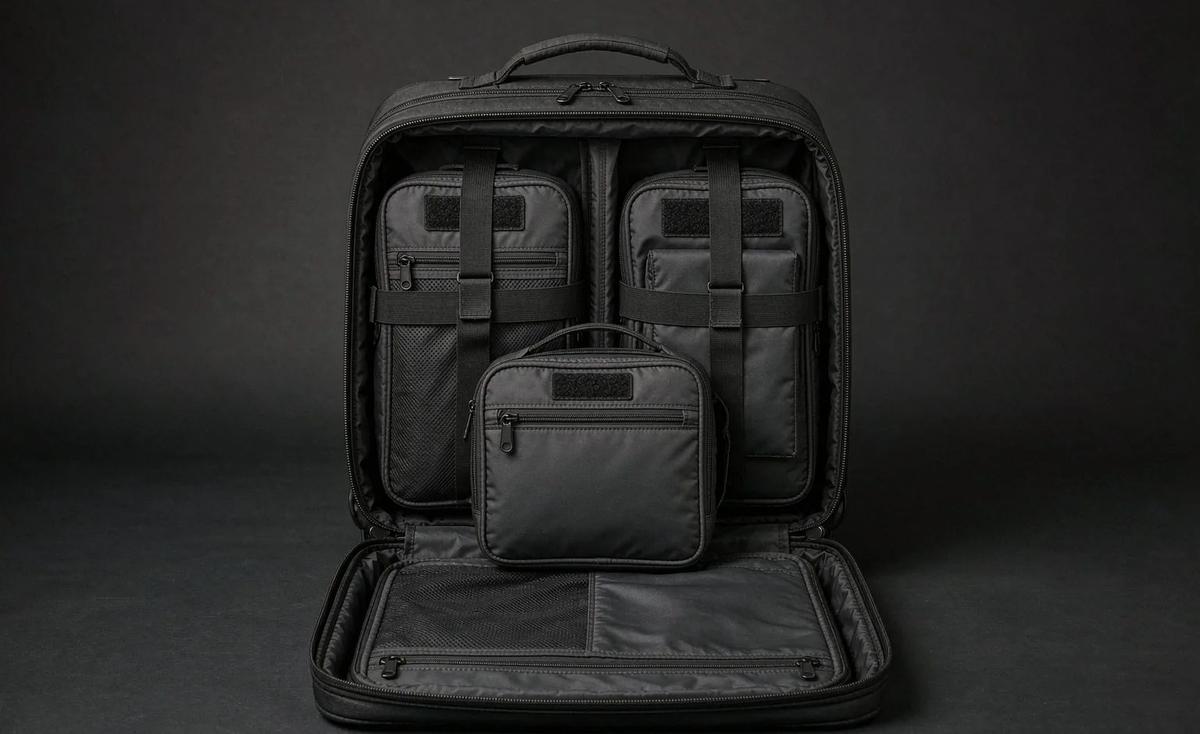
Stitch density is only half of seam quality. The other half is construction: how the seam is made, how the raw edges are dealt with, and whether the stress points are reinforced. Those three are what determine whether a bag survives a year of use rather than a week.
Check that the seam construction matches what the pack specified. If the pack called for a bound seam and the sample is overlocked, that is a deviation whether or not it looks fine. Overlocked edges are acceptable in some places and not in others, and the difference is usually about abrasion and appearance inside the bag.
- Main seams: construction type matches the pack, no skipped stitches, no loose thread ends.
- Raw edges: bound, taped or overlocked as specified, no fraying.
- Stress points: strap roots, handle joins and corners reinforced as specified.
- Bar tacks: present where specified, correct length, placed at the load point.
- Inside: lining seams clean, no trapped fabric, no visible glue.
- Symmetry: left and right panels, straps and pockets mirror correctly.
Reinforcement deserves deliberate attention because it is invisible in a photograph and decisive in use. Pull gently on each strap root and look at where the load goes. If the load is carried by the lining rather than the shell and webbing, the bag will fail in a predictable way, and the fix at sample stage is a bar tack or a revised anchor.
Symmetry is the item most often missed and most often noticed by backers. Two strap roots placed 3 mm differently, a pocket that sits higher on one side, or a panel seam that does not align across the top of the bag: all are visible once someone looks for them, and they read as poor quality even when the bag is structurally sound.
Zippers: gauge, tape, puller and run
Zippers are the most common functional complaint on reward bags and the easiest thing to check on a sample, which makes the gap between those two facts remarkable. Four things need checking: gauge, tape, puller and run. All four are specified in the pack and all four can be verified in under two minutes.
Gauge is the size of the teeth or coil, commonly number 3, number 5, number 8 or number 10 for bags. A number 5 reversed coil is the usual choice for a main opening on a daypack. Verify the gauge against the pack, because a substitution to a lighter gauge is a common silent cost saving and it changes how the zip feels and how long it lasts.
- Gauge: matches the pack, teeth or coil size verified.
- Tape colour: matches the colourway specification, not merely close.
- Puller: type, finish and any branding as specified.
- Run: opens and closes smoothly through the full length, including corners.
- Ends: top and bottom stops secure, no gap when closed.
- Cycling: run it 50 times and check for catching or separation.
The run test is the one that matters most and the one nobody does. Open and close the zip fifty times, including around any corner, then look at whether the two sides still meet cleanly. A zip that catches at a corner on the sample will catch on the bulk lot, and it will be the most reported defect in your backer comments.
Also check the zip under load. Close the bag with its intended contents inside and run the zip, because a zip that runs smoothly empty can bind when the panels are under tension. That test takes thirty seconds and it duplicates the condition backers will actually experience.
One more check: whether the zip separates or splits behind the slider. Run it slowly and watch the closed section behind the slider. Intermittent splitting is a slider or tape mismatch issue and it is almost impossible to detect without doing this slowly and deliberately.
Print registration and decoration placement
Registration means alignment. On a single colour print it means the print sits where the pack said it would. On a multi colour print it means each colour sits in its intended relationship to the others. On embroidery it means the design is placed and oriented as specified and the fill covers the ground without gaps.
Placement is a measurement exercise like everything else. Take the coordinates from the pack, measure from the stated edge, and record what you find. A print placed 60 mm from the top edge when the pack said 50 mm is a deviation, and on a production lot that deviation will be consistent across 500 units.
| Method | Fault to look for | How to check | Typical cause |
|---|---|---|---|
| Screen print | Colour offset, edge bleed | Measure from edge, inspect edges | Screen movement, ink viscosity |
| Heat transfer | Misalignment, lifting edges | Measure, try a gentle edge lift | Temperature or dwell time |
| Embroidery | Gaps, puckering, wrong orientation | Measure, view from 300 mm | Hoop tension, wrong file |
| Woven label | Skew, wrong position | Measure from two edges | Placement during assembly |
| Silicone patch | Offset, uneven adhesion | Measure, inspect edge bond | Mould placement, pressure |
| Metal plate | Skew, loose fixing | Measure, gentle pull test | Fixing method, placement |
View decoration from about 300 mm, which is roughly the distance a person holds a bag when someone else is looking at it. Faults that are invisible up close and faults that only appear up close are both real, and the viewing distance that matters is the one a backer will use.
Orientation is the classic embroidery fault. On a curved or angled panel the design can be applied in two plausible orientations, and it is worth confirming against the arrow in your pack rather than against your memory of the drawing. Our sample and prototyping guide shows how coordinates are recorded before production.
Check adhesion on any applied decoration by lifting a corner gently with a fingernail. A heat transfer that lifts on the sample will lift on the bulk lot and possibly in a backer's washing machine, and that is the kind of defect that generates returns rather than comments.
Material and colour verification
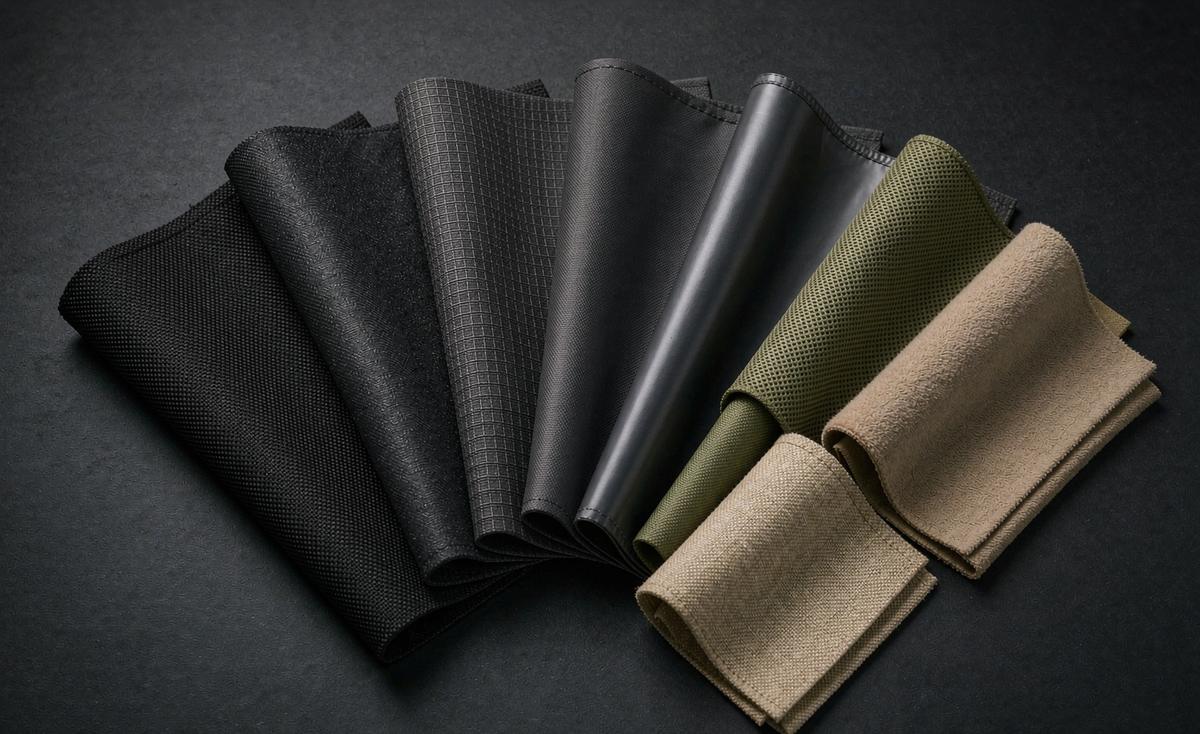
Material and colour checks compare the sample against the approved standard, not against your memory of the render. Put the approved swatch or lab dip next to the bag in daylight and compare. If there is no physical standard, this check cannot be done properly, and that itself is a finding worth recording.
Check every element of the colourway, not just the shell. Lining, webbing, binding, zip tape, thread and labels all have to be coordinated, and the most common fault is a set of elements that are each individually acceptable and collectively mismatched. Three slightly different blacks on one bag is a visible quality problem.
- Shell: against the approved swatch or lab dip, in daylight.
- Lining: against its stated standard, inside and out.
- Webbing and binding: shade and width against the pack.
- Zip tape: colour matches the colourway, not merely available.
- Thread: to the thread card reference, on visible seams.
- Labels and prints: Pantone per ink or thread, checked against the card.
Hand feel is the part of material verification that cannot be measured and should still be recorded. Say what you feel: stiffer than expected, softer than expected, more sheen than expected. Our production team can act on a description like that, because hand feel maps to finishes and coatings that can be changed.
Also check for coating faults: uneven coating, rub marks, or a fabric that creases permanently when folded. Fold a corner of the sample, hold it for a few seconds, and release. A coated fabric that keeps a hard crease will look worn quickly, and that is worth knowing before 500 units are cut.
Where the material is claimed to be recycled or certified, ask for the documentation at sample stage rather than at delivery. Claims made on a campaign page need evidence behind them, and evidence is far easier to assemble during development than after production. Our eco claims article covers what documentation to ask for.
Hardware, buckles, adjusters and trims
Hardware is checked by size, finish and function. Size is verified against the pack, usually by measuring the webbing slot or the overall width. Finish is checked visually and by feel, looking for plating consistency, sharp edges and any burr left from manufacture.
Function is the part that gets skipped. Every buckle should release and re-engage cleanly ten times. Every adjuster should hold under load without slipping. Every snap or magnet should engage with the intended force. These are quick tests and they find the faults that backers report first.
- Buckles: release and re-engage ten times, no sticking or cracking.
- Adjusters: set a length, load the strap, check for slip.
- Snaps and magnets: correct engagement force, aligned halves.
- Rivets and eyelets: flush, no sharp edges, no looseness.
- Feet or studs: present, count matches, evenly placed.
- Plating: consistent colour, no chipping at edges.
The adjuster slip test deserves a specific note because it is the most common functional fault and the least checked. Set the strap to a length, hang a realistic load on it for a minute, and measure whether the length changed. A strap that slips under load makes the bag unpleasant to carry and generates complaints that read like a design failure.
Check the hardware against the webbing width as well. A 25 mm buckle on 25 mm webbing is correct; a slightly undersized buckle will allow the webbing to bunch, and a slightly oversized one will allow it to twist. That mismatch is visible and it is avoidable with a measurement.
Dimensions, fit and function
Dimensions are checked against the pack, empty or loaded as the pack specified. Measure external dimensions first, then each compartment that matters, then the strap adjustment range. Record every number, because the numbers are what make a later argument short.
Fit is the functional version of the same check. Put the object the bag was designed for into the compartment it was designed for, and check both that it goes in and that it comes out. A laptop sleeve that accepts a device with 1 mm of clearance is technically correct and practically unusable.
| Check | Method | Pass condition | Common failure |
|---|---|---|---|
| Device compartment | Insert and remove the actual device | Enters and exits without forcing | Too tight in practice |
| Strap range | Measure at both limits | Within the stated range | Range shorter than specified |
| Closure under load | Close the bag with contents | Closes without strain | Panels pull apart |
| Empty shape | Stand the bag empty | Holds acceptable shape | Collapses flat |
| Loaded carry | Carry with realistic weight | Comfortable, no strap slip | Slip or pressure point |
| Water resistance | Light spray on the shell | Beads and wipes off | Wets through at seams |
The empty shape test in that table is the one creators never do and backers always notice. Most photographs of a reward bag are taken empty, because that is how it arrives. A bag that only looks good when it is full will disappoint in the very first photograph your backers take.
Weigh the bag and record the number. Packed weight drives the per backer shipping charge, and if the sample is heavier than the figure you used to set the reward price, you need to know now. Our shipping weight article shows how the number flows into freight and reward economics.
Finally, check the packing. Put the bag into the specified polybag and carton arrangement if you have one, and confirm the carton count and dimensions. Cube is freight, and discovering that 20 bags per carton was optimistic is better done on a bench than on a shipping quote.
Writing an approval that survives production
An approval is a short document, not a mood. It names the sample, its revision, the date, the measurements recorded, and the retained reference. Anything less and the approval cannot be used later, which means it does not function as an approval at all.
Have the approved piece retained at the production site and marked, and ask for a second piece or a full photographic and measurement record for yourself. A reference sitting in another country cannot be used by an inspector, and a creator with no reference cannot resolve a dispute after delivery.
- Name the sample, revision and date in writing.
- Record the measurements you took and the standard you used.
- Confirm the retained reference is held and marked at the production site.
- State the inspection standard: AQL 2.5 to ISO 2859-1 against this piece.
- Confirm the commercial terms: FOB Xiamen, T/T 30/70, delivery month.
- Request a pre-production sample if the construction is new.
State the inspection standard explicitly in the approval. An inspector working to AQL 2.5 to ISO 2859-1 with a retained reference is doing measurement. The same inspector without a reference is doing their best, and their best is not a defensible acceptance criterion.
Then release bulk. Production runs 35-50 days from deposit and approved sample, so the approval is the gate. The 30% deposit buys the production slot, and in a busy season the slot is the scarce resource. Our pre-production sample guide covers the additional check that is usually worth making for a new construction.
What to do when the sample fails
Most first samples fail something, and that is normal rather than alarming. What matters is how the failure is reported. A numbered list with a measurement, a photograph and a requested change per item is a document that can be acted on immediately. A paragraph of impression is not.
Mark each item as blocking or cosmetic. Blocking means the sample cannot become the reference until it is fixed. Cosmetic means you would like it changed but would accept the current state. That distinction lets our team act on the whole list at once instead of guessing which item matters most.
- Number every finding and give it a measurement.
- Attach a photograph with the ruler in frame for scale.
- Mark each item blocking or cosmetic.
- State the requested change, not just the complaint.
- Send the complete list in one pass, not in stages.
- Confirm the next round window: 6-10 working days, or 12-15 for complex builds.
Sending the complete list in one pass is the single highest value habit in the whole review. Partial lists produce partial samples, and partial samples produce a fourth round at a cost of another full window. Take the extra day to make the list complete rather than the extra week to make another sample.
Where a finding is genuinely uncertain, ask rather than assert. Is this seam construction acceptable for this material is a good question and our campaign bag specialist would rather answer it than receive an instruction based on a guess. Questions that get answered before the next build are cheaper than corrections that get discovered after it.
The summary is short. Measure rather than feel, in a fixed order, with a ruler and the pack open beside you. Record the numbers, photograph the findings, send one complete list, and write the approval as a named revision with a retained reference. That is the whole discipline, and it is what makes a 500 unit run predictable.
Want a review checklist for your construction? Send the pack and the sample photos through the contact quotation form or to service@junyuanbags.com and our team will return the checks that matter for your bag.
Frequently Asked Questions
How do I check stitch density on a bag sample?
Count the stitches over a fixed length on a straight run, not at a corner, and convert: count over 25 mm and multiply by four for stitches per inch. Compare the result with the density stated in your pack. Also check consistency along the whole seam, because a seam that drops density at one point is worse than one that is uniformly slightly off.
Is higher stitch density always better?
No. Excessive density perforates the fabric along the seam line and can make a seam weaker, particularly on coated fabrics. Typical structural seams sit around 7-9 stitches per inch and linings around 8-10, as illustrative ranges. The goal is the specified density applied consistently, not the maximum.
What should I check on a bag zipper?
Four things: gauge against the pack, tape colour against the colourway, puller type and finish, and the run. Open and close it 50 times including around corners, then run it again with the bag loaded. Also watch the closed section behind the slider for intermittent splitting.
What is print registration and why does it matter?
Registration means alignment. On a single colour print it is whether the print sits where the pack said. On a multi colour print it is whether each colour sits in its intended relationship to the others. On embroidery it covers placement, orientation and fill coverage. View decoration from about 300 mm, the distance a backer will use.
How do I verify colour on a sample?
Compare against the approved swatch, lab dip or Pantone reference in daylight, and check every element of the colourway: shell, lining, webbing, binding, zip tape, thread and labels. A screen image cannot be used as a standard because no mill can dye to a screenshot.
What tools do I need to review a bag sample?
A steel ruler with millimetres, a digital scale accurate to at least 5 g, the approved swatches or lab dips, the object the bag must carry, a camera, and the tech pack open beside you. Confirm the revision number of the pack before you start measuring.
How do I write a sample approval that is valid?
Name the sample, its revision, the date and the measurements recorded. Confirm the retained reference is held and marked at the production site, state the inspection standard of AQL 2.5 to ISO 2859-1 against that piece, and confirm the commercial terms of FOB Xiamen and T/T 30/70.
Should the approved sample be sent to me or kept?
Kept at the production site where inspection happens. Ask instead for a second piece or a full photographic and measurement record for your own comparison after delivery. A reference sitting in another country cannot be used by an inspector.
What functional tests should I run on a sample?
Insert and remove the actual device the compartment was designed for, run the zip 50 times loaded and empty, set a strap and load it to check for slip, stand the bag empty to check shape, carry it loaded for comfort, and weigh it to confirm the shipping estimate.
What if the sample fails my checks?
Send a numbered list with a measurement, a photograph showing the ruler for scale, and a requested change per item, each marked blocking or cosmetic. Send the complete list in one pass, because partial lists produce partial samples and a further round at 6-10 working days.
How long does a correction round take?
6-10 working days for a standard build and 12-15 working days for a complex one, from the agreed change list to dispatch. Transit and your review time are additional. That is why a complete list in one pass is worth an extra day of preparation.
What happens after I approve the sample?
Bulk production 35-50 days from deposit and approved sample. The 30% deposit buys the production slot, the 70% balance is paid before shipment under FOB Xiamen, and the lot is inspected to AQL 2.5 to ISO 2859-1 against the retained reference before it ships.
People Also Ask
How do I count stitch density?
Count over a fixed length on a straight run, such as 25 mm, then multiply by four for stitches per inch. Never count at a corner.
What stitch density should a bag have?
Typically 7-9 stitches per inch on structural seams and 8-10 on linings, as illustrative ranges. The value in your pack is the one that governs.
How do I test a bag zipper?
Run it 50 times including corners, run it again loaded, and watch behind the slider for splitting. Check gauge, tape colour and puller against the pack.
What is print registration?
Alignment: whether each colour and the whole design sit where the pack specified, checked by measuring from a stated edge.
How do I check colour on a sample?
Against the approved swatch or lab dip in daylight, for every colourway element. Never against a screen image.
What makes an approval valid?
A named revision, a date, recorded measurements, a retained reference held at the production site, and the AQL 2.5 to ISO 2859-1 standard stated.
What if my sample fails?
Send one complete numbered list with measurements, photographs and requested changes, each marked blocking or cosmetic.
How long is a correction round?
6-10 working days for a standard build, 12-15 for a complex one, plus transit and your review time.