Tech Pack for Bags: The 12 Sections Every Creator Must Complete
A bag tech pack is the document that replaces conversation, and it has 12 sections: cover sheet, technical drawing, dimensions, materials, hardware, colour, construction, decoration, labelling, packing, quantity and tolerances with approval. A pack missing any one of them generates a question during sampling, and every question costs days on a 6-10 working day round. This article walks all 12 in order, shows what a good entry and a poor entry look like for each, and explains how to fill a pack when all you have is a render.
- What a tech pack is for
- Sections 1 to 3: cover sheet, drawing, dimensions
- Sections 4 and 5: materials and hardware
- Section 6: colour and colourway
- Section 7: construction and stitch
- Section 8: decoration and artwork
- Sections 9 and 10: labelling and packing
- Section 11: quantity, MOQ and delivery
- Section 12: tolerances, testing and approval
- Filling a pack when you only have a render
- Mistakes that generate extra sampling rounds
- A completed example: one line per section
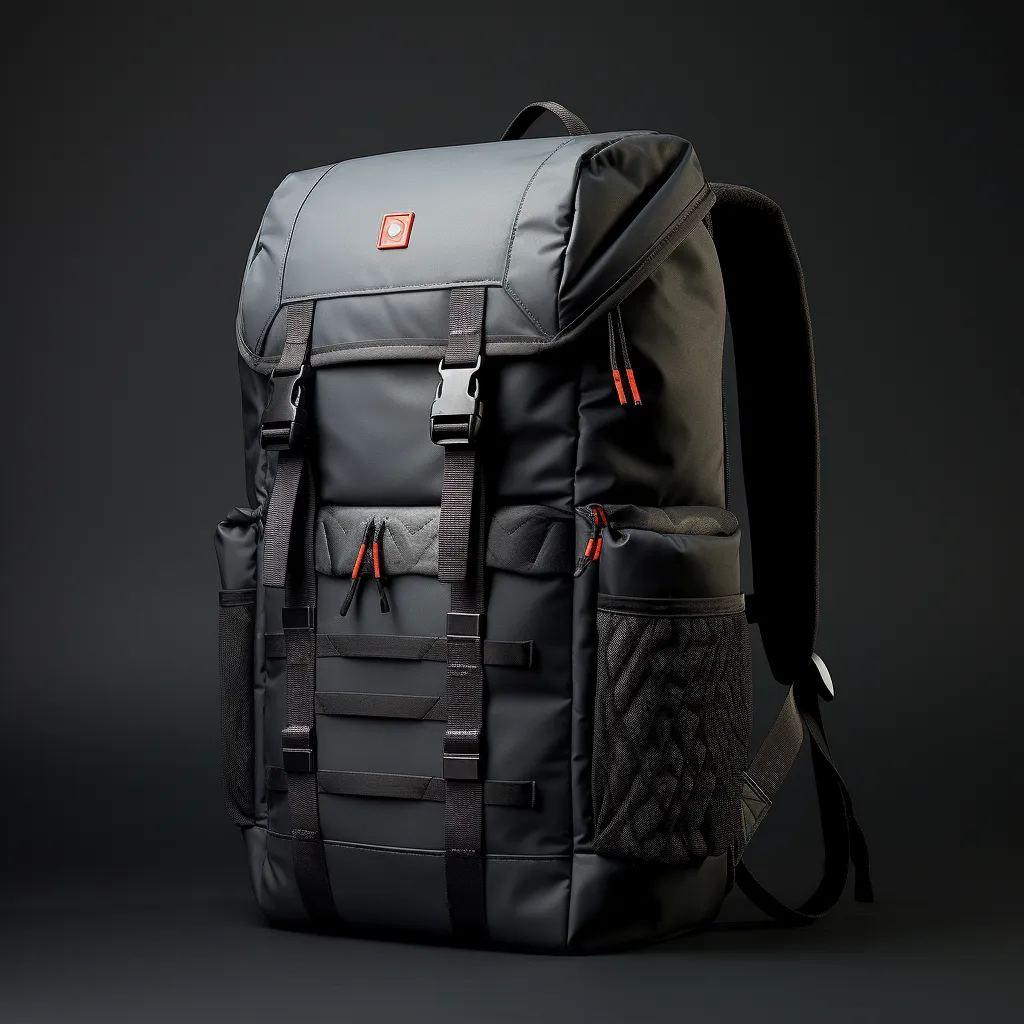
A tech pack is not a drawing and it is not a spec sheet, it is both plus nine more things. Its job is to make the bag buildable without asking you anything, because every question asked during sampling pauses the build and every pause lands on your launch calendar. The pack is the single highest leverage document in a crowdfunding bag programme, and it is the one most creators underinvest in.
The measure of a good pack is simple: could a pattern maker, a buyer and a sewing operator each do their part without contacting you. If yes, the sample will arrive close to what you imagined. If no, the gaps will be filled by assumption, and assumptions are what produce a second and third round.
What a tech pack is for
The pack has four audiences and each reads a different part. A pattern maker reads the drawing, the dimensions and the construction notes. A buyer reads the material and hardware lists. A decoration operator reads the artwork and coordinates. A logistics planner reads the packing and carton section. A document that serves all four is a document that produces comparable quotations and accurate samples.
It also has a legal function that creators overlook. The pack is what a later dispute is settled against. If a delivered lot does not match the specification, the question is what the specification said, and a pack with measured values answers that question while a pack with adjectives does not. Write it as if it will be read by someone who disagrees with you.
There is a commercial function too. A complete pack produces a comparable quotation, because every recipient is pricing the same bag. An incomplete pack produces numbers that look comparable and are not, since each recipient has filled the gaps differently. Comparing those numbers is how creators choose the wrong partner.
Finally, the pack is the reference for inspection. When the bulk lot is checked at AQL 2.5 to ISO 2859-1, the inspector works from the approved specification and the retained golden sample. A pack with tolerances stated makes that inspection objective. Our bag sampling and prototyping guide places the pack at the start of the whole sequence.
One more audience is easy to forget: the person who places the re-order. A campaign that funds well often re-orders, and the second order is built from whatever document survives from the first. A pack with references, revisions and tolerances makes a re-order a one email transaction months later, while a pack that was never finished makes it a fresh development project.
Sections 1 to 3: cover sheet, drawing, dimensions
Section one is the cover sheet, and it is more than a title page. It carries the style name, the revision number, the date, the season or campaign name, and the owner. Without a revision number on every page, nobody can tell which version of the specification is current, and a workshop with three versions will build the wrong one.
Section two is the technical drawing. It should include a front view, a back view, a side view and, where the internal layout matters, an interior view. Callouts should point at every feature with a number that appears in a legend. A perspective render is useful context but it is not a technical drawing, because perspective distorts proportion.
- Style name and revision number on every page.
- Date, campaign name and the named owner of the document.
- Front, back, side views, plus an interior view where layout matters.
- Numbered callouts with a legend rather than scattered notes.
- Views drawn to scale, because a pattern maker works from proportion.
- A construction name that will appear on the purchase order.
Section three is dimensions, and it is where most packs fail. Give external dimensions and internal compartment dimensions separately, in millimetres, and state whether each is measured empty or loaded. A bag measured empty and a bag measured loaded differ, and the difference matters for a compartment that must accept a specific device.
Measure the compartment that matters against the object it holds. A laptop sleeve drawn to fit a 15 inch laptop is not a specification; 380 mm by 265 mm by 25 mm is, and it can be checked with a ruler in seconds. Where clearance matters, state the clearance rather than implying it.
| Item | Poor entry | Good entry | Why |
|---|---|---|---|
| External size | Medium, about 45 cm | 450 x 300 x 180 mm, empty | Measurable and states condition |
| Laptop sleeve | Fits a 15 inch laptop | 380 x 265 x 25 mm internal | Checkable against the device |
| Strap length | Adjustable | Adjustable 550 to 950 mm | Gives the range, not a claim |
| Handle drop | Comfortable | Drop 90 mm | Removes interpretation |
| Pocket depth | Deep pocket | Depth 180 mm | Can be verified on a sample |
| Weight target | Lightweight | Target 780 g empty | Drives shipping later |
A weight target belongs in section three as well, and it is the entry most often omitted. Stating a target packed weight gives everyone something to design toward, and it gives you an early warning if the sample lands heavier. Since packed weight drives per backer shipping across 500 units, this one line has real money attached to it.
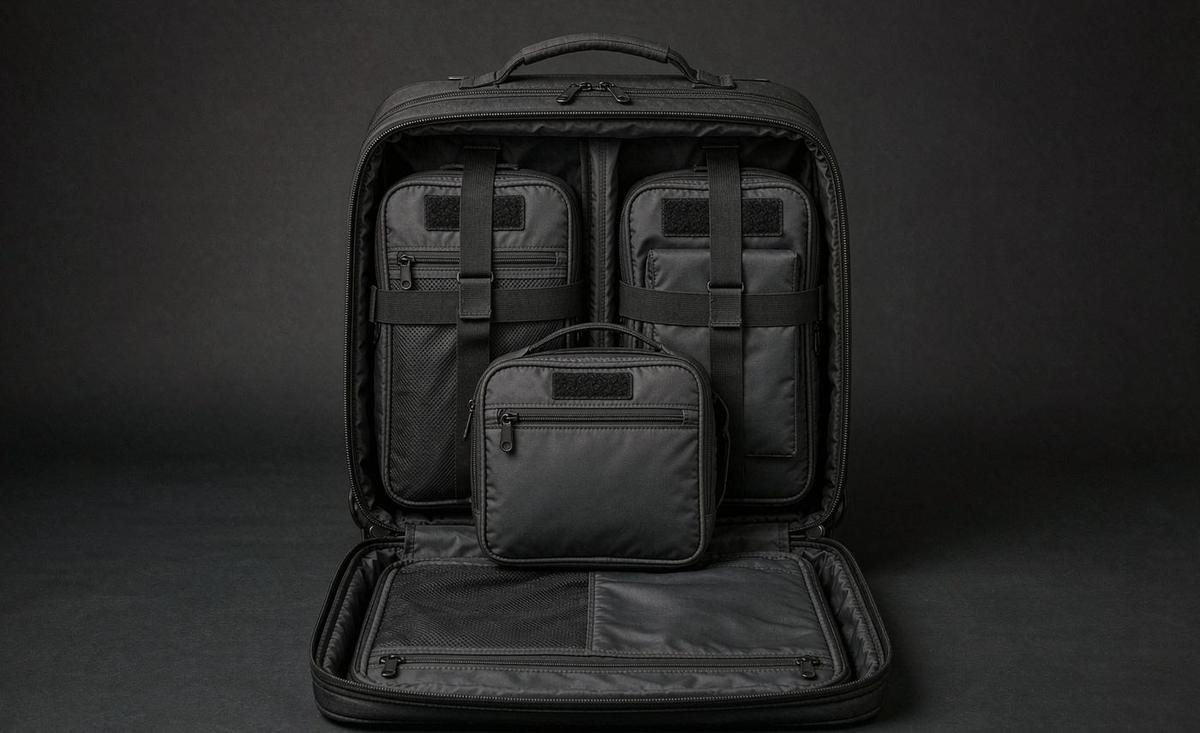
Sections 4 and 5: materials and hardware
Section four is the material list, and the rule is references not descriptions. Every fabric, lining, webbing, binding, foam, mesh and trim needs a specification that a buyer can actually purchase. Nylon is a description; 420D nylon with a PU coating and a matte finish is a reference. The second can be bought, the first cannot.
For each material line, state the fibre or base, the weight or denier, the weave or construction, any coating or finish, and the intended use area. That last field matters more than it appears: a fabric specified for the shell may be wrong for a high abrasion base panel, and stating the use area invites a useful question rather than a silent substitution.
Section five is hardware, and it is the section that most often causes a mid-build pause. Every zip, puller, buckle, adjuster, rivet, magnet, snap, D ring, hook and foot needs a size, a type, a material and a finish. A zip is not a zip: a number five reversed coil with a black tape and a specific metal puller is a specification.
- Zips: gauge, coil or metal, tape colour, puller type and finish.
- Buckles and adjusters: width matched to webbing, material, finish.
- Rivets and eyelets: diameter, material, finish, position.
- Magnets or snaps: size, pull force if relevant, plating.
- Feet or studs: diameter, material, count and position.
- Labelling hardware: any metal plate, its size, finish and fixing method.
Stock versus custom should be flagged on every line in sections four and five. A stock item can be pulled quickly and keeps sampling inside the standard 6-10 working day window. A custom dyed or custom finished item carries a minimum and a lead time of its own and can push a build into the 12-15 working day range.
Add a substitution column to both sections, naming one acceptable alternative for each line and stating who may authorise it without asking you. That single column removes the most common mid-build pause in the entire process. Our material customisation guide goes deeper on choosing between stock and custom.
Section 6: colour and colourway
Colour is a section rather than a note, because a colourway is a coordinated set and not a single value. Shell, lining, webbing, binding, zip tape, thread, printed or embroidered decoration and labels all have to be matched. Specifying the shell colour and leaving the rest to coordination is how a bag arrives with three slightly different blacks on it.
Each element needs its own standard. A Pantone reference is the common choice for fabric, but thread has its own colour cards and hardware finishes have their own naming. Where two systems have to meet, say which one governs, so that a dispute about whether the thread matches the shell has an answer.
| Element | Standard to state | Common failure |
|---|---|---|
| Shell fabric | Pantone or approved swatch | Screen image used as the standard |
| Lining | Pantone or matching instruction | Lining shade not specified at all |
| Webbing and binding | Pantone or supplier colour code | Assumed to match automatically |
| Zip tape and puller | Supplier code or Pantone | Tape colour left to availability |
| Thread | Thread card reference | Assumed to match the shell |
| Labels and prints | Pantone per ink or thread | Print colour drifts from fabric |
The screen image failure in the first row is worth dwelling on, because it is the most common and the most expensive. A screen renders colour differently on every display, and no mill can dye to a screenshot. A physical swatch, a Pantone reference or an approved lab dip is a standard; anything else is a wish.
If the colour is critical to the campaign, request a lab dip as a separate approval step. It is a small dyed sample of the actual fabric, it costs far less than committing to a custom dye with its mill minimum, and it converts a subjective discussion about shade into a comparison against a physical object.
State the number of colourways you are committing to in this section, and remember that each colourway is its own 500 pcs commitment. A pack that lists three colours without quantities has not specified anything commercially. Our MOQ and colourway article explains what has to match within a colourway.
Section 7: construction and stitch
Construction is the section most often left blank and the section that decides whether the bag survives use. It states how panels are joined, how seams are finished, where reinforcement sits, how straps are anchored and what load path carries weight. Those five notes are what a pattern maker reads before anything else.
Stitch specification belongs here too, stated as stitches per inch or per centimetre by seam type. A generic instruction to sew strongly is not a specification and cannot be inspected. A stated density per seam can be measured on the sample and checked again on the bulk lot, which is exactly what makes the later inspection meaningful.
- Seam construction per seam: bound, overlocked, taped or turned.
- Stitch density per seam type in stitches per inch or centimetre.
- Reinforcement at stress points: strap roots, handle joins, corners.
- Strap anchoring: stitched through, boxed, riveted or bar tacked.
- Load path: how weight travels from the contents to the strap.
- Edge finishing: binding, piping, folding or raw cut.
The load path note is the one that separates a bag that lasts from a bag that does not, and it is almost never written down. If a heavy contents load is carried by a lining seam rather than by the shell and webbing, the bag will fail in a predictable way after a few months. Saying where the load goes is a sentence that prevents a warranty problem.
Our production team will normally review this section and suggest changes based on what the chosen material can actually do, because some constructions suit some fabrics and not others. That review is worth asking for before the sample is built rather than after it fails a load test.
Stitch density is also the item most often checked incorrectly during review. Counting stitches over a fixed length is the method, and it should be done on a straight run rather than at a corner. Our sample approval article sets out how to check density, zippers and print registration on a physical piece.
Section 8: decoration and artwork
Decoration is the section where specificity pays the highest dividend, because it is the easiest to specify precisely and the most damaging to leave vague. Four things are required for each decoration: the method, the artwork file, the size and the position, and position must be a measurement.
Centre of the front panel is an opinion, and two people will place it differently. Sixty millimetres below the top edge, centred on the panel width, maximum height 25 millimetres is a specification, and it can be inspected with a ruler. Given that the difference between the two is a single sentence, there is no reason to write the first one.
- Method: embroidery, woven label, heat transfer, screen print, silicone patch or metal plate.
- Artwork: the final production file in the format the method requires.
- Size: maximum height and width in millimetres.
- Position: coordinates measured from a stated edge or seam.
- Colour: Pantone per ink or thread card reference.
- Orientation: which way is up, particularly on a curved panel.
Orientation is the field everyone forgets, and it matters on any panel that is not flat. A logo on a curved or angled panel can be applied in two plausible orientations, and discovering the wrong one after 500 units are decorated is an expensive way to learn the lesson. Add a sketch with an arrow.
Each artwork, each position and each method represents a separate setup. One logo in one position by one method is one setup spread across the production run. A second artwork or a second method adds a setup and an approval, and that is a real line in the quotation rather than a detail.
Freeze this section before sampling starts. An artwork change after the sample is built creates a new setup, forces another build and repeats the material, labour and courier lines. Our sampling cost article sets out what that costs in practice.
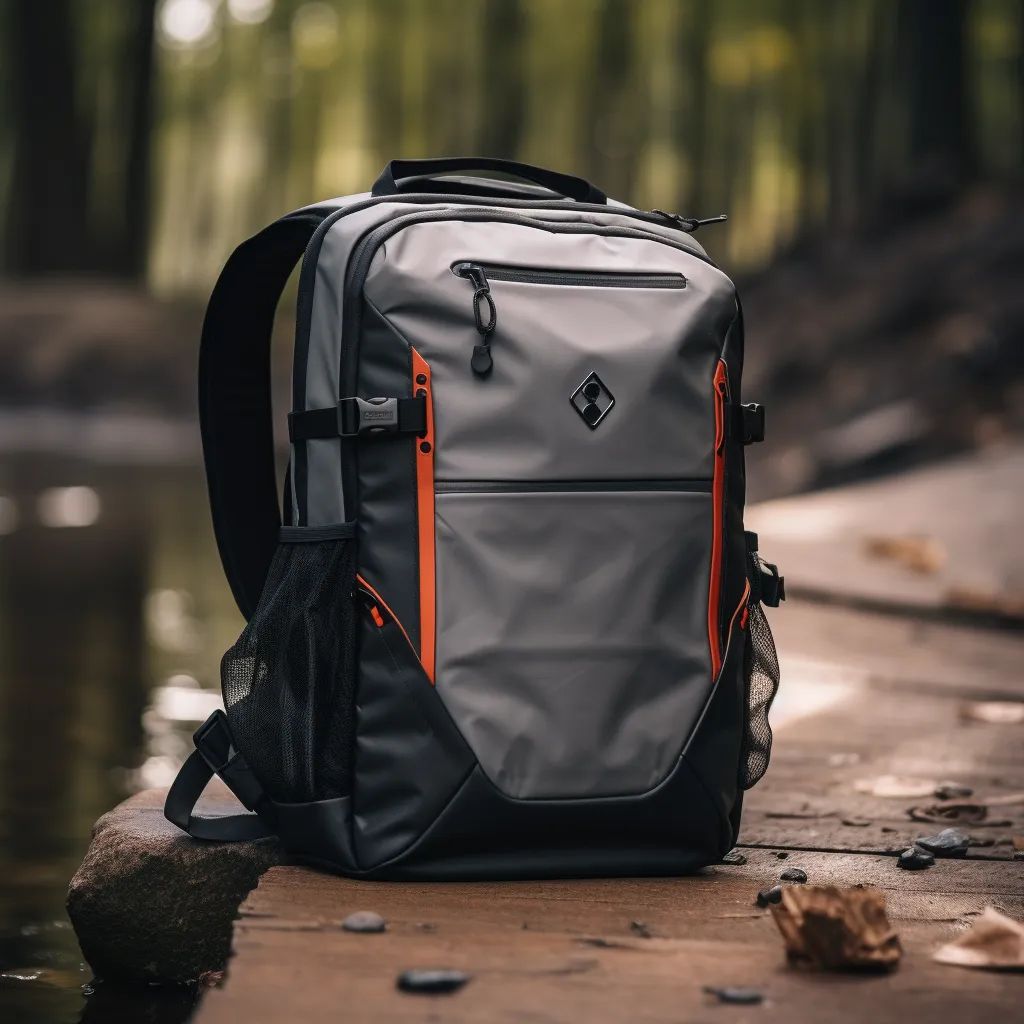
Sections 9 and 10: labelling and packing
Section nine covers labels and compliance markings: brand label, care label, composition label, country of origin, any required regulatory marking and any barcode. Each has a size, a material, a position and a fixing method. Care and composition labels are frequently forgotten and they are frequently required by the destination market.
Compliance is worth a specific check. Different markets require different markings, and a reward bag shipped to backers in several countries may need a set that satisfies the strictest destination. Ask which markets you are shipping to and confirm the markings before bulk rather than at customs.
Section ten is packing, and it drives freight as much as the bag does. State the primary packing, whether each bag is polybagged, folded or flat packed, whether it is stuffed to hold shape, the carton count, the carton dimensions and the carton strength. Those five determine cube and therefore freight.
| Line | Detail to state | Consequence if omitted |
|---|---|---|
| Primary packing | Polybag, tissue, stuffing, fold method | Scuffing or creasing in transit |
| Units per carton | Exact count | Carton cube guessed, freight wrong |
| Carton dimensions | Length, width, height in mm | Warehouse and freight mispriced |
| Carton strength | Burst strength or grade | Crushed cartons at destination |
| Labelling | Shipping mark, barcode, side mark | Warehouse cannot receive it |
| Weight limit | Maximum carton weight | Manual handling surcharge |
Ask for carton data to be confirmed from real packed cartons rather than calculated, because calculated cube is consistently optimistic. Real carton dimensions and real carton weights are what your freight forwarder and your fulfilment warehouse will work from.
If the bags are going to a fulfilment warehouse or a marketplace, the labelling requirement must appear in this section so that labels are applied during packing at origin rather than rehandled at destination. Our rewards fulfilment guide covers the downstream side of that decision.
Section 11: quantity, MOQ and delivery
Section eleven is commercial and it should be written as a table, one row per production SKU. Each row carries the style name, the colourway name, the quantity, the decoration description, the packing requirement and the target delivery month. Never write a single total with options listed underneath, because each recipient will allocate it differently.
The minimum is 500 pcs per style and per colourway, and the pack should state the quantity per colourway explicitly rather than a total. A line that says 500 bags in three colours is not a quantity specification; three lines of 500 each is, and it is also three commitments rather than one.
- One row per production SKU, never a single total.
- Quantity stated per colourway, not across colours.
- Accessories listed separately with their own quantities and minimums.
- Target delivery month named, not ASAP.
- Trade term stated: FOB Xiamen.
- Payment structure stated: T/T 30/70.
Accessories deserve their own rows. A pouch, a packing cube or a strap shown in the reward is a separate construction with its own patterns, materials and possibly its own minimum. Listing it under the bag is the error that turns a viable tier into a shortfall discovered after the campaign funds.
Delivery month should be expressed as a month rather than a number of days, because the production window is 35-50 days from deposit and approved sample and the slot is allocated by month. Naming the month in the pack lets our programme coordinator confirm whether the slot is available before you commit publicly.
Section 12: tolerances, testing and approval
The final section is the one that converts the pack from a description into a contract. Tolerances state what variation is acceptable: dimensional tolerance in millimetres, shade tolerance against the approved standard, and any functional tolerance such as zip pull force or strap adjustment range.
Without tolerances, every sample review becomes a negotiation about whether a difference matters. With them, the review is a comparison against a stated number, and a borderline sample can be approved on measurement instead of on feeling. This single section removes more arguments than any other.
- Dimensional tolerance: plus or minus a stated number of millimetres.
- Shade tolerance: against the approved swatch or lab dip, under stated lighting.
- Stitch density tolerance: acceptable range per seam type.
- Functional tests: load test, zip cycle test, strap pull test.
- Inspection standard: AQL 2.5 to ISO 2859-1 against the golden sample.
- Approval record: revision, date, named approver, retained reference.
Functional tests deserve a line each with a method and a pass criterion. A load test is not meaningful until you state the weight and the duration, and a zip cycle test is not meaningful until you state the number of cycles. Vague tests produce vague results and no protection.
The approval record closes the document. It names the golden sample, its revision, its date and where it is retained. That record is what makes the AQL 2.5 to ISO 2859-1 inspection meaningful, because an inspector comparing a lot against a retained reference is doing measurement rather than forming an opinion.
Filling a pack when you only have a render
Most creators arrive with a render and not a pack, and that is a normal starting point. The conversion is mechanical: take the render, add measurements, and work through the twelve sections answering each one or marking it open. Anything marked open is a question that will otherwise be answered by assumption.
Start with the drawing, because the render may not be to scale. Redraw it as flat views with millimetre dimensions, using the render for proportion only if you are confident it was drawn accurately. If the render was drawn to look good rather than to scale, the proportions will need correcting, and it is much cheaper to correct them now.
- Redraw as flat views with millimetres, do not trust perspective proportion.
- Name every visible panel material with weight, coating and finish.
- Name every visible hardware item by size, type and finish.
- State the construction for main seams and strap anchors.
- Fix colour to a numbered or physical standard per element.
- Give decoration coordinates measured from a stated edge.
Where you genuinely do not know an answer, write the question in the pack rather than leaving the field blank. Which lining do you recommend for this shell is a legitimate entry, and it invites a useful answer. A blank field invites an assumption, and assumptions are what produce the second round.
Our campaign bag specialist will normally take a render plus a list of the things you care about most and return a first draft pack with the open questions marked. Creators who send that list get better drafts than creators who send the image alone, because the list tells us where to spend the attention.
Mistakes that generate extra sampling rounds
Each mistake below corresponds to a skipped or thin section, and each costs a sampling round at 6-10 working days. They are listed in the order they most often appear, and none of them is a manufacturing problem.
The most common is the vague material line. A pack that says nylon gets a material chosen by someone else, and the sample arrives with a hand feel the creator did not expect. Fixing it costs a round and, if a custom colour was involved, possibly a second one.
- Descriptions instead of references: nylon is not a material specification.
- No revision number: three versions circulate and the wrong one is built.
- Unmeasured decoration position: placement becomes a judgement call.
- Screen colour as the standard: the dye cannot match a screenshot.
- No tolerance section: every review becomes a negotiation.
- Accessories omitted: the pouch appears late with its own minimum.
The revision number mistake is quietly the most expensive, because it produces a correct sample built to an outdated specification. Everyone involved believes they are working from the current document, and the discrepancy is only discovered when the sample arrives and does not match what the creator last approved in their head.
The remedy for all six is a review pass before the pack is sent. Read each section and ask whether a stranger could act on it without contacting you. Any section where the answer is no needs another ten minutes of writing, and those ten minutes buy back a sampling round.
A useful trick is to hand the pack to someone who has never seen the bag and ask them to describe what it will look like. Where their description differs from yours, a section is thin. That test takes five minutes, needs no expertise, and reliably finds the same gaps that would otherwise be found by a pattern maker three weeks later.
A completed example: one line per section
Here is what a finished pack looks like when reduced to one line per section. It is a commuter backpack in one colourway at 500 pcs, and it is deliberately ordinary, because ordinary bags built from complete documents succeed far more often than ambitious bags built from partial ones.
| Section | Completed entry |
|---|---|
| 1 Cover | Commuter 22 L, revision 3, dated, owner named, campaign named |
| 2 Drawing | Front, back, side, interior views, 14 numbered callouts, to scale |
| 3 Dimensions | 450 x 300 x 180 mm empty; laptop sleeve 380 x 265 x 25 mm; target 780 g |
| 4 Materials | 420D nylon PU coated shell; 210D polyester lining; 25 mm polyester webbing |
| 5 Hardware | No.5 reversed coil, black tape, metal puller; 25 mm acetal buckles, black |
| 6 Colour | Shell Pantone Black 6; lining Pantone 425; webbing black; thread to match |
| 7 Construction | Bound main seams; 8 stitches per inch; bar tacked strap roots; boxed handles |
| 8 Decoration | Embroidery, 60 mm below top edge, centred, max height 25 mm, Pantone 7548 |
| 9 Labelling | Woven brand label 25 mm; care and composition; origin; barcode to spec |
| 10 Packing | 1 pc polybag, tissue stuffed, 20 per carton, 600 x 400 x 400 mm, grade stated |
| 11 Quantity | 500 pcs, one style, one colourway, delivery month named, FOB Xiamen, T/T 30/70 |
| 12 Tolerances | Plus or minus 5 mm; shade to approved swatch; AQL 2.5 to ISO 2859-1; PPS required |
Notice how few adjectives appear in that table. Every line is a number, a reference or a named standard, and that is the whole discipline. A pack written this way can be quoted accurately, sampled in 6-10 working days, approved against measurement, and inspected objectively at the end.
It also produces a comparable quotation. Send that table to three parties and you will receive three prices for the same bag, and the differences will be real rather than the product of different assumptions. That is the practical test of whether a pack is finished.
The last line, the pre-production sample requirement, is worth emulating. For a first run on a new construction, a sample built on the bulk line with bulk materials catches line specific issues before 500 units are made. Our pre-production sample guide explains when to insist on one.
Want your pack reviewed before sampling starts? Send the drawing, material list and quantity to the contact quotation form or service@junyuanbags.com and we will mark the open sections.
Frequently Asked Questions
What is a tech pack for a bag?
A document with 12 sections that allows a pattern maker, a buyer, a decoration operator and a logistics planner to do their work without asking you anything: cover sheet, drawing, dimensions, materials, hardware, colour, construction, decoration, labelling, packing, quantity, and tolerances with approval.
Do I need a technical drawing or is a render enough?
You need flat technical views. A perspective render is useful context but it distorts proportion and cannot be measured from. Redraw front, back, side and interior views to scale with millimetre dimensions, and treat the render as a reference for appearance only.
How detailed do material specifications need to be?
Enough to be purchased. State the fibre or base, weight or denier, weave or construction, coating or finish, and the use area. Nylon is a description and cannot be bought; 420D nylon with a PU coating and a matte finish is a reference and can.
What hardware details do I need to specify?
Size, type, material and finish for every zip, puller, buckle, adjuster, rivet, magnet, snap, D ring, hook and foot. A zip needs gauge, coil or metal, tape colour and puller finish. Also flag each line as stock or custom, because custom items carry their own lead time and minimum.
How should I specify decoration position?
As coordinates measured from a stated edge, not as an adjective. Sixty millimetres below the top edge, centred on the panel width, maximum height 25 millimetres can be inspected with a ruler. Also state orientation with an arrow, particularly on a curved panel.
Why does my pack need a tolerance section?
Without tolerances every sample review becomes a negotiation about whether a difference matters. With dimensional tolerance in millimetres, shade tolerance against an approved swatch and stitch density ranges, a borderline sample can be approved on measurement rather than on feeling.
What does a colourway specification include?
Every coordinated element: shell fabric, lining, webbing, binding, zip tape, thread, labels and printed or embroidered decoration, each with its own standard. A screen image is not a standard because no mill can dye to a screenshot; use a Pantone reference, a physical swatch or an approved lab dip.
How should I state quantity in a tech pack?
One row per production SKU with style, colourway, quantity per colourway, decoration, packing and target delivery month. Never a single total with options underneath. The minimum is 500 pcs per style and per colourway, and accessories get their own rows with their own minimums.
Should packing be in the tech pack?
Yes, because it drives freight as much as the bag does. State primary packing, polybag, fold method and stuffing, units per carton, carton dimensions in millimetres, carton strength and labelling. Ask for carton data confirmed from real packed cartons rather than calculated.
What is a pre-production sample and should I require one?
A sample built on the bulk line with bulk materials before the full run, used to catch line specific issues. For a first run on a new construction it is usually worth the extra time. Requiring it in section 12 of the pack puts it in the quotation rather than as a surprise later.
What happens if a section is left blank?
It is filled by assumption. A blank material line gets a fabric chosen by someone else, a blank construction note gets a default seam, and a blank decoration coordinate gets a judgement call. Each assumption produces a difference, and each difference usually costs a sampling round at 6-10 working days.
How do I write a pack when I only have a render?
Work through the twelve sections and either answer each one or write the question in the pack. A legitimate entry is asking which lining is recommended for this shell. A blank field invites an assumption, and assumptions are what produce a second and third sampling round.
People Also Ask
What is a bag tech pack?
The document that replaces conversation, with 12 sections from cover sheet to tolerances and approval.
How many sections does a tech pack have?
Twelve. A pack missing any one of them generates a question during sampling, and every question costs days.
Is a render a technical drawing?
No. Perspective distorts proportion. Redraw flat views to scale with millimetre dimensions.
How do I specify a zip?
By gauge, coil or metal, tape colour, puller type and finish. A number five reversed coil with black tape and a metal puller is a specification.
Why is a screen colour not a colour standard?
Every display renders it differently and no mill can dye to a screenshot. Use Pantone, a physical swatch or a lab dip.
What is a tolerance section for?
It converts review into measurement. Without it, every sample review becomes a negotiation about whether a difference matters.
Do accessories go in the pack?
Yes, as separate rows with their own quantity, materials and minimum. A pouch is a construction, not a trim item.
Should I state a weight target?
Yes. Packed weight drives per backer shipping across 500 units, so a target gives everyone something to design toward.