Custom Printed Bag Fabrics: Sublimation vs Screen vs Heat-Transfer
Sublimation is best for full-coverage photographic artwork on polyester, screen is best for opaque spot colours on any fabric, and heat-transfer is the fallback when your fabric will not take dye or ink cleanly. Sublimation typically costs USD 0.90 to 2.20 per large printed panel with no screen charges and no hand feel change, because the dye bonds inside the fibre at 190 to 210 degrees Celsius. Screen printing typically costs USD 0.35 to 2.50 per placement plus roughly USD 15 to 40 per colour in screen charges, and it is the only one of the three that gives you true opaque white on a dark ground. Heat-transfer lands around USD 0.60 to 1.80 per placement and carries photographic detail plus white onto coated shells, at the cost of lower abrasion resistance. All three run on a MOQ of 500 pcs per style and per colourway, with 6 to 10 working days of sampling and 35 to 50 days of bulk production.
- What the Print Method Actually Changes About Your Reward Bag
- Dye-Sublimation: How It Works and Where It Wins
- Screen Printing on Bags: Deposit, Mesh Count and Per-Colour Cost
- Heat-Transfer Printing: When Neither of the Other Two Fits
- Print Durability Testing: What We Actually Run Before Bulk
- Colour Management Across Three Very Different Colour Systems
- Registration, Shrinkage and Panel-Level Print Layout
- Matching Fabric Construction to Print Method
- What Print Method Does to MOQ, Sampling Time and Bulk Schedule
- Writing the Print Section of Your RFQ So the Quote Is Real
- Side-by-Side Summary: Which Print Method for Which Reward Tier
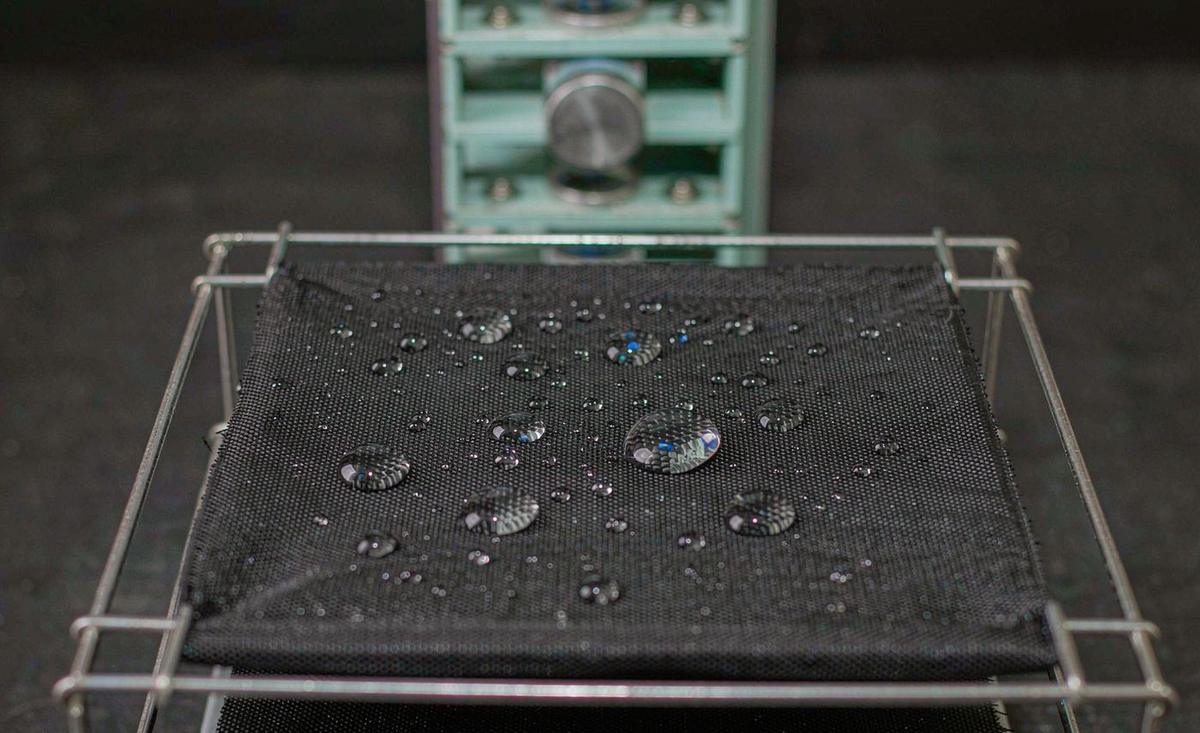
Most creators pick the artwork first and the print method last. That order costs money, because the method you choose quietly decides your unit cost curve, how many colours you can reasonably put on a panel, which fabrics you are allowed to use, and how many days your sampling round needs. This guide compares the three methods our production team quotes most often for reward bags: dye-sublimation, screen printing and heat-transfer, and gives you the cost bands, durability gates and fabric rules that separate a clean first sample from a third re-run.
Choose the print method when you choose the fabric. Every expensive print fix we see traces back to a fabric and print combination that was decided separately.
What the Print Method Actually Changes About Your Reward Bag
Print method is not a cosmetic decision. It moves four things that show up directly in your campaign budget and your delivery date. The first is cost behaviour. Sublimation prices by printed area and has almost no setup cost, so a 500-piece run and a 2,000-piece run differ mainly by metreage. Screen printing prices by colour per placement, and the setup cost is recovered across units, which is why it looks expensive at 300 pieces and cheap at 5,000. Heat-transfer prices per placement with a film and labour component that scales almost linearly, so it stays flat but never gets very cheap.
The second thing is colour freedom. A photographic gradient costs sublimation or digital transfer nothing extra, but it can push a screen job from two colours to a process simulation with six or more screens. The third is fabric eligibility. Sublimation needs polyester. If you have already fallen in love with a waxed canvas or a matte TPU-coated shell, sublimation is off the table and you are choosing between screen and transfer instead. The fourth is the sampling clock, because each method needs a different kind of strike-off before bulk can start.
A useful way to think about the money: a print upgrade that adds USD 0.80 per unit looks trivial on a 500-piece first run, where it is USD 400 in total. The same upgrade applied to a 3,000-unit reward fulfilment is USD 2,400, and that is usually real money against your post-campaign margin. If you are still deciding whether printed fabric is central to your reward tier or just decoration, our overview of custom bags for Kickstarter campaigns covers how printed panels fit into the wider decision before you request a quote.
- Sublimation: best cost shape for full-coverage artwork on polyester, no colour limit, no screens.
- Screen printing: best opacity and lowest unit cost at volume, but you pay per colour and per screen.
- Heat-transfer: best fallback when your fabric will not take sublimation and your artwork needs detail.
- Rule of thumb: the more colours and the lighter the ground fabric, the more sublimation wins; the darker the fabric and the flatter the artwork, the more screen wins.
Dye-Sublimation: How It Works and Where It Wins
Sublimation is not ink sitting on top of fabric. A disperse dye is printed onto transfer paper, then heat and pressure in the region of 190 to 210 degrees Celsius take the dye straight from solid to gas, and the gas phase opens the polymer structure of polyester so the dye bonds inside the fibre. When it cools, the colour is part of the material rather than a film on it. That single physical fact explains almost every advantage and every limitation of the method.
Because nothing sits on the surface, there is no hand feel change, no cracking path, and no raised edge you can catch with a fingernail. Because you are printing CMYK rather than mixing spot colours, there is no practical colour limit and no per-colour setup. The practical limits instead come from chemistry and optics: the substrate must contain enough polyester to take the dye, and sublimation cannot lay white, so every white area in your artwork has to be the fabric itself showing through.
In our quoting work we treat 65 percent polyester as the practical floor and push creators toward 80 percent or more when the printed panel carries brand-critical colour. Blends below that threshold print pale and muddy. A coated or resin-finished polyester can also resist dye uptake even at high polyester content, which is why we ask for the same physical fabric swatch to strike off on before quoting the printed version.
Cost-wise, sublimation panels typically land in a band of roughly USD 0.90 to 2.20 per large printed panel depending on coverage area and yield, with no screen charge and no tooling. The catch is yield: because decoration is applied to the fabric before cutting, you are paying for printed area you may later cut away. For a reward bag where one large front panel carries all the artwork, that inefficiency is small. For a design with four small logos scattered across many pattern pieces, it is much larger, and screen printing or transfer may be the cheaper route.
Screen Printing on Bags: Deposit, Mesh Count and Per-Colour Cost
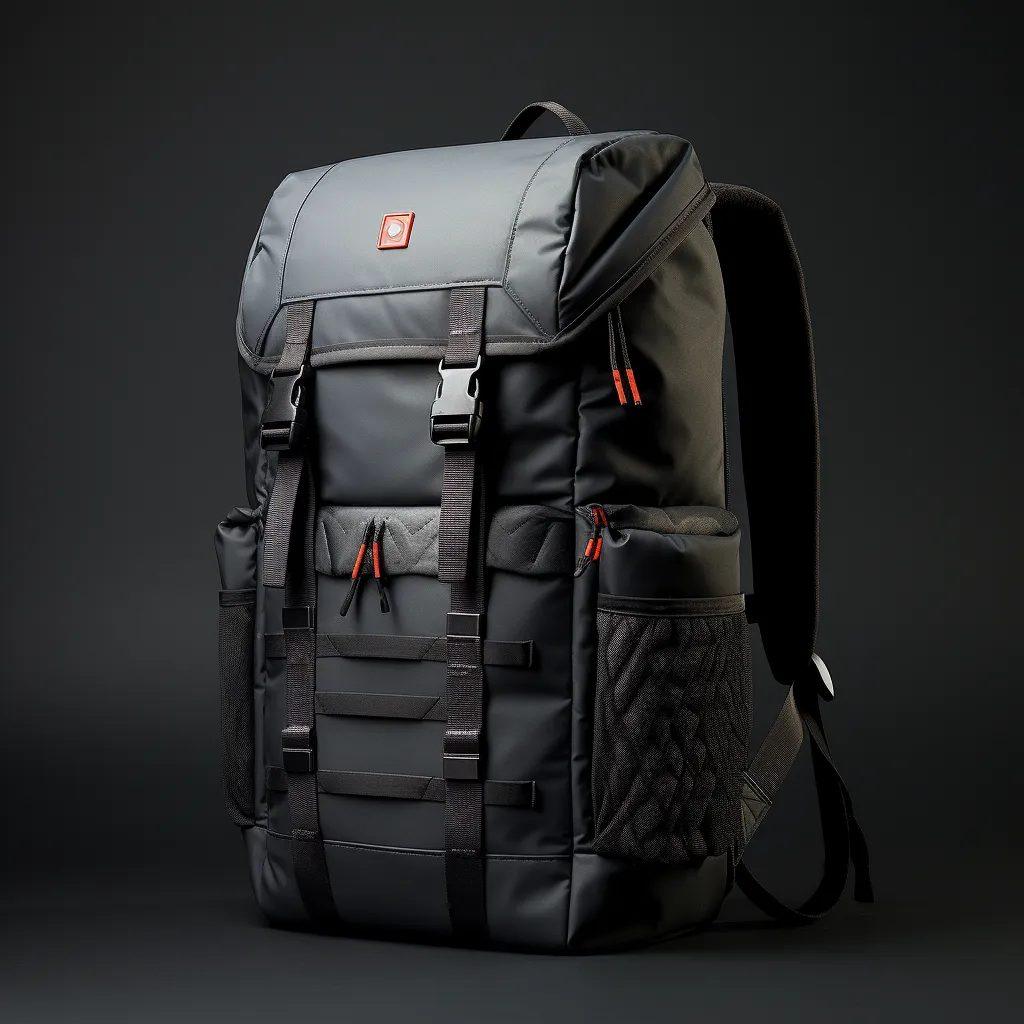
Screen printing pushes ink through a tensioned mesh with a squeegee, then cures the deposit. On bags the typical mesh sits around 110 to 180 threads per inch, chosen so the deposit is thick enough to stay opaque over textured fabric. That deposit is real material: expect roughly 0.10 to 0.30 mm of cured ink film, which you can feel with your eyes closed. Curing typically runs in the 150 to 165 degrees Celsius band, and undercured ink is one of the most common reasons a printed panel fails a rub test later.
The economic structure is the part creators misread. You pay a screen charge per colour, typically in the region of USD 15 to 40 per frame at market rates depending on size, plus a per-placement, per-colour printing rate. A two-colour logo may cost USD 0.35 to 0.60 per placement on a simple flat pocket, while a six-colour simulated process print with flashing between stations can pass USD 2.50 per placement. The screen charges do not change whether you order 500 or 5,000 pieces, which is precisely why the unit economics flip so sharply above about 1,000 units.
What screen buys you that sublimation cannot: true opacity. Solid white on black nylon, metallic-ish coverage on canvas, punch-in-the-face spot colours that read exactly the same under different lights. If your brand colour is a saturated pantone on a dark ground, screen is usually the honest answer. If your artwork is a photograph, screen is usually the wrong answer no matter how good it looked on your monitor.
- Fix the pantone references for every spot colour before screens are burned.
- Ask for the mesh count used and keep it consistent between sample and bulk.
- Print on the actual production fabric, not a substitute swatch of similar weight.
- Confirm the cure temperature and dwell time were recorded on the strike-off.
- Keep fine detail above roughly 0.4 mm line width so the detail survives the mesh.
Heat-Transfer Printing: When Neither of the Other Two Fits
Heat-transfer covers two related families. The first is digital transfer onto a polyurethane film, printed CMYK plus optional white, then pressed onto the bag at roughly 145 to 160 degrees Celsius. The second is cut vinyl, where a single-colour PU flex or flock film is cut to shape and pressed. Both solve the same problem: they carry detail onto a substrate that cannot go through a dye-sub press and that may not take screen ink cleanly.
One practical advantage is that transfer costs almost nothing to set up, so it suits a stretch goal that adds small personalised elements late in a campaign. Be realistic about heavy textured canvas, where the film struggles to wet into every valley and the printed area can read as patchy up close, so budget for transfer only where it sits comfortably inside your reward margin.
Typical use cases are matte TPU-coated shells, PU leather-look panels, waxed canvas that will not wet out evenly under a squeegee, and any situation where you need a white under-base plus photographic detail in one pass. Typical unit cost sits around USD 0.60 to 1.80 per placement depending on size and whether white is involved, with little or no tooling charge.
The honest trade-off is abrasion resistance. A transfer film is bonded to the surface rather than inside the fibre, so it is the most vulnerable of the three methods to scuffing at corners, strap contact points and anywhere the bag rubs against a desk or a gym floor. We advise keeping transfer prints off high-abrasion zones, adding a 2 to 3 mm clear margin so edges do not lift, and testing the exact placement with a rub test before you approve bulk. Where we do use it heavily is on reward tiers where the print is a hero moment on a flat front panel that will not see much wear.
Print Durability Testing: What We Actually Run Before Bulk
A printed sample that looks right on day one tells you very little. Durability is what backers complain about months later, so the pre-bulk gate matters more than the appearance review. For printed panels our standard gate uses AQL 2.5 to ISO 2859-1 for visual defects on the production run, backed by lab checks that are typical industry practice rather than invented performance claims.
| Test | What it simulates | Typical method reference | Common acceptance gate | Failure mode we see |
|---|---|---|---|---|
| Colour fastness to washing | Home laundering of the bag | ISO 105-C series laundering practice | Grade 4 or better change after 5 cycles at 40 degrees | Pale, washed-out print on polyester blends below 65 percent |
| Colour fastness to rubbing | Daily dry and wet scuffing | ISO 105-X12 crockmeter method | Grade 4 dry and grade 3 to 4 wet is commonly targeted | Transfer film lifting and screen ink dusting |
| Print adhesion | Peel stress at edges and seams | Cross-cut tape test practice | No removal beyond minimal edge flaking | Undercured screen ink peeling off PU coatings |
| Handle and cracking | Folding the panel during packing | Manual 180 degree fold assessment | No visible cracking after repeated folding | Thick screen deposit cracking on flexible coated nylon |
| Appearance consistency | Colour shift between panels | Grey scale grading against approved strike-off | Within agreed tolerance of the approved standard | Batch drift after a fabric lot change |
Two practical notes. First, request these tests on the exact production construction, including any coating or laminate, because a coating changes both adhesion and the way ink cures. Our write-up on fabric, zipper and print adhesion testing goes deeper into how we sample and grade results. Second, keep the approved strike-off as a physical reference that ships with the bulk order, because digital photographs of print colour are unreliable enough to start arguments that nobody wins.
Never approve print colour from a screen. Approve it from a physical strike-off under consistent lighting, then keep that swatch as the reference standard for bulk.
Colour Management Across Three Very Different Colour Systems
Each method builds colour differently, so each one has a different realistic tolerance. Solid dyed fabric is matched by dye lot and judged with a light box against a pantone reference. Screen printing builds each colour from a mixed spot ink. Sublimation and transfer build every colour from CMYK dots, so any single spot colour is an approximation assembled from four primaries.
The numbers we work to: for a solid dyed fabric we aim for a colour difference of Delta E at or below 2.0 against the reference, and we will discuss acceptance up to Delta E 3.0 when the fibre or dye class makes 2.0 unrealistic. For a halftone build such as sublimation, a wider window around Delta E 3.0 is normal and asking for tighter is usually paying for re-runs rather than better bags. On a dark ground with a screen print, opacity matters as much as hue, which is why we specify an under-base or a double hit on the strike-off rather than discovering it at inspection.
This is also where lab dips and dye lots matter. If your reward has a printed panel next to a solid dyed panel, the two have to agree under the same light, and a new dye lot on the solid side can silently break an agreement that existed on the sample. Our companion guide to Pantone matching, lab dips and dye lots covers how lot control is handled through a campaign. The practical instruction for creators is simple: approve all colours for one reward tier in the same session, under the same light source, against the same physical standards.
Registration, Shrinkage and Panel-Level Print Layout
Print problems that are not colour problems are usually layout problems. Every fabric moves during printing and again during sewing. Polyester commonly relaxes in the region of 1 to 3 percent, and cotton canvas can move more, so a logo that was perfectly square on the strike-off can end up visibly skewed after sewing if the panel was printed before relaxation.
The second layout trap is placement relative to seams and hardware. When a printed logo crosses a seam allowance, a stitch line or a webbing attachment bar, even perfect registration looks like a mistake to a backer, because the eye expects symmetry around structural features. We recommend keeping printed artwork at least 10 to 15 mm clear of any sewn seam or webbing join, and building the pattern so that a single printed motif lands on one pattern piece wherever possible.
Registration tolerance itself should be written into the spec rather than assumed. A reasonable ask is plus or minus 1.5 to 3 mm depending on print method and panel size, with tight tolerance reserved for premium tiers where the added inspection cost can be justified. We also suggest avoiding razor-thin outlines and very small reverse text; if the smallest positive element in your artwork is below about 1 mm at final size, plan for it to fill in and either enlarge it or drop it. More detail on how this is inspected at sample stage is in our article on print registration, shrinkage and colour control. Grading these decisions during the 6 to 10 working day sample window is far cheaper than discovering them at bulk inspection, when the only remedy available to you is a re-cut.
Matching Fabric Construction to Print Method
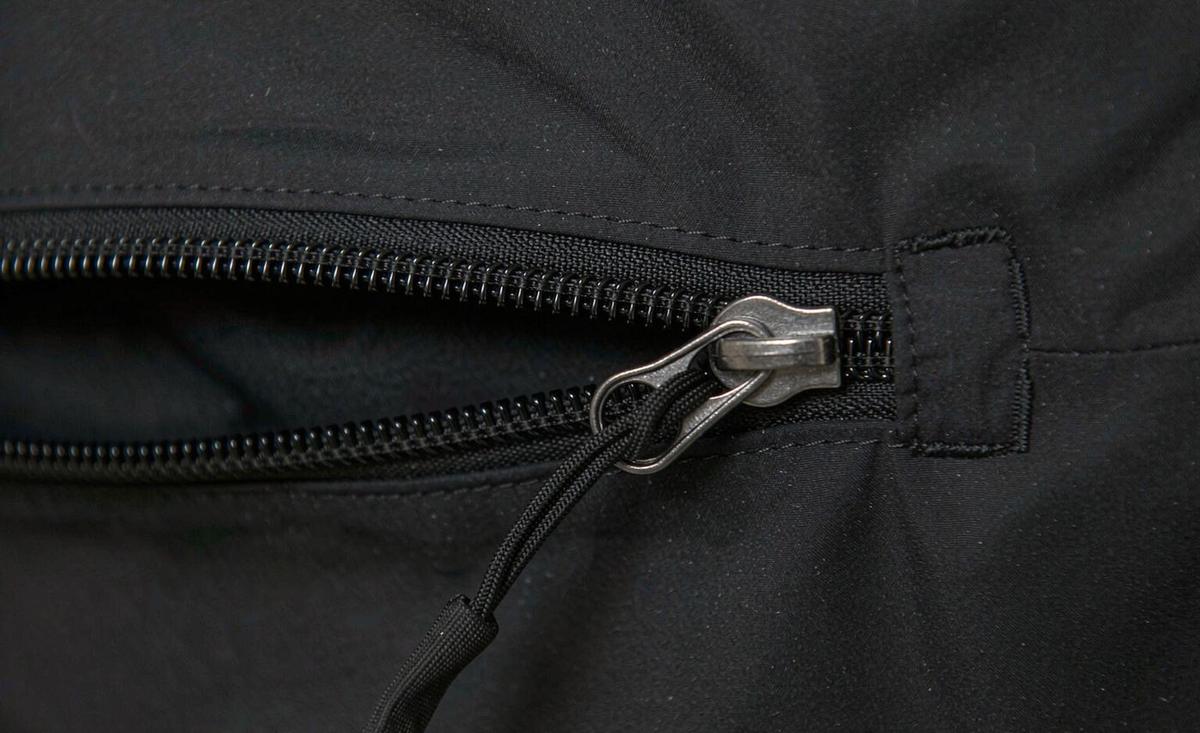
Fabric and print are one specification, not two. A few rules we apply repeatedly:
- 600D polyester is the safe default for sublimation: stable, takes dye well, and heavy enough to hide minor backing irregularities.
- 300D polyester prints beautifully but telegraphs everything underneath it, so it needs clean construction.
- PU-coated shells resist dye uptake and often block screen ink adhesion, so they usually push the job toward transfer.
- Ripstop grid fabric puts a visual grid under your artwork; fine gradients can moiré, and small text can sit awkwardly on the grid.
- Coated canvas and heavy 1680D tend to swallow fine detail; choose them for durability, not for fine linework.
Weight and weave also decide how much ink a panel drinks. Textured or open weaves soak up more screen ink, which is why the same artwork can look slightly different on a 420D and a 600D version of the same design. If you plan to offer two fabric options in one reward tier, budget for two strike-offs rather than one, because a transfer of artwork between fabrics almost never lands exactly. If you are comparing shell fabrics more broadly, our ripstop nylon versus 1680D polyester comparison covers the durability side of that choice.
There is also a product-tier logic here. A low-tier reward where the print is a small logo can safely take the cheapest viable method, while the hero tier where printed fabric is the entire value proposition deserves the method with the best imaging, even at an extra USD 1 per unit. We see creators lose more money discounting a weak hero tier after funding than they would have spent getting the print right the first time.
What Print Method Does to MOQ, Sampling Time and Bulk Schedule
Every production programme we run for creators works on a MOQ of 500 pcs per style and per colourway. Print method does not change that floor, but it changes how the floor is counted. If your campaign offers three colourways of the same bag and each colourway has its own artwork, that is generally three styles for print planning purposes, even if the pattern pieces are identical. Mixed colourway planning is covered in more detail in our MOQ explained guide for creators, and it is one of the first things worth resolving before you publish your reward tiers.
Sampling runs 6 to 10 working days for a standard construction and 12 to 15 working days for complex builds. Print adds to that in method-specific ways. Sublimation needs a printed strike-off cycle and often a colour correction pass, which commonly adds 2 to 4 working days. Screen printing needs screens burned and approval of each spot colour, which adds 2 to 5 working days depending on how many colours need correction. Heat-transfer is usually the quickest to strike off, often adding only 1 to 3 working days.
Bulk production then runs 35 to 50 days from approved sample. The schedule risk with printed fabric specifically is fabric lead time: if a sublimation job needs a particular white or high-polyester base fabric, that fabric may not be a stock item, and a fabric delay can add one to two weeks before printing even starts. Our advice is always the same: lock the base fabric before you lock the artwork, because artwork can be revised in a day while a substitute fabric can change everything about how the print behaves. Our 6 to 10 day sampling timeline article breaks the sequence down step by step.
Writing the Print Section of Your RFQ So the Quote Is Real
The fastest way to get an accurate number is to give the print spec as numbers rather than adjectives. Here is the minimum set our production team needs before a printed-panel quote is worth anything to you:
What usually goes wrong is not the printing itself but the information handed over before it. When we receive artwork with no stated placement dimensions, no pantone references and no confirmed fabric composition, the first quote is necessarily a placeholder, and the real number only appears after a round of clarification that pushes the campaign schedule out by one to two weeks. Every one of those six lines above removes a round trip. The lines that are most often missing are the fabric composition percentage, because creators quote fabric by denier and not by fibre content, and the per-colourway quantity, because the campaign page was designed before anybody thought about how print MOQ interacts with colour splits.
If you do not yet know which method you want, that is a perfectly good answer. Say so, send the artwork and target quantity, and ask for two costed options with a strike-off for each. Our campaign team prices options in parallel rather than serially, so asking for both rarely adds more than a few days to the 6 to 10 working day sample window, and the comparison is usually worth far more than the delay costs you.
- Print method you are requesting, or the words recommend for this artwork if you want options priced.
- Placement list with dimensions in millimetres, one line per placement.
- Artwork in vector format, plus a raster version for reference if gradients or photographs are involved.
- Pantone references for every spot colour, and a note if any colour is brand critical.
- Base fabric: denier, composition percentage, coating type and colour.
- Required quantity per colourway, so we can tell you how the MOQ of 500 pcs per style and colourway applies.
Two lines are worth calling out because they change the quote most. The fabric composition decides whether sublimation is even legal chemistry, so a design specified as polyester with a nylon face will be quoted differently from the same design specified as a true polyester shell. The colourway split decides whether you are running one print job or three, and our guide to how MOQ splits across mixed colourways sets out exactly how that arithmetic works before you publish tier names you later have to honour.
Side-by-Side Summary: Which Print Method for Which Reward Tier
The table below is the condensed version. Use it as a filtering step, then confirm with a strike-off on your actual fabric, because no table can account for a specific coating or a specific dye class.
| Decision factor | Dye-sublimation | Screen printing | Heat-transfer |
|---|---|---|---|
| Fabric requirement | Polyester rich, 65 percent or higher practical floor | Almost any fabric with the right ink system | Almost any fabric that tolerates press temperature |
| Setup cost | None beyond fabric handling | Screen charge per colour, commonly USD 15 to 40 per frame | Low or none |
| Typical unit cost at 500 pcs | USD 0.90 to 2.20 per large panel | USD 0.35 to 2.50 per placement depending on colour count | USD 0.60 to 1.80 per placement |
| Colour capability | Unlimited, photographic gradients | Spot colours, no cheap gradients | Photographic detail plus white base option |
| White ink | Not possible, white is the fabric | Yes, opaque whites on dark ground | Yes, as an under-base |
| Hand feel | No change, dye is in the fibre | Noticeable raised film, 0.10 to 0.30 mm | Thin flexible film |
| Abrasion resistance | Excellent, nothing to abrade | Good once fully cured | Fair, keep off wear zones |
| Sampling time adder | Two to four working days | Two to five working days | One to three working days |
When you are ready to test any of this for real, the cheapest next step is a physical comparison rather than another round of emails. Our standard route is a material sample kit with the same print applied to your candidate fabrics, followed by a strike-off on the one you pick. That sequence typically costs less than one failed bulk run and it answers every question in this article with evidence rather than opinion.
Send us your artwork, placements and target quantity and we will come back with a printed-fabric quote on FOB Xiamen terms, with T/T 30/70 payment and AQL 2.5 inspection built into the number.
Frequently Asked Questions
What is the cheapest print method for 500 custom reward bags?
At 500 pieces, sublimation is usually cheapest for full-coverage or photographic artwork because there are no screens to pay for, with panels commonly costing USD 0.90 to 2.20 depending on coverage. Screen printing is usually cheapest for a one or two colour logo, at roughly USD 0.35 to 0.60 per placement, unless high colour counts push it past sublimation. The crossover point where screen becomes clearly cheaper is typically somewhere between 1,000 and 2,000 units for a one colour logo on a simple placement.
Can you sublimate print on any bag fabric?
No. Dye-sublimation needs polyester to bond with, and we treat 65 percent polyester as the practical minimum, preferring 80 percent or more for brand critical colour. Heavy coatings, resin finishes and some PU laminates block dye uptake even at high polyester content. Canvas, cotton and most nylon shells cannot be sublimated at all, and those jobs move to screen printing or heat-transfer instead. We confirm eligibility by striking off on your actual swatch before quoting.
Why does my sublimation print look dull compared with the mock-up?
Three reasons account for almost every case: polyester content below 65 percent, a base fabric that is grey or warm white rather than bright white, and a coating that resists dye. Unlike screen ink, sublimation has no white, so the substrate colour becomes the lightest thing in your artwork. A polyester satin designed for sublimation usually reproduces dramatically better than a recycled polyester with visual variation, and we price both options when brand colour matters.
How many wash cycles will a sublimated bag panel survive?
Sublimation generally performs best of the three methods in laundering because the dye is inside the fibre, and it commonly still grades 4 or better for colour change after five domestic washes at 40 degrees Celsius. Screen printed areas depend on cure quality, and undercured film can start dusting much earlier. Heat-transfer film is the most sensitive and is why we keep it off wear zones. We always recommend testing the real construction rather than relying on general figures.
What is the minimum order for a custom printed bag?
Our production programme runs on a MOQ of 500 pcs per style and per colourway. Print artwork does not lower that floor, and if each colourway carries different artwork then each one generally counts as a separate style for planning. Sampling takes 6 to 10 working days for standard builds and 12 to 15 working days for complex ones, and bulk production takes 35 to 50 days after sample approval.
How do I specify print placement sizes in my tech pack?
Give one line per placement with the width and height in millimetres, measured on the finished bag rather than on the flat pattern piece, and state the anchor point, for example centred 40 mm below the top seam. Include the artwork file in vector format and the pantone reference for each spot colour. Vague placement notes such as 'front centre' are the single most common cause of a wrong first sample.
Should I use white ink on black fabric for my reward bag?
If your fabric is black and your artwork needs light elements, you need white coverage, which rules sublimation out. Screen printing with an opaque white, sometimes double hit, handles flat elements well, and a heat-transfer with a white under-base handles photographic elements. Both cost more than a direct print and both add production time, so budget roughly an extra USD 0.30 to 1.00 per placement depending on coverage area.
How much does a custom printed bag panel add to unit cost?
Expect a print adder in the range of USD 0.35 for a simple one colour screen hit up to USD 2.50 or more for a six colour simulated process job or a large sublimated panel, with heat-transfer landing around USD 0.60 to 1.80 per placement. Screen charges of roughly USD 15 to 40 per frame are additional and do not scale with quantity. We quote the print adder separately so you can see exactly what each artwork decision costs.
Can printed fabric survive rain and abrasion on a travel bag?
Yes for sublimation and properly cured screen ink, with caution for heat-transfer. Sublimated polyester has nothing on the surface to abrade, so it is the safest choice for panels that will see weather. Screen ink needs correct cure temperature and dwell, typically in the 150 to 165 degrees Celsius band, or it can crack on flexible coated shells. We deliberately route transfer prints away from corners, base panels and strap contact zones.
Will my printed panels match the solid dyed panels on the same bag?
They can, but only if you approve both against the same physical reference at the same time. Solid dyed fabric is matched by dye lot and we work to a Delta E of 2.0 or better where the fibre allows, while halftone prints such as sublimation realistically sit nearer Delta E 3.0. Ask for both treatments to be shown together on one sample, viewed under the same light source, before anything is approved for bulk.
What file format should I send for print artwork?
Send vector files, ideally AI, EPS or SVG, with all text converted to outlines and all colours assigned as pantone references. If your artwork includes photographs or gradients, send a high resolution raster version at 300 dpi or higher at final print size as well. Also send a low resolution PDF preview so everyone is looking at the same layout while discussing placement dimensions and proportions.
Can I change artwork after the sample is approved?
You can, but it restarts part of the process. A colour change on a screen job means new mixing and often a new strike off, adding 2 to 5 working days. A layout move on a sublimation job may require a new printed strike off and possibly a new cutting marker. If there is any chance your campaign stretch goals will change the artwork, tell us before we cut screens or print markers so we can plan the flexibility in advance.
People Also Ask
Which print method lasts longest on a gym bag?
Sublimation, because the dye bonds into polyester fibre and there is no film to abrade. Screen print is next once fully cured, and heat-transfer should be kept off high wear zones such as corners and strap contact points.
Is sublimation cheaper than screen printing?
For multi-colour or full-coverage artwork, yes, because there are no screen charges. For a one or two colour logo, screen printing is cheaper above roughly 1,000 units, while below 500 units the per-screen charge dominates.
What is the MOQ for custom printed bag fabric?
500 pcs per style and per colourway. Each distinct artwork usually counts as a separate style for planning, so plan your colourway count before you publish reward tiers.
Can you print white on dark bag fabric?
Not with sublimation. Use opaque screen ink, often double hit, for flat elements, or a heat-transfer with a white under-base for photographic detail. Budget roughly USD 0.30 to 1.00 extra per placement.
How long does a printed bag sample take?
The standard sampling window is 6 to 10 working days, extending to 12 to 15 working days for complex builds. Print adds roughly 1 to 5 working days depending on whether you are doing sublimation, screen or transfer.
How much area should I leave around a printed logo?
Keep at least 10 to 15 mm between printed artwork and any seam, stitch line or webbing join. Also plan for a registration tolerance of plus or minus 1.5 to 3 mm depending on the method and panel size.
Do I need Pantone references for printed fabric?
Yes for screen printing, because each spot colour is mixed to order. For sublimation and digital transfer still give references, but expect CMYK builds to land around Delta E 3.0 rather than the tighter tolerance achievable on solid dyed fabric.