Embroidery vs Patch vs Print: Choosing Branding for Reward Bags
Embroidery, patches and print all put the same mark on the same panel, and they behave completely differently in production. Embroidery adds thread and needle holes and is priced by stitch count, patches add a second component with its own minimum order and its own attachment risk, and print adds ink, a cure cycle and a registration tolerance. For most crowdfunding reward bags built at 500 pcs per style and colourway, embroidery offers the best balance of perceived value and durability, patches win on curved or padded panels and on crisp small text, and print is the only route to full-colour or gradient artwork. This guide compares all three on detail, durability, cost behaviour, lead time and placement so you can fix the method before the sample clock starts.
- Why branding method is a specification decision
- Embroidery: stitch count, thread and detail limits
- Woven, embroidered and PVC patches compared
- Screen print, heat transfer and sublimation
- Durability compared: abrasion, wash and UV
- What each method costs and why set-up dominates
- How branding choice affects MOQ and colourways
- Placement rules for panels, curves, straps and lining
- Sampling and approval: what to check on sample one
- Turning the decision into RFQ lines and a calendar
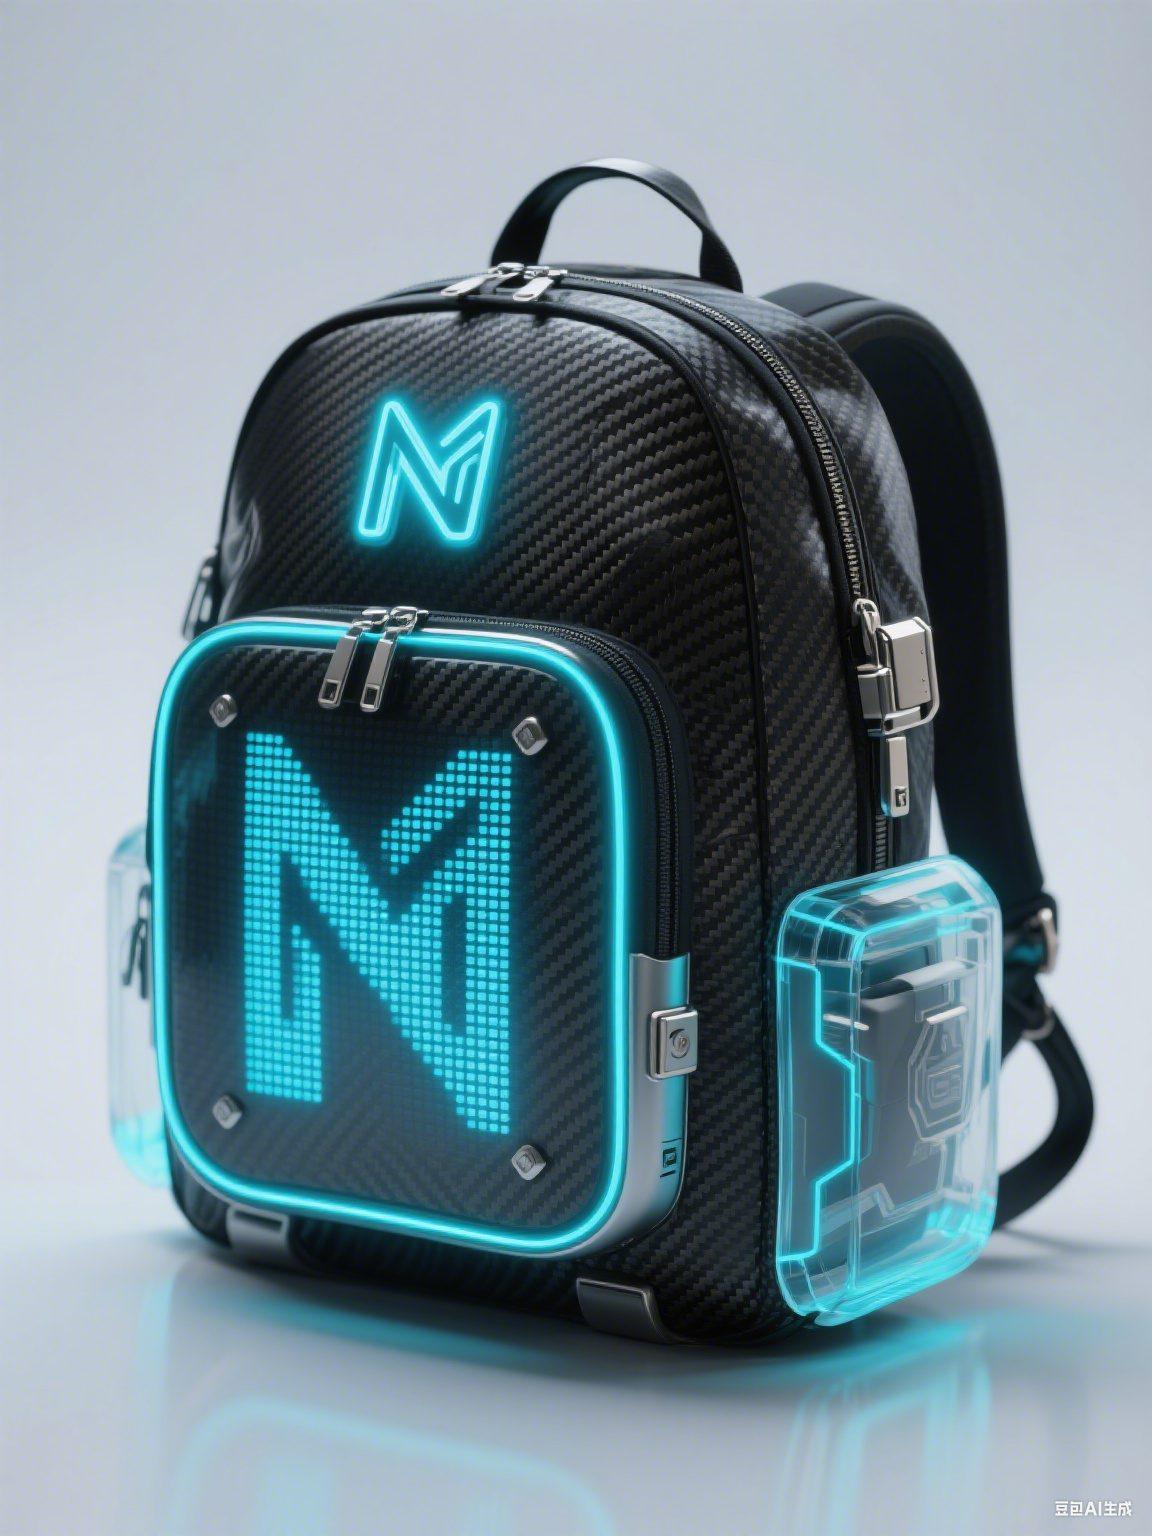
Branding is the last specification most creators fix and the first thing backers judge. By the time a reward bag appears in the pledge tier image, the logo is doing three jobs at once: it tells the backer which campaign this is, it signals whether the object feels worth the pledge, and it has to survive a year of real use without becoming the reason for a complaint. Embroidery, patches and print all place the same mark on the same panel, but they behave very differently once they reach the production floor. Embroidery adds thread and needle holes to a panel, patches add a second substrate and a second assembly step, and print adds ink plus a cure cycle. Each one carries its own set-up cost, its own failure mode and its own effect on the 500 pcs per style and colourway minimum that shapes most crowdfunding orders. This guide compares them on the five axes that actually decide the choice for a reward programme: detail, durability, unit cost, lead time and placement. It sits inside the wider custom bag programme for Kickstarter rewards rather than replacing it, and it assumes you already know roughly what the bag is.
Fix the decoration method before you release the tech pack. Every week the logo stays undecided is a week the 6 to 10 working day sampling window cannot start.
Why branding method is a specification decision
The first mistake is treating logo application as artwork. A vector file that looks perfect on a screen can be unmakeable in thread and unprintable on a silicone-coated shell, and the moment you accept that constraint you stop paying for redesigns. Embroidery needs shapes a needle can travel around, patches need a border a cutting die or laser can follow, and print needs colour separations a screen or print head can hold registration on. Our campaign bag specialist asks for artwork at the same time as the tech pack precisely so these limits surface while changes are still free rather than after the first sample is cut.
The second reason it is a specification decision is that the logo physically changes the bag. Thread adds stiffness and a small amount of weight to a panel, a patch adds a raised edge that can catch on straps and webbing, and a thick plastisol film can stop a roll-top closure from rolling cleanly. On a lightweight packable tote the wrong choice is obvious in the hand; on a structured laptop sleeve it changes how the decorated panel sits against the shell. If the design intent is a soft, quiet object, a heavy rubber patch will fight it, and no amount of artwork refinement will fix that.
The third reason is schedule. Each method carries a different dependency inside the 6 to 10 working days sampling window, and for complex builds the 12 to 15 working day window. Embroidery needs a digitised file and usually one round of stitch-out approval. Patches need a separate component production cycle that finishes before bag assembly even begins. Print needs colour separation and, for sublimation, a fabric that will accept the dye. When a creator tells us the logo is not decided yet, the honest answer is that the clock cannot start on the decorated panels until it is, and everything else in the sample can proceed in parallel but not ahead of it.
Embroidery: stitch count, thread and detail limits
Embroidery is priced by stitch count, not by size. A 40 mm logo executed in 4,000 stitches and the same logo executed in 9,000 stitches occupy almost the same finished area but consume materially different machine time, and across 500 units that difference is real money rather than a rounding error. In our observation a simple front-panel mark for a reward bag typically lands somewhere between 3,000 and 8,000 stitches, while a detailed illustration pushed to hold fine gradients can exceed 20,000 stitches and stops being either economical or legible. Asking for the stitch count alongside the unit price is the single fastest way to compare two quotations that look identical on paper.
Legibility is the hard limit. Thread has physical width, so lettering below roughly 4 to 5 mm in cap height begins to close up, and any gradient, photographic tone or hairline outline has to be simplified before the file is digitised. Satin stitch gives a clean raised edge on letters and borders, fill stitch covers larger areas but shows the fabric underneath if the density is set too low, and a run stitch spaced under about 1 mm starts to perforate lightweight shells. This is why our production team will return artwork with a note to thicken a stroke or drop an outline rather than quietly shipping a mark that reads as muddy at arm's length.
Thread and backing choices matter as much as the digitising. Polyester thread holds colour better under UV and repeated laundering than rayon, which is why it is the default for bags that will see sun and rain. Backing matters too: a cut-away stabiliser keeps dense logos stable on stretch fabric, while a tear-away is acceptable on stable canvas but can leave a rough hand on the inside of a lining panel. On thin linings, ask for a soft cover backing so the reverse of the embroidery does not abrade whatever the backer puts inside the bag.
- Ask for the stitch count on every embroidery quotation, not just a unit price
- Keep lettering above roughly 5 mm cap height so counters do not fill in
- Specify polyester thread for anything that will see sun or frequent washing
- Request a cut-away backing on stretch or lightweight shells to prevent puckering
- Approve a stitch-out on the actual production fabric, not on a sample swatch of a different weight
Woven, embroidered and PVC patches compared
The word patch covers three unrelated products, and conflating them is a common source of budget surprises. Woven patches are made on a loom with fine threads, so they hold much finer detail than embroidery at the same size and they lie flat against the panel. Embroidered patches have the raised, traditional look people associate with team kit and varsity jackets. PVC and silicone patches are moulded rather than stitched, so they hold three-dimensional shapes and saturated colour, but they add weight and a distinctly plastic hand that not every brand wants. Each has a different minimum, a different tooling cost and a different attachment behaviour.
Attachment is the decision that actually determines how the patch survives. A patch can be sewn on with a perimeter stitch, heat-applied with an adhesive backing, or both. A sewn perimeter survives abrasion best and is the right answer on straps, high-wear panels and anything that will be machine washed. Heat application is faster and cheaper, but it depends on the adhesive matching the substrate, and on silicone-coated or heavily water-repellent fabric it can lift. Corner lift is the most common post-delivery complaint we see on heat-applied patches, and it is almost always a substrate and surface-energy problem rather than a workmanship problem.
Patches also change the assembly sequence. Because the patch is made first, it becomes a component with its own lead time, its own minimum lot and its own colourway split. If the campaign unlocks three colourways as stretch goals, you now hold patch inventory in three colours and bag inventory in three colours, and any mismatch between them is your risk rather than the workshop's. Ask for the patch minimum in writing before you commit to the method. Patch minimums frequently sit above the bag minimum, and that asymmetry is what quietly pushes a 500-piece programme into a much larger purchase than the campaign actually needs.
Screen print, heat transfer and sublimation
Print is the only route to photographic or gradient artwork on a bag, and it splits into three families with almost nothing in common operationally. Screen printing pushes ink through a mesh in layers, giving the most opaque and generally most durable result on flat panels at the cost of one screen per colour. Heat transfer prints onto a carrier film and presses it onto the fabric, which suits small runs and multi-colour art but leaves a film sitting on top of the surface. Sublimation dyes the fibre itself, which gives unlimited colour and no hand feel at all, but works only on polyester and only realistically on white or very light grounds.
Where each one works is mainly a substrate question. Screen print bonds well to canvas, cotton and many polyester oxfords, and poorly to silicone finishes and low-surface-energy coatings unless the ink system and pre-treatment are matched to it. Heat transfer will go onto almost any surface but is the most likely to crack at a fold or a seam. Sublimation is excellent on light polyester and effectively unavailable on dark nylon or canvas. If the concept is an all-over print, sublimation is the answer. If the concept is a single-colour mark on a dark coated shell, a properly cured screen print is usually the one that survives the year.
Registration is where print samples fail. In a multi-colour screen print, each colour is laid down in a separate pass and the panel has to sit in exactly the same place every time, so a shift of a millimetre is visible on small text and on any mark placed near a seam. In heat transfer, placement tolerance is driven by the jig, and without one the logos will drift across units in a way backers notice the moment they compare photographs in the comments. Cure matters just as much: an under-cured plastisol looks perfect at packing and then cracks or blocks after weeks in a warm container.
- Confirm the substrate finish before choosing an ink system, especially on water-repellent coatings
- Limit screen print to a sensible colour count, because every extra colour is another pass and another registration risk
- Specify a jig or placement template for heat transfer so logos do not drift across units
- Write the cure condition into the specification and ask for it to be recorded on the production travellers
- Test the decorated panel, not the plain substrate, in every rub and wash check
Durability compared: abrasion, wash and UV
Abrasion behaviour follows a simple physical rule: whatever stands proud of the fabric surface wears first. Embroidery thread and thick ink films both sit above the base cloth, so on a panel that rubs against a desk, a car seat or a gym floor, they take the wear instead of the fabric. In our observation, embroidered marks typically outlast printed films on high-contact panels because the thread is structural rather than a coating, while heat transfer edges are usually the first feature to show damage. That does not make print wrong, it means print belongs on panels that do not carry the load.
Washing and UV separate the methods further. Polyester embroidery thread generally holds its colour through repeated laundering with little visible change, while screen print films can soften and lose edge definition in warm cycles, and heat transfer edges are the first thing to lift. Under prolonged UV, light-fast thread holds well, some plastisol inks chalk, and some PVC patches yellow. If the reward is a beach bag, a cycling pack or a travel bag that will live in the sun, treat UV resistance as a selection criterion rather than an afterthought, and say so in the request for quotation.
The practical way to compare them is to test the decorated panel rather than argue about it. Ask for a rub test on the printed or embroidered area, a tape test on any film, and a wash or soak check on the finished panel, then record the method reference beside each result. Our sourcing partner runs these checks alongside the inspection under AQL 2.5 to ISO 2859-1, because inspection counts visible defects on finished units while these tests predict what happens in month nine. The full framework is set out in Bag Print Quality: Colour Fastness and Wash Test Ratings.
What each method costs and why set-up dominates
At campaign volumes, set-up is a larger share of the decoration cost than most creators expect. A digitising file, a set of screens, a mould for a PVC patch or a film run for heat transfer are all fixed costs that do not care whether you make 500 or 5,000. Amortised across 500 units, a modest one-off charge is a visible line; amortised across 5,000, it all but disappears. This is the arithmetic behind the observation that screen print becomes dramatically more attractive as volume grows while heat transfer stays flat, and it is why the cheapest method at 500 pieces is sometimes not the cheapest method at your re-order volume.
Unit cost is not the whole cost either. Patches carry inventory risk and a second component to count and reconcile, screen print carries more QC time because registration has to be checked on every batch, and embroidery carries a small but real defect allowance for thread breaks and puckering. In our observation across crowdfunding programmes, decoration typically adds a modest share of unit cost for embroidery and simple screen print at these volumes, materially more for moulded patches, and the gap narrows once quantities move past roughly 2,000 pieces. Treat any single figure quoted without a stitch count, a colour count and a named substrate as a placeholder.
| Method | Set-up element | Cost behaviour | Verdict at 500 pcs | Dominant failure mode |
|---|---|---|---|---|
| Embroidery | Digitising file, one-off | Scales with stitch count | Strong value and perceived quality | Puckering, thread break, perforation on thin shells |
| Woven patch | Loom set-up plus patch minimum | Low per unit, inventory risk | Good if colourways are few | Corner lift when only heat-applied |
| Embroidered patch | Digitising plus patch minimum | Moderate per unit | Good for heritage or team styling | Edge fray, lift on curved panels |
| PVC or silicone patch | Mould, higher one-off | Higher per unit | Only when the brand needs 3D | Adhesive lift, yellowing under UV |
| Screen print | One screen per colour | Falls sharply with volume | Good for one to three colours | Cracking at folds when under-cured |
| Heat transfer | Film print, minimal set-up | Flat at any volume | Best for multi-colour artwork | Edge lift in wash, cracking at creases |
| Sublimation | Digital, effectively none | Low, polyester only | Best for all-over artwork | Colour shift off white polyester |
Key takeaways
- C
- o
- m
- p
- a
- r
- e
- d
- e
- c
- o
- r
- a
- t
- i
- o
- n
- q
- u
- o
- t
- a
- t
- i
- o
- n
- s
- o
- n
- l
- y
- w
- h
- e
- n
- a
- l
- l
- t
- h
- r
- e
- e
- o
- f
- s
- t
- i
- t
- c
- h
- o
- r
- c
- o
- l
- o
- u
- r
- c
- o
- u
- n
- t
- ,
- s
- u
- b
- s
- t
- r
- a
- t
- e
- a
- n
- d
- q
- u
- a
- n
- t
- i
- t
- y
- a
- p
- p
- e
- a
- r
- o
- n
- e
- v
- e
- r
- y
- l
- i
- n
- e
- .
- W
- i
- t
- h
- o
- u
- t
- t
- h
- o
- s
- e
- ,
- t
- h
- e
- n
- u
- m
- b
- e
- r
- s
- a
- r
- e
- n
- o
- t
- c
- o
- m
- p
- a
- r
- a
- b
- l
- e
- .
How branding choice affects MOQ and colourways
Decoration interacts with minimum order quantities in two separate places, and confusing them is expensive. The bag minimum is 500 pcs per style and per colourway. A change of embroidery thread colour does not create a new style, so a multi-colour logo does not raise the bag minimum. Screen print needs one screen per colour, which is a set-up cost but not a new minimum. Patches are different: they are normally purchased in their own minimum lot, and that lot exists whether or not you eventually assemble the bags it was bought for.
Colourways are where the asymmetry bites. Unlock a second colourway as a stretch goal and embroidery simply runs the same digitised file in a different thread, with no new minimum and no new component. Screen print reuses the screens with a different ink, again usually without a new minimum. A patch has to be reordered in the new colour at the patch minimum before the second colourway can be assembled at all. Our programme coordinator therefore recommends patch branding only when the number of colourways is fixed and small, and never when the campaign plan depends on unlocking colours mid-flight.
A practical rule follows from this. If the campaign design allows more than three colourways, or if the marketing plan is likely to add colourways as stretch goals, keep the decoration method to one that can change colour without buying a new component lot. That single decision has protected more campaign budgets than any unit-price negotiation we can point to, because it removes an entire class of stranded inventory. The mechanics of splitting units across colours are covered in Custom Bags With Mixed Colours: How MOQ Splits Across SKUs, and colour control across methods is covered in Custom Bag Colour Matching: Pantone, Lab Dips, Dye Lots.
Placement rules for panels, curves, straps and lining
Placement is constrained by what the machine can physically reach and by where decoration falls in the assembly sequence. Embroidery and print must be applied to a flat panel before that panel is sewn into the bag, because you cannot embroider or screen a finished bag through its own lining. This means the decorated panel has to be identified in the tech pack, cut as a separate piece and scheduled into the decoration step. Panels that appear to be a single surface in a rendering are frequently three pieces in a cutting pattern, and the logo may straddle a seam that does not exist in the drawing.
Curved, padded and quilted surfaces are where patches win. A woven label or a moulded patch is a component with its own shape, so it can be sewn onto a curved or padded surface after assembly, when there is no longer any flat window available. That is the real reason padded laptop sleeves, quilted camera inserts and structured duffels tend to use patches or small woven labels rather than direct embroidery: the assembly sequence leaves no flat access. The trade-off is the raised edge, which needs to be positioned away from strap contact points and away from zipper paths that would rub it.
Straps, webbing and linings each have their own rule. Never embroider across a load-bearing strap, because the needle holes reduce the tensile capacity of the webbing exactly where the load is highest; a woven label sewn along the two edges is the correct solution. Inside panels and pocket linings are well suited to heat transfer or a small woven label, because they are low-wear and they let you put a brand message where only the owner sees it. The options for interior branding are explored further in Kickstarter Tote Branding: Inside-Pocket Labels and Emboss.
Sampling and approval: what to check on sample one
The first decorated sample should be judged against a written checklist rather than a feeling. For embroidery, look for centring, puckering around the perimeter, thread tension consistency, whether the backing shows through thin fabric and whether the stitch density holds the colour. For patches, check the perimeter stitch for skipped stitches, press every corner to feel for lift, and confirm the patch sits flat on the curved panel it will actually be sewn to. For print, check registration between colours under magnification, edge definition on small text, and whether the film cracks when the panel is folded sharply as it would be in use.
Approve with a golden sample and a written tolerance, because memory is a poor specification. Useful tolerances for a reward programme include a centring tolerance expressed in millimetres, a colour reference assessed under a named light source, a statement of what happens when a decorated panel fails, and a note on how many spare decorated panels the workshop will hold for replacements. Our production team keeps the approved golden sample at the line until packing, so that any drift in the run can be judged against the object rather than against a photograph on a phone.
Timeline expectations should be set at the same meeting. Straightforward decoration fits inside the standard 6 to 10 working days sampling window, while complex builds, moulded patches and multi-colour registration work typically need 12 to 15 working days. Bulk production then runs 35 to 50 days, and the decorated panels are inspected with everything else. Registration and shrinkage behaviour across methods is documented in Bag Print and Embroidery QC: Register, Shrinkage, Colour, and the wider comparison of logo options sits in Custom Backpack Branding: Logos, Embroidery and Patches.
Turning the decision into RFQ lines and a calendar
A decoration request that can be quoted accurately contains eight pieces of information: the method, the artwork file type and whether it is vector, the finished size in millimetres, the location described against a seam or panel edge rather than a photograph, the colour references, the substrate the mark will sit on, the attachment method if it is a patch, and any durability expectation such as a rub or wash rating. Missing any one of these pushes the quotation back to guesswork, and guesswork is what turns into a change order after the deposit is paid.
The calendar then falls out of the method. Add the artwork and digitising step ahead of sampling, allow 6 to 10 working days for the sample itself and 12 to 15 working days where the build is complex, budget 35 to 50 days for bulk, and hold inspection to AQL 2.5 to ISO 2859-1 with the decorated panels included in the defect definitions. Commercial terms stay constant across all three methods: FOB Xiamen with T/T 30/70, and a minimum of 500 pcs per style and per colourway. Those five numbers are the ones worth writing into your campaign plan before you publish a delivery date.
One final piece of advice from the campaigns we have supported: decide the decoration method before the reward tiers are written, not after they are published. The tier copy usually promises a specific look, and if that look turns out to require a moulded patch with a component minimum that the tier volume cannot absorb, the only ways out are a redesign or a subsidy. Twenty-plus crowdfunding campaigns have come through our programme, and the ones that moved smoothly almost always had the branding method fixed at the same time as the silhouette.
Send us a brief with your artwork, panel location and target quantity, and our campaign bag specialist will confirm which method holds up at your volume.
Frequently Asked Questions
Which branding method is cheapest for a 500-piece reward bag order?
At 500 pcs per style and colourway, embroidery and single or two-colour screen print are typically the most economical, because their set-up is modest and their per-unit cost is low at that volume. Heat transfer is competitive for multi-colour artwork because it has almost no set-up, while moulded PVC patches are usually the most expensive because of the mould charge and the separate patch minimum.
Can I use more than one branding method on the same bag?
Yes, and it is common. A typical combination is an embroidered front panel mark, a woven label on the webbing, and a heat-transfer care or brand message inside a pocket. The cost is coordination rather than technique, because each method adds a step and a component to the assembly sequence, so budget a little extra sampling time, typically inside the 12 to 15 working day window for complex builds.
Does embroidery weaken the fabric of the bag?
Any needle perforation reduces local strength slightly, which is why we do not embroider across load-bearing webbing or strap anchor points. On flat body panels with appropriate backing, the effect is negligible for normal use. On very lightweight shells, specify a cut-away stabiliser and moderate stitch density so the needle holes do not propagate along a seam line.
How long does a decorated sample take compared with a plain sample?
Straightforward decoration fits inside the standard 6 to 10 working day sampling window. Digitising, patch component production and multi-colour print registration typically extend this to 12 to 15 working days. The reliable way to protect the schedule is to send the final artwork with the tech pack so that digitising or film output can begin while the pattern is being cut.
Will a heat-applied patch survive washing?
It depends on the substrate and the adhesive, not only on the patch. On canvas and uncoated polyester, a correctly pressed patch generally performs acceptably. On silicone-coated or heavily water-repellent fabric, adhesion is unreliable and we recommend sewing the perimeter as well. Corner lift is the most common failure, so check adhesion on the actual production fabric before approving.
What is the smallest legible logo size for embroidery?
As a working rule, keep lettering above roughly 4 to 5 mm cap height, because below that the counters of letters begin to close up with standard thread. Very fine detail can be recovered with a woven patch instead, which holds smaller type than direct embroidery. Our production team will flag artwork that cannot be executed cleanly rather than ship a mark that reads poorly.
Can I print photographic artwork onto a nylon bag?
Sublimation, which is the method suited to photographic artwork, requires polyester and a light ground, so it is not available on nylon or on dark fabric. On nylon, heat transfer can carry a photographic image but it sits as a film on the surface and is more prone to cracking at folds. Screen print handles spot colours well but not continuous tone.
How many colours can a screen print have on a bag panel?
Technically many, but each additional colour adds a screen, a pass and a registration risk, so most reward bags use one to three spot colours. Beyond that, heat transfer or sublimation becomes more practical. Registration tolerance is the limiting factor on small text and on marks placed close to a seam, so keep critical detail away from panel edges.
Does the branding method change my minimum order quantity?
Usually not for embroidery or print, since a thread colour or an ink change does not create a new style at the 500 pcs per style and colourway minimum. Patches are the exception, because they are bought in their own minimum lot which may exceed the bag minimum. Always ask for the patch minimum in writing before committing to that method.
How do I check colour accuracy on a decorated sample?
Supply a named reference such as a Pantone code, and assess the sample under a consistent, specified light source rather than under mixed office lighting. For embroidery, remember that thread is a limited palette, so the digitised colour may be a close commercial match rather than an exact hit. For print, ask for a drawdown on the production substrate, because ink appearance shifts between canvas and coated polyester.
What tolerance should I allow for logo placement on bulk production?
A written tolerance in millimetres, agreed at sample approval and measured against a seam or panel edge, is the practical approach. A jig or placement template is essential for heat transfer and for repeat embroidery, because without one the marks drift across units. Backers compare photographs, so consistency between units matters more than absolute precision on any single unit.
Are decorated panels included in the AQL inspection?
They should be, and this is worth stating explicitly in the specification. Inspection under AQL 2.5 to ISO 2859-1 counts visible defects on finished units, so registration shift, thread breaks, puckering and lifted patch corners need to be named as defect categories. Decoration-specific laboratory checks such as rub, tape and wash testing are separate from inspection and are run on the panel or swatch.
People Also Ask
Is embroidery better than print for bags?
Embroidery generally lasts longer on high-contact panels because thread is structural rather than a surface film, and it reads as higher value. Print is the only option for gradients, photographic art and all-over patterns. Choose by artwork type first and by durability second.
What is the cheapest way to brand a tote bag?
A single-colour screen print is usually the lowest cost per unit once volume passes 500 pieces, while heat transfer is competitive for multi-colour art because there is no screen charge. Embroidery costs scale with stitch count, so a small, simple mark stays inexpensive.
Do patches need to be sewn or can they be ironed on?
Both are possible, and sewing is more durable. Heat application depends on the adhesive bonding to the specific fabric finish, so it is unreliable on silicone-coated and water-repellent shells. For straps and washable items, always specify a sewn perimeter.
Can embroidery go on a padded laptop panel?
Rarely, because padding and quilting mean there is no flat window in the assembly sequence once the panel is built. A woven label or a moulded patch sewn on after assembly is the usual solution for curved or quilted surfaces.
How long does logo sampling take?
Standard decoration fits the 6 to 10 working day sampling window. Digitising, patch production and multi-colour registration typically extend this to 12 to 15 working days, so send final artwork with the tech pack.
Does sublimation work on dark fabric?
No. Sublimation dyes the fibre, so it needs polyester and a white or very light ground to show colour correctly. On dark or non-polyester fabric, use heat transfer or screen print with an opaque ink system.
Will adding a patch raise my MOQ?
It can. The bag minimum is 500 pcs per style and per colourway, but patches are bought in their own lot with their own minimum, which is sometimes higher. Ask for the patch minimum in writing before you commit.