Kickstarter Bag Mockup: Choosing Between 3D Rendering and Real Photography
A campaign page needs pictures before the bag exists, which is why 3D rendering and real photography compete for the same slot. The decision is not aesthetic, it is evidential. A render can be produced from a CAD file in days and shows a bag that has never been sewn; a photograph can only be taken after a physical sample exists and shows exactly what was made. This article gives the decision rule: renders carry the pre-launch page and the variant menu, photographs carry the proof, and the sample calendar decides when each becomes available. Use both, in that order, and disclose which is which.
- What a campaign mockup actually has to do
- Three asset types and what each proves
- 3D rendering: what it is and what it costs
- Real photography: what it proves and what it needs
- The accuracy problem: renders that promise too much
- Timing the asset against the sampling calendar
- Colour, material and finish: what photographs reveal
- Building one asset library from a single prototype
- Disclosure language that protects the campaign
- A decision framework by stage and budget
What a campaign mockup actually has to do
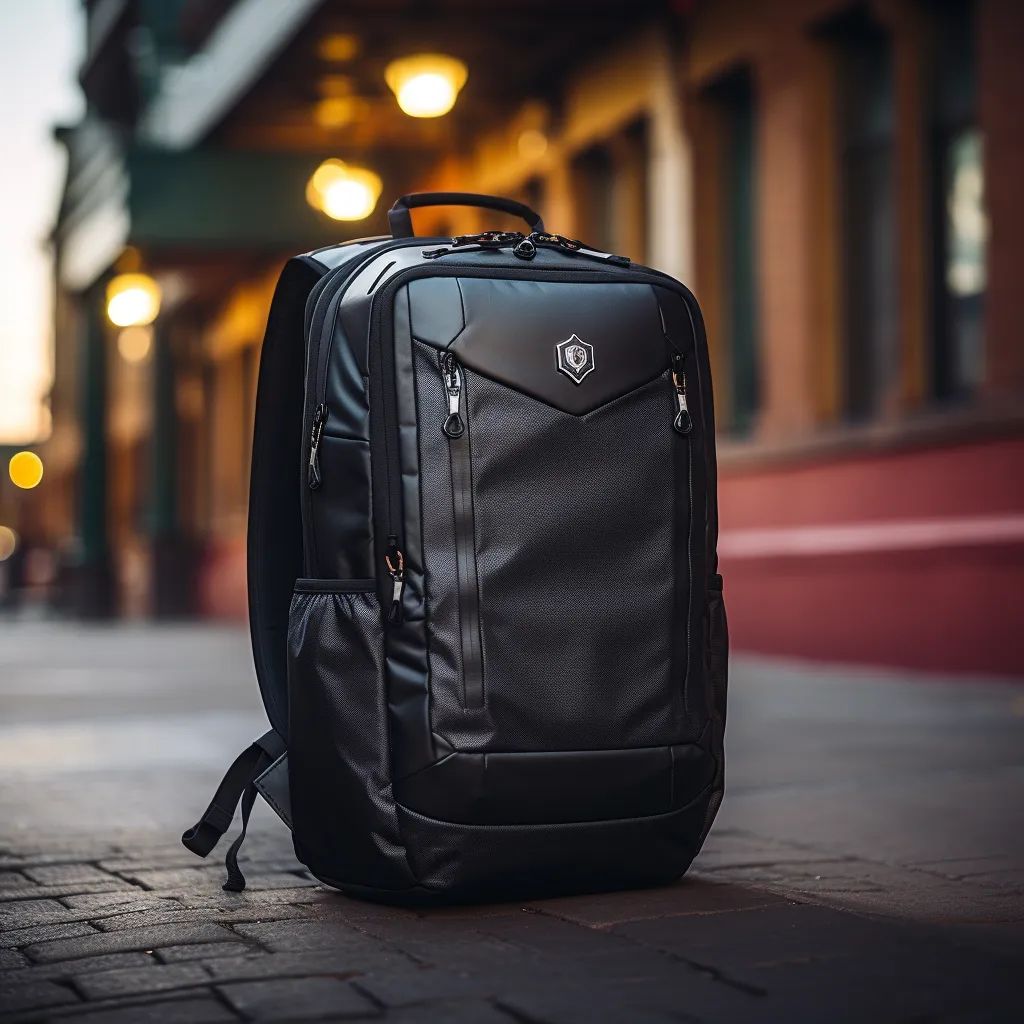
A mockup on a crowdfunding page is doing three jobs at once, and only one of them is decorative. It has to make a backer understand the product in about four seconds, it has to make the product look worth the pledge level attached to it, and it has to survive being compared with the object that arrives months later. The third job is the one that decides whether a campaign gets refund requests or repeat backers, and it is the job that a purely rendered page most often fails.
Backers read images as evidence. A photograph is read as a record: something physical was in front of a lens. A render is read as an intention: someone drew this and believes it can be built. Both are legitimate on a crowdfunding page, and Kickstarter itself expects campaigns to be honest about which is which. The failure mode is not using a render. The failure mode is letting a render imply a photographic level of certainty about a bag that has never been cut.
This matters more for bags than for many categories, because a bag is judged on material behaviour. Drape, sheen, stitch relief, the way a webbing edge sits against a shell panel, the stiffness of a structured base, the depth of an embossed logo: all of these are physical outcomes of fabric, interfacing and thread tension. A render can approximate them. A photograph cannot lie about them. When the reward is something a backer will carry every day for two years, that difference is the whole argument.
The practical consequence is that a page should be built in two waves. The first wave carries the campaign live: renders, colourway menus and dimension diagrams produced from the CAD file. The second wave replaces or supplements the hero slots with photography once a sewn sample exists. The sample prototyping programme is what makes the second wave possible on a date you can plan around.
Three asset types and what each proves
Most creators think in two categories, render and photo, but a working campaign page usually carries three distinct asset types, each proving something different. Understanding the three makes the budget discussion much easier, because you stop asking which single asset to buy and start asking which asset answers which backer objection.
- CAD render: built from the digital pattern and material notes. Proves the design intent, scale and colourway logic. Does not prove the fabric behaves as drawn.
- Prototype photography: taken of a sewn sample, often in a workshop or studio. Proves the bag physically exists and the construction works. Does not prove the bulk lot will match it.
- Pre-production sample photography: taken of the approved reference unit. Proves what the bulk lot is being built against, and becomes the standard the AQL 2.5 to ISO 2859-1 inspection is judged against.
The third asset is the most valuable and the least used. A creator who photographs the approved pre-production sample has, in effect, photographed the specification. Every later dispute about whether the delivered bag matches the promise can be settled by comparing the delivered unit with that image. It is also the single most persuasive image a campaign can publish after funding, because it removes the last reasonable doubt a late backer has.
There is a fourth asset that is not a picture at all but belongs in the same plan: the dimension diagram. A line drawing with millimetre callouts answers the sizing questions that photographs never answer cleanly, and it costs almost nothing once the pattern exists. Campaign pages that publish one consistently receive fewer survey-stage size queries.
| Backer question | Best asset | Why | When available |
|---|---|---|---|
| What does it look like? | CAD render | Shows intent before anything is sewn | From the CAD file, in days |
| Does it exist? | Prototype photo | Physical object in front of a lens | After the first sample, 6-10 working days |
| Will mine look like that? | Pre-production photo | Photographs the approved reference | After approval, before bulk |
| Will my laptop fit? | Dimension diagram | Measured callouts, not impressions | From the pattern file |
| Is the colour right? | Photo under controlled light | Screen colour is unreliable | After physical fabric exists |
| Is the logo real? | Macro photo of the sample | Shows stitch or print texture | After decoration sampling |
3D rendering: what it is and what it costs
A 3D render for a bag is a digital model built from the same geometry that will later drive the pattern, wrapped in material shaders chosen to approximate the specified fabric. It can be produced before a single metre of cloth is cut, which is its entire strategic value: the campaign can be designed, photographed in render form and published while the physical programme is still in development.
The turnaround is the reason creators choose it. A competent render can be produced in a few days from a finished CAD file, against the 6-10 working days needed for a first physical sample, or 12-15 working days for a complex build. When a launch window is fixed by a marketing calendar rather than by a production calendar, that gap is often the difference between hitting the window and missing it by a month.
The costs are real and worth naming. A render is only as accurate as the material data behind it. A shader set to a generic nylon sheen will not show the specific lustre of a 420D ripstop with a PU coating, and a stitching relief drawn as a flat line will not show the seam profile a backer will feel. Renders also tend to photograph better than reality in one specific way: they have no wrinkles, no seam pucker, no hardware reflections and no dust. A bag that looks perfect in render can look slightly less crisp in reality for reasons that are normal and acceptable, but which a backer who was shown only the render will read as a defect.
Renders also carry a variant advantage photographs cannot match. Once the model exists, producing ten colourways costs a fraction of producing ten physical samples, and the colourway menu on the page can show options the campaign will never actually produce unless a colourway is funded. That is legitimate, provided the page says the colours are representative and the funded colourway is decided by the survey or by a stated rule.
Real photography: what it proves and what it needs
Photography proves existence. A backer looking at a photograph of a sewn sample knows the pattern has been cut, the fabric has been sourced, the hardware has been fitted and the assembly sequence works. That is a materially different claim from a render, and it is the claim that converts hesitant backers in the final third of a campaign, when the question in the comments has shifted from is this a good idea to will this actually ship.
What photography needs is a physical unit and a controlled setup. The physical unit comes from the sampling programme: 6-10 working days for a standard build, 12-15 for a complex one. The controlled setup is the part creators underestimate. Bag photography fails on colour far more often than on composition, because a shell fabric that reads as charcoal under 3200K tungsten reads as blue-black under 5600K daylight, and a backer's monitor adds a third colour interpretation on top.
- Shoot against the approved physical colour reference, not against a screen image.
- Use one fixed white balance across the whole set, and record the setting.
- Photograph the interior and the base as carefully as the hero three-quarter view.
- Include one macro frame of the decoration, one of the zipper and one of a load-bearing seam.
- Photograph the bag loaded, not only empty, if the page makes a capacity claim.
- Shoot one frame with a familiar object for scale, plus the dimension diagram alongside it.
The macro frames do the most commercial work. A close frame of an embroidered logo shows stitch density and edge quality. A close frame of a zipper shows tape, teeth and puller finish. A close frame of a strap attachment shows bar-tack reinforcement. These three images answer the three questions experienced bag buyers actually ask, and they are the images a render is least able to substitute for, because they are images of workmanship rather than of design.
Studio cost is a genuine budget line and should be planned rather than discovered. A creator working with a production partner can often have sample photography taken at the same time as the sample review, which removes a shipping leg and a scheduling conflict from the critical path.
The accuracy problem: renders that promise too much
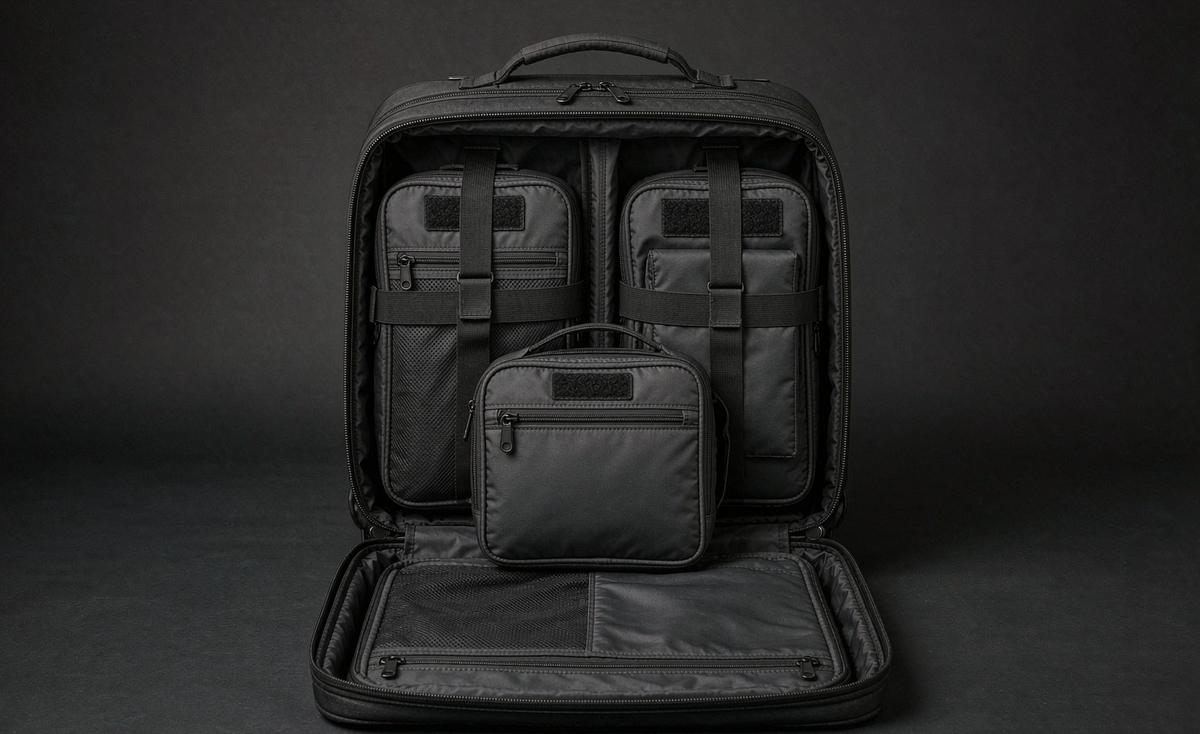
Every accuracy failure in campaign imagery has the same structure: the render shows an ideal, the physical bag shows a tolerance, and the backer reads the tolerance as a defect. Naming the specific places where this happens lets a creator correct the render before publication rather than manage complaints after delivery.
- Colour saturation: render shaders tend toward saturated, evenly lit colour; real fabric reads flatter and shifts with light.
- Seam and edge definition: drawn seams are crisp; sewn seams have thread bulk, feed marks and slight pucker at curves.
- Structure and slouch: a render holds an idealised silhouette; an empty structured bag collapses differently than a filled one.
- Hardware finish: metal and plastic in render look flawless; real hardware has moulding lines, plating variance and reflections.
- Decoration depth: a flat logo draw cannot show embroidery relief or heat-transfer film thickness.
- Interior shadow: renders usually light interiors evenly; real interiors are darker and read as less roomy in photographs.
The correction is not to make the render worse. It is to make the render honest in the two dimensions that matter most and to let photography carry the rest. Practically, that means matching the render colour to a physical reference rather than to a hex value, and adding a seam and hardware pass that reflects the specified construction instead of an idealised one. Our campaign bag specialist reviews renders against the material specification for exactly this reason, and the review takes less time than the complaints it prevents.
There is a second-order risk that is more expensive than the first. A campaign that funds on a render and then discovers, during sampling, that a detail cannot be built as drawn has an obligation to tell backers. That update is fine when it is small and early. It is damaging when the page is still showing the impossible render. Correcting the page before the discrepancy is announced, and correcting it with a photograph of what will actually ship, is the sequence that protects trust.
Timing the asset against the sampling calendar
Asset planning and sampling planning are the same plan. The sample calendar sets the moment photography becomes possible, and the launch date sets the moment the first asset is needed. Working backwards from both is the only way to avoid the common failure, which is a campaign page built entirely on renders because the sample was booked too late to photograph.
| Programme stage | Elapsed | Asset available | Use on the page |
|---|---|---|---|
| CAD file complete | Day 0 | Render, dimension diagram | Pre-launch and launch hero |
| First sample built | 6-10 working days | Prototype photo | Proof update mid-campaign |
| Complex build sample | 12-15 working days | Prototype photo | Proof update mid-campaign |
| Feedback round closed | Plus 6-10 working days | Revised prototype photo | Answers comment objections |
| Pre-production sample | Before bulk | Reference photo set | Final proof and late pledges |
| Bulk production | 35-50 days | Warehouse or QC photos | Shipping updates |
| Inspection complete | AQL 2.5 to ISO 2859-1 | Inspection record | Delivery confidence update |
Read that table as a deadline machine. If the launch is in four weeks and the CAD file is not finished, the hero asset will be a render and should be presented as one. If the launch can wait eight weeks, a prototype photograph is achievable and the page can lead with proof instead of intent. Choosing the launch date with that constraint in mind is a marketing decision made on production facts.
The cost of a missed sample slot is not the sample fee, it is the asset gap. A campaign that has to publish on renders alone tends to convert lower in its final week, because the proof objection has not been answered. Booking sampling early enough to photograph the prototype is usually the cheapest conversion work available, and the sampling lead time options explain how the standard and express tracks change that calculation.
One detail of sequencing is worth locking down: decoration. A prototype built before the artwork is frozen will not carry production-intent logos, so photographs of it cannot answer logo questions. Freeze artwork before the photographed sample is built, or accept that the logo needs a second photography pass later.
Colour, material and finish: what photographs reveal
Colour is the single largest source of post-delivery complaint in bag rewards, and it is the thing renders handle least reliably. The reason is physical. A fabric colour is defined by a lab-dip or a stock reference under a controlled light source, and it is judged by a backer under entirely uncontrolled light, on a screen of unknown calibration, in a photograph taken at a white balance nobody recorded.
Photography fixes one of those three variables. If the sample is photographed beside the approved physical reference under a recorded white balance, then the image is defensible: it shows the same two objects together, and any shift introduced by the backer's screen affects both equally. Publishing that pair, rather than a single retouched hero, is the cheapest insurance available for a colour-sensitive reward.
Material behaviour is the second revelation. A coated fabric shows a different sheen at a fold than on a flat panel. A ripstop grid shows only at certain angles. A brushed lining looks plush in a close frame and flat in a wide one. A structured base holds its shape in a photograph only if the bag is either filled or correctly supported. Each of these is a reason to shoot the sample from more angles than a render would require, and each is a reason a render cannot fully substitute for the photograph.
Finish questions are answered by macro work. Whether an edge is bound or turned, whether a strap end is heat-cut or folded, whether a logo is embroidered, woven, printed or moulded: these are decisions a creator may not have thought about but a backer will notice. Macro photography of the sample turns them into visible, deliberate features on the page rather than surprises in the delivery. The material guidance for crowdfunding bags covers how those decisions get specified in the first place.
Building one asset library from a single prototype
The most efficient campaigns treat the prototype as a content shoot, not as an approval artefact. One physical sample can generate the entire image library a campaign needs across its life, if the shoot is planned before the sample ships rather than improvised after it arrives. The sample is a scarce asset: it exists once, in one place, for a limited window before it goes back into the development loop.
- Empty hero views: front three-quarter, back, side profile, base.
- Loaded views: filled to the claimed capacity, photographed on a person and on a surface.
- Interior views: main compartment empty, lining visible, pockets open.
- Detail macros: decoration, zipper, strap attachment, handle, base feet, label.
- Scale views: beside a laptop, a water bottle and a folded jacket.
- Colourway views: one frame per funded colourway against the shared reference.
- Dimension diagram: produced from the pattern, published beside the gallery.
Shooting the loaded views is what separates a credible bag page from a doubtful one. Capacity claims are the most common source of disappointment, and a photograph of the bag holding what the page says it holds settles the question visually. If the page claims a 16-inch laptop fits, photograph a 16-inch laptop going in, not a 13-inch one.
The library then has a second life. The same images become the reward fulfilment documentation, the retail listing, the marketplace images and the warranty reference. A creator who plans for that second life will shoot a clean white-background set alongside the lifestyle set, because the marketplace requires the first and the campaign converts better with the second.
Retaining the photographed unit matters as much as photographing it. The unit should be the approved pre-production sample, kept as the physical reference that later production is compared against. That single retained bag is what makes the photograph a standard rather than a souvenir.
Disclosure language that protects the campaign
Disclosure is not a legal formality, it is a conversion tool. Backers who are told which images are renders and which are photographs trust the page more, not less, because the creator has demonstrated that they know the difference. The most common wording is a single line in the story: images marked as renders are digital previews of the final design, and images of the physical prototype show the current sample.
Disclosure should be specific about the three things that most often change between render and reality. Colour may vary slightly between screen and physical fabric. Minor construction details may be refined during sampling. Dimensions are subject to a stated tolerance. Stating a tolerance, in millimetres, is far better than saying approximately, because it converts an impression into a specification that the inspection can enforce.
The other protective habit is to update rather than defend. If a detail changes during development, publish the change with a photograph of the new sample and a one-line explanation of why: material availability, a durability improvement, a decoration constraint. Campaigns that narrate development honestly retain backer goodwill through changes that would otherwise read as silent substitutions. The quality and inspection framework explains what is inspected once the change is locked in.
Finally, keep the promise aligned with the production reality at every stage. If the page shows a render with a feature the quotation does not include, the cheapest moment to fix it is before launch, by either adding the feature to the specification or removing it from the image. That alignment check is part of what a programme coordinator does before a purchase order is released, and it costs a revision rather than a refund.
A decision framework by stage and budget
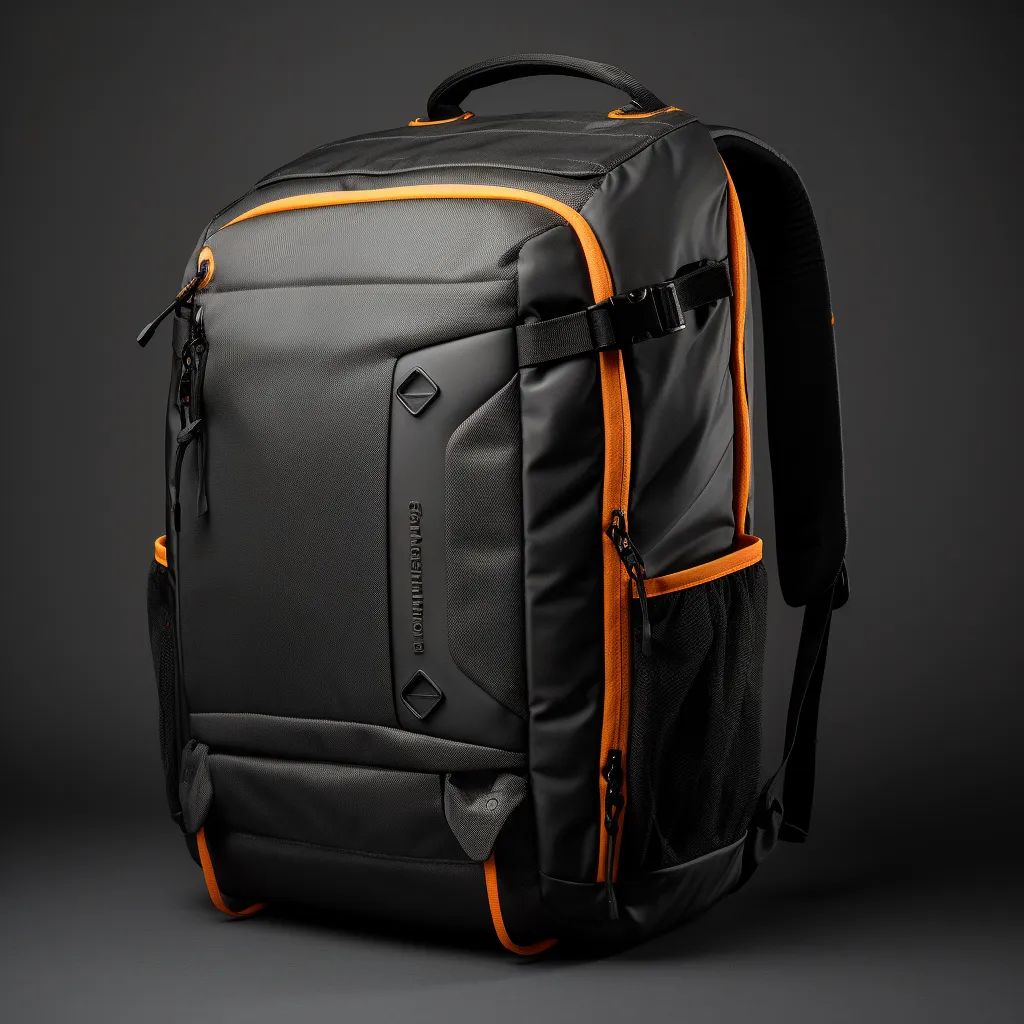
The choice is rarely render or photograph. It is how much of each, at which stage, within which budget. The framework below is a starting point: pick the row that matches the campaign's position and treat the numbers as planning ranges rather than as quotes, because render and studio costs vary widely by market and by complexity.
| Stage | Primary asset | Supporting asset | Disclosure needed |
|---|---|---|---|
| Pre-launch page | CAD render | Dimension diagram | Render clearly labelled |
| Launch week | CAD render hero | Prototype photo if ready | State what is physical |
| Mid-campaign | Prototype photo | Detail macros | Note revisions made |
| Final week | Pre-production photo | Loaded capacity views | Confirm final spec |
| Late pledges | Pre-production photo set | Colourway frames | State ship window |
| Post-campaign retail | Clean white set | Lifestyle set | Standard retail copy |
Budget allocation follows the same logic. A campaign with a small content budget should spend it on one good prototype shoot rather than on many renders, because proof converts better than polish. A campaign with no physical sample yet has no choice but to spend on renders, and should reserve budget for a second photography pass the moment the sample exists.
There is one allocation rule that holds across every case: never let the last image on the page be the only unverified one. Whatever else the gallery contains, the closing images should be of a physical bag, because the final objection a backer resolves before pledging is whether the thing exists. Our team plans shoots around that rule and around the sampling calendar that makes it possible.
The last consideration is scale. At the locked minimum of 500 pcs per style and per colourway, a campaign is producing enough units that a fulfilment-stage quality complaint becomes a public event rather than a private message. Assets that were accurate at launch are the cheapest form of protection against that outcome, and they cost less than a single re-run of a reward tier.
Planning a launch window and unsure what you can photograph in time? Send the CAD stage, the launch date and the colourway list through the contact quotation form and we will map the sampling calendar against your asset deadlines.
Frequently Asked Questions
Should a Kickstarter bag campaign use 3D renders or real photographs?
Use both, in sequence. Renders carry the page before a physical bag exists, because they can be produced from the CAD file in days while a first sample takes 6-10 working days. Photographs carry the proof once a sewn sample exists. Lead with renders at launch, replace the hero slot with prototype photography as soon as the sample is built, and label which is which.
Can I launch a bag campaign with only renders?
Yes, and many do, but plan the proof update. A page built entirely on renders tends to convert lower in its final week because the does-it-exist objection is unanswered. Book sampling early enough that a prototype photograph lands mid-campaign, at 6-10 working days for a standard build or 12-15 for a complex one.
How long until I can photograph a real sample?
A standard build takes 6-10 working days from an approved specification, and a complex build takes 12-15 working days. Each feedback round adds another window of the same length. Add studio time, and work backwards from the launch date to decide whether photography is available before the page goes live or only as a mid-campaign update.
Why does the physical bag look different from the render?
Because a render shows an ideal and a sewn bag shows a tolerance. Colour shifts with light source, seams have thread bulk and slight pucker, structured panels slouch differently when empty, and hardware has moulding and plating variance. None of these are defects. They are the reason a render should be labelled as a preview rather than presented as a photograph.
How do I stop colour complaints after delivery?
Photograph the sample beside the approved physical colour reference under a recorded white balance, and publish that pair. Any shift on the backer's screen then affects both objects equally, which makes the image defensible. Match the render colour to the physical reference rather than to a hex value, and state that screen and fabric colour may vary slightly.
Should I photograph the prototype or the pre-production sample?
Photograph the prototype for mid-campaign proof, and photograph the pre-production sample for the final promise. The pre-production unit is the approved reference the bulk lot is built against, so images of it are effectively images of the specification, judged later at AQL 2.5 to ISO 2859-1. Retain that unit as the physical standard.
How many images does a bag campaign page need?
Plan for roughly 20 to 30 frames from one shoot: four empty hero views, two loaded views, two interior views, six detail macros, three scale views and one frame per funded colourway, plus a dimension diagram. That set covers the campaign, the retail listing and the marketplace requirement without a second shoot.
Is a dimension diagram worth making?
Yes, and it costs almost nothing once the pattern exists. Photographs never answer sizing questions cleanly, because perspective distorts apparent capacity. A line drawing with millimetre callouts settles whether a laptop fits, and campaigns that publish one receive far fewer survey-stage size queries.
What should the disclosure line on the page say?
State which images are renders and which are physical, and name the three things most likely to change: colour may vary slightly between screen and fabric, minor construction details may be refined during sampling, and dimensions carry a stated tolerance in millimetres. Specific disclosure reads as competence and converts better than silence.
Does using renders risk a backer complaint?
The risk is not the render, it is leaving an impossible render on the page after development has changed the design. If a feature cannot be built as drawn, correct the image with a photograph of what will ship and explain the reason. Narrating a change honestly retains goodwill in a way that a silent substitution does not.
Can one rendered model show all my colourways?
It can, and that is a genuine advantage, because ten rendered colourways cost a fraction of ten physical samples. The condition is disclosure: if a colour will only be produced when funded, say so and state the rule that decides it. Showing unfunded options as available is what turns a legitimate menu into a promise problem.
When should artwork be frozen for photography?
Before the photographed sample is built. A prototype made before the artwork is frozen will not carry production-intent logos, so its photographs cannot answer logo questions and the page needs a second pass later. Freeze decoration first, then build and shoot the sample once, and the asset library is complete in a single window.
People Also Ask
Are 3D renders allowed on Kickstarter?
Yes, provided they are presented as renders rather than as photographs of a finished product. Label them clearly in the story and keep the physical promise aligned with the specification.
What is a bag campaign mockup?
A visual of the bag before it exists in bulk: a CAD render, a prototype photograph, or a dimension diagram, each answering a different backer question.
Which converts better, render or photo?
Renders win early because they exist earlier. Prototype photographs win late, when the objection shifts from is this good to does this exist.
How many colourways should I render?
Render the full menu, but state which colours are funded and which depend on the survey. Physical colourway shots follow once samples exist.
Do I need a physical sample to launch?
No. You need one before the final week, because the closing objection a backer resolves is whether the product physically exists.
What tolerance should I publish for dimensions?
A stated tolerance in millimetres, taken from the pattern. It turns an impression into a specification the AQL 2.5 inspection can enforce.
Should I shoot the bag loaded or empty?
Both. Empty views show the design, loaded views prove the capacity claim, and capacity is the most common source of post-delivery disappointment.